Thurs31
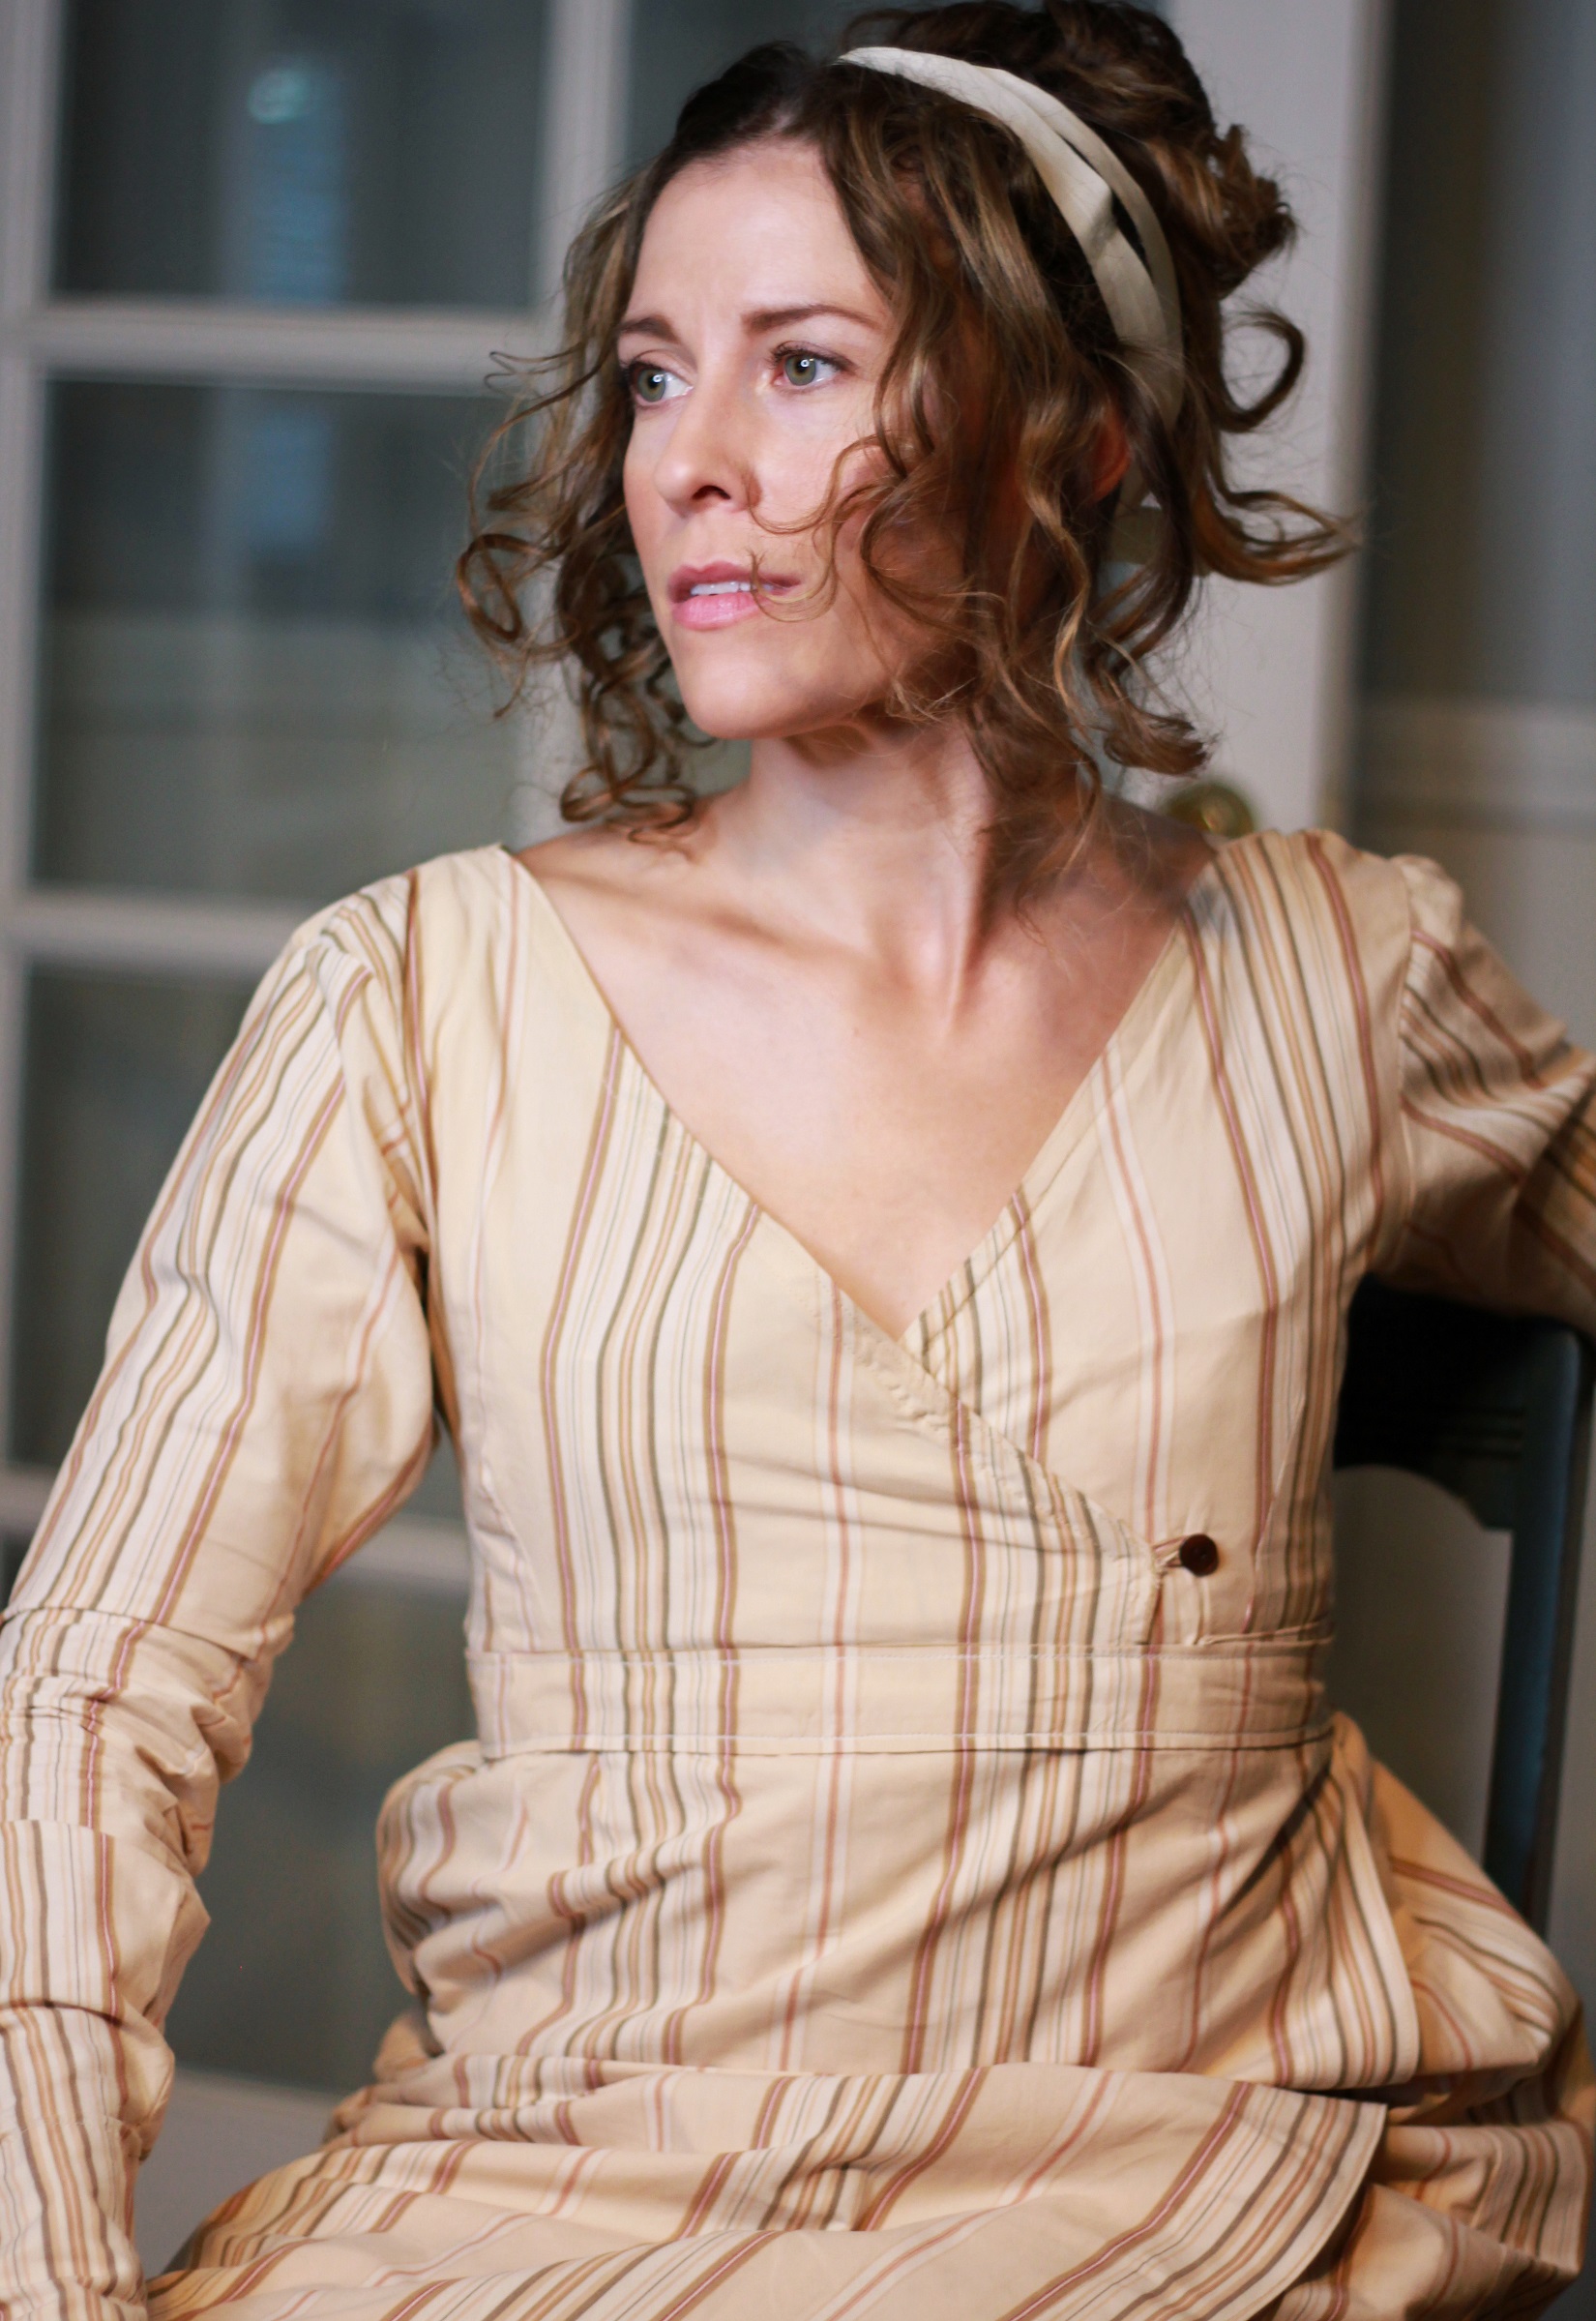
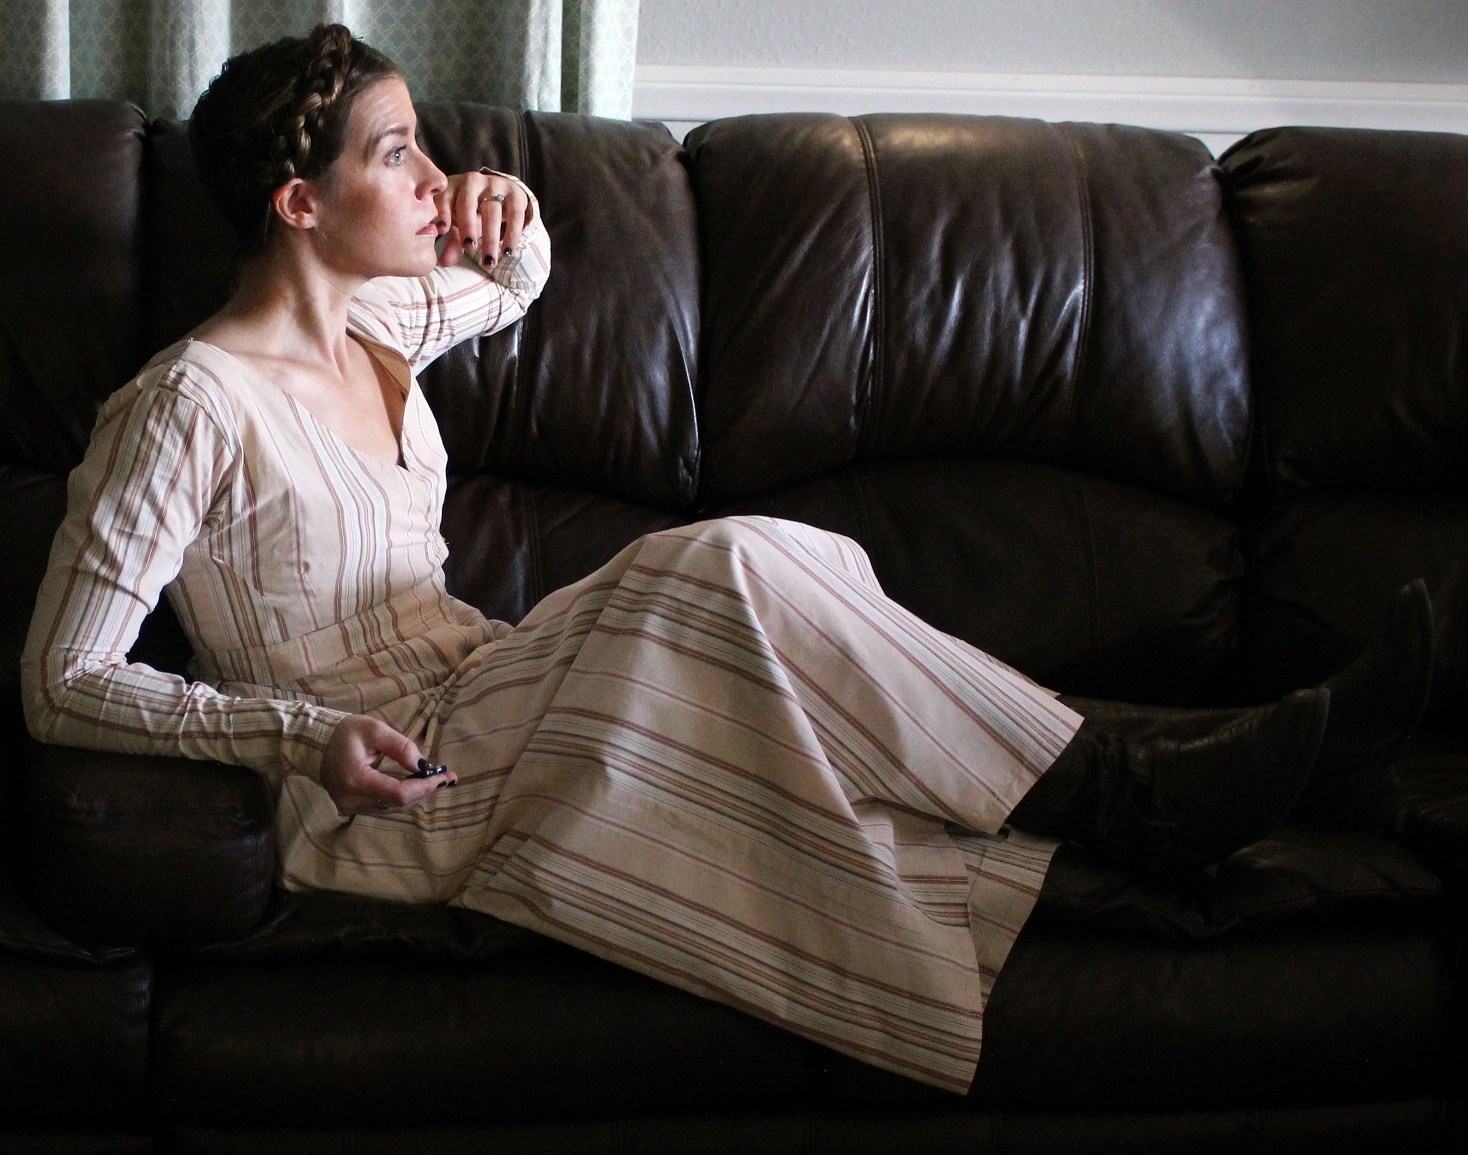
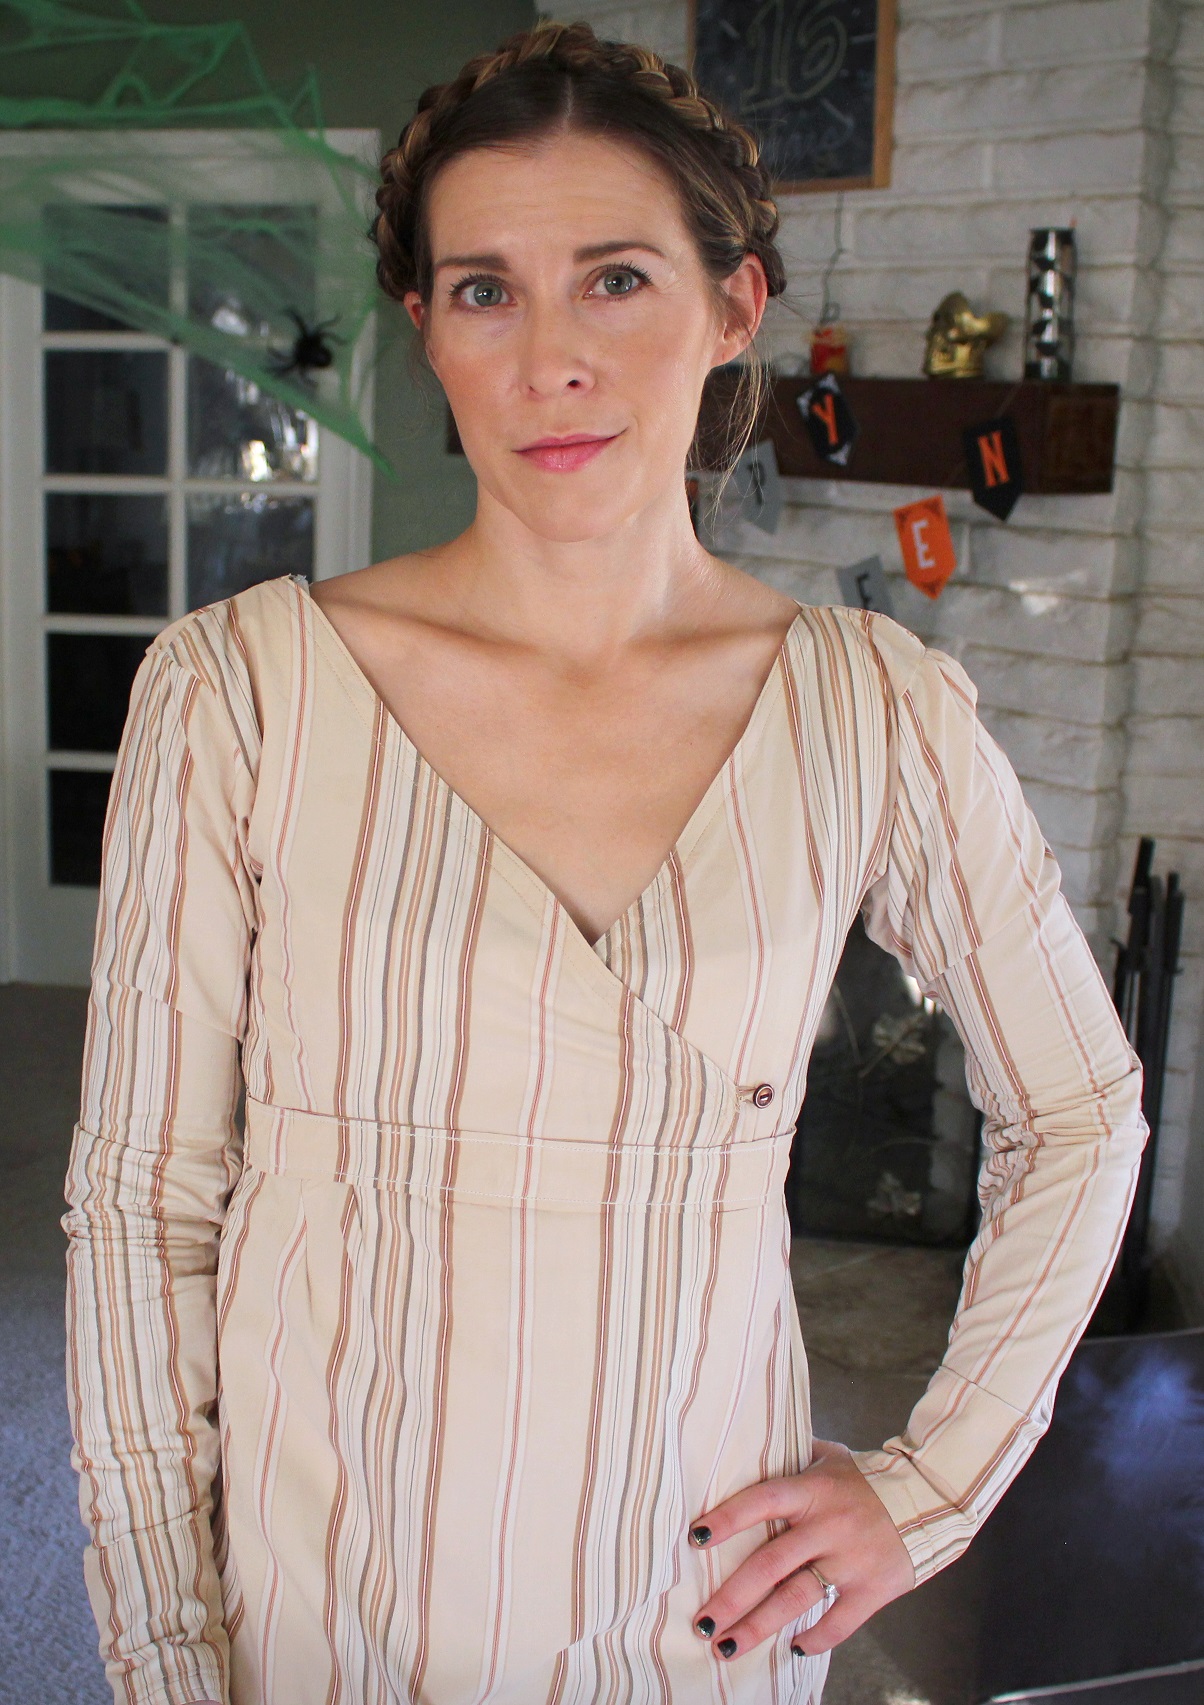
Happy Halloween all! In honor of this glorious holiday, I leave you with our photoshoot in my beautiful dress this weekend. It was quite comfortable. So long as it's not too warm outside, I could
easily wear this elsewhere. You know, if it weren't for the stares.


Wed23
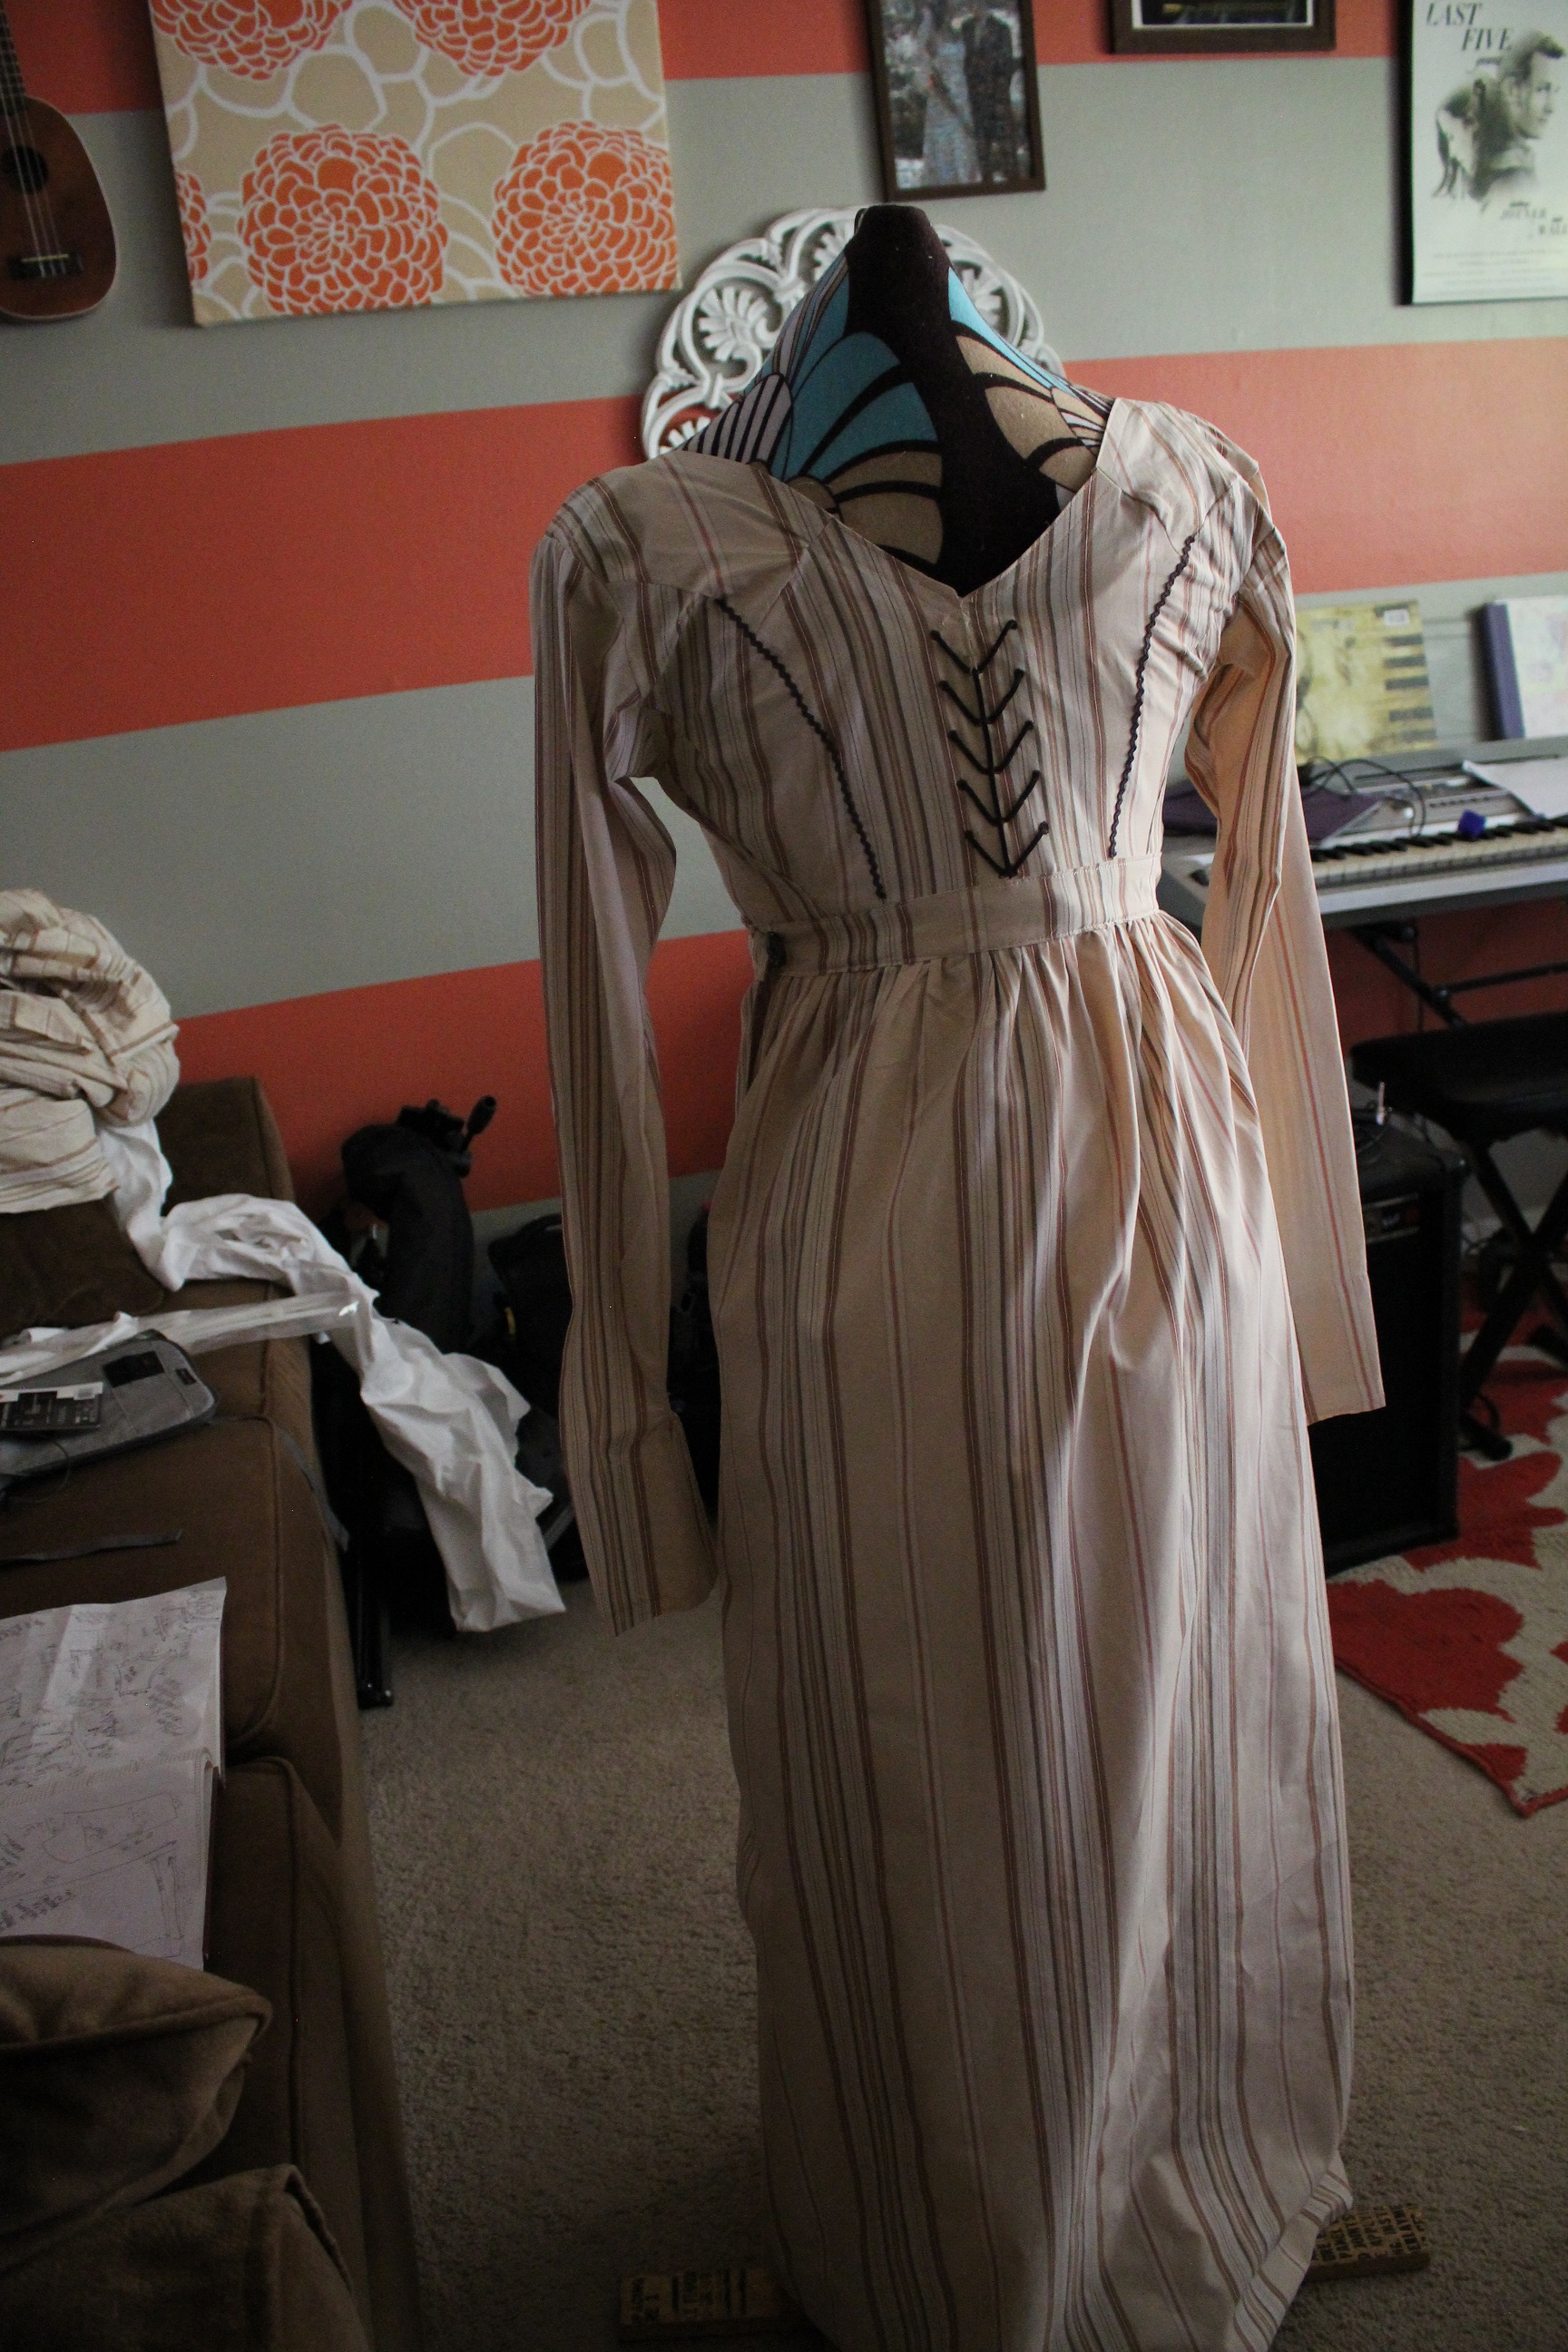
Ahhh. Today I finished this lovely dress. After lacing through the suede lacing and tacking it in place (took longer than expected), she was ready for the world. Scratch that, after an
hour of ironing, she was ready for the world.
 So, I don't have too much to say about last steps. This has been a really cool undertaking and I'm more than happy I took it on. Without further adieu, here is a janky photoshoot I did myself today.
This weekend, I've convinced Matt to do a proper photoshoot with me. Hopefully it won't be sweltering. So proud of this beauty! Excited to wear it for our annual costume party this Saturday. And,
hopefully, find some more excuses to wear it elsewhere.
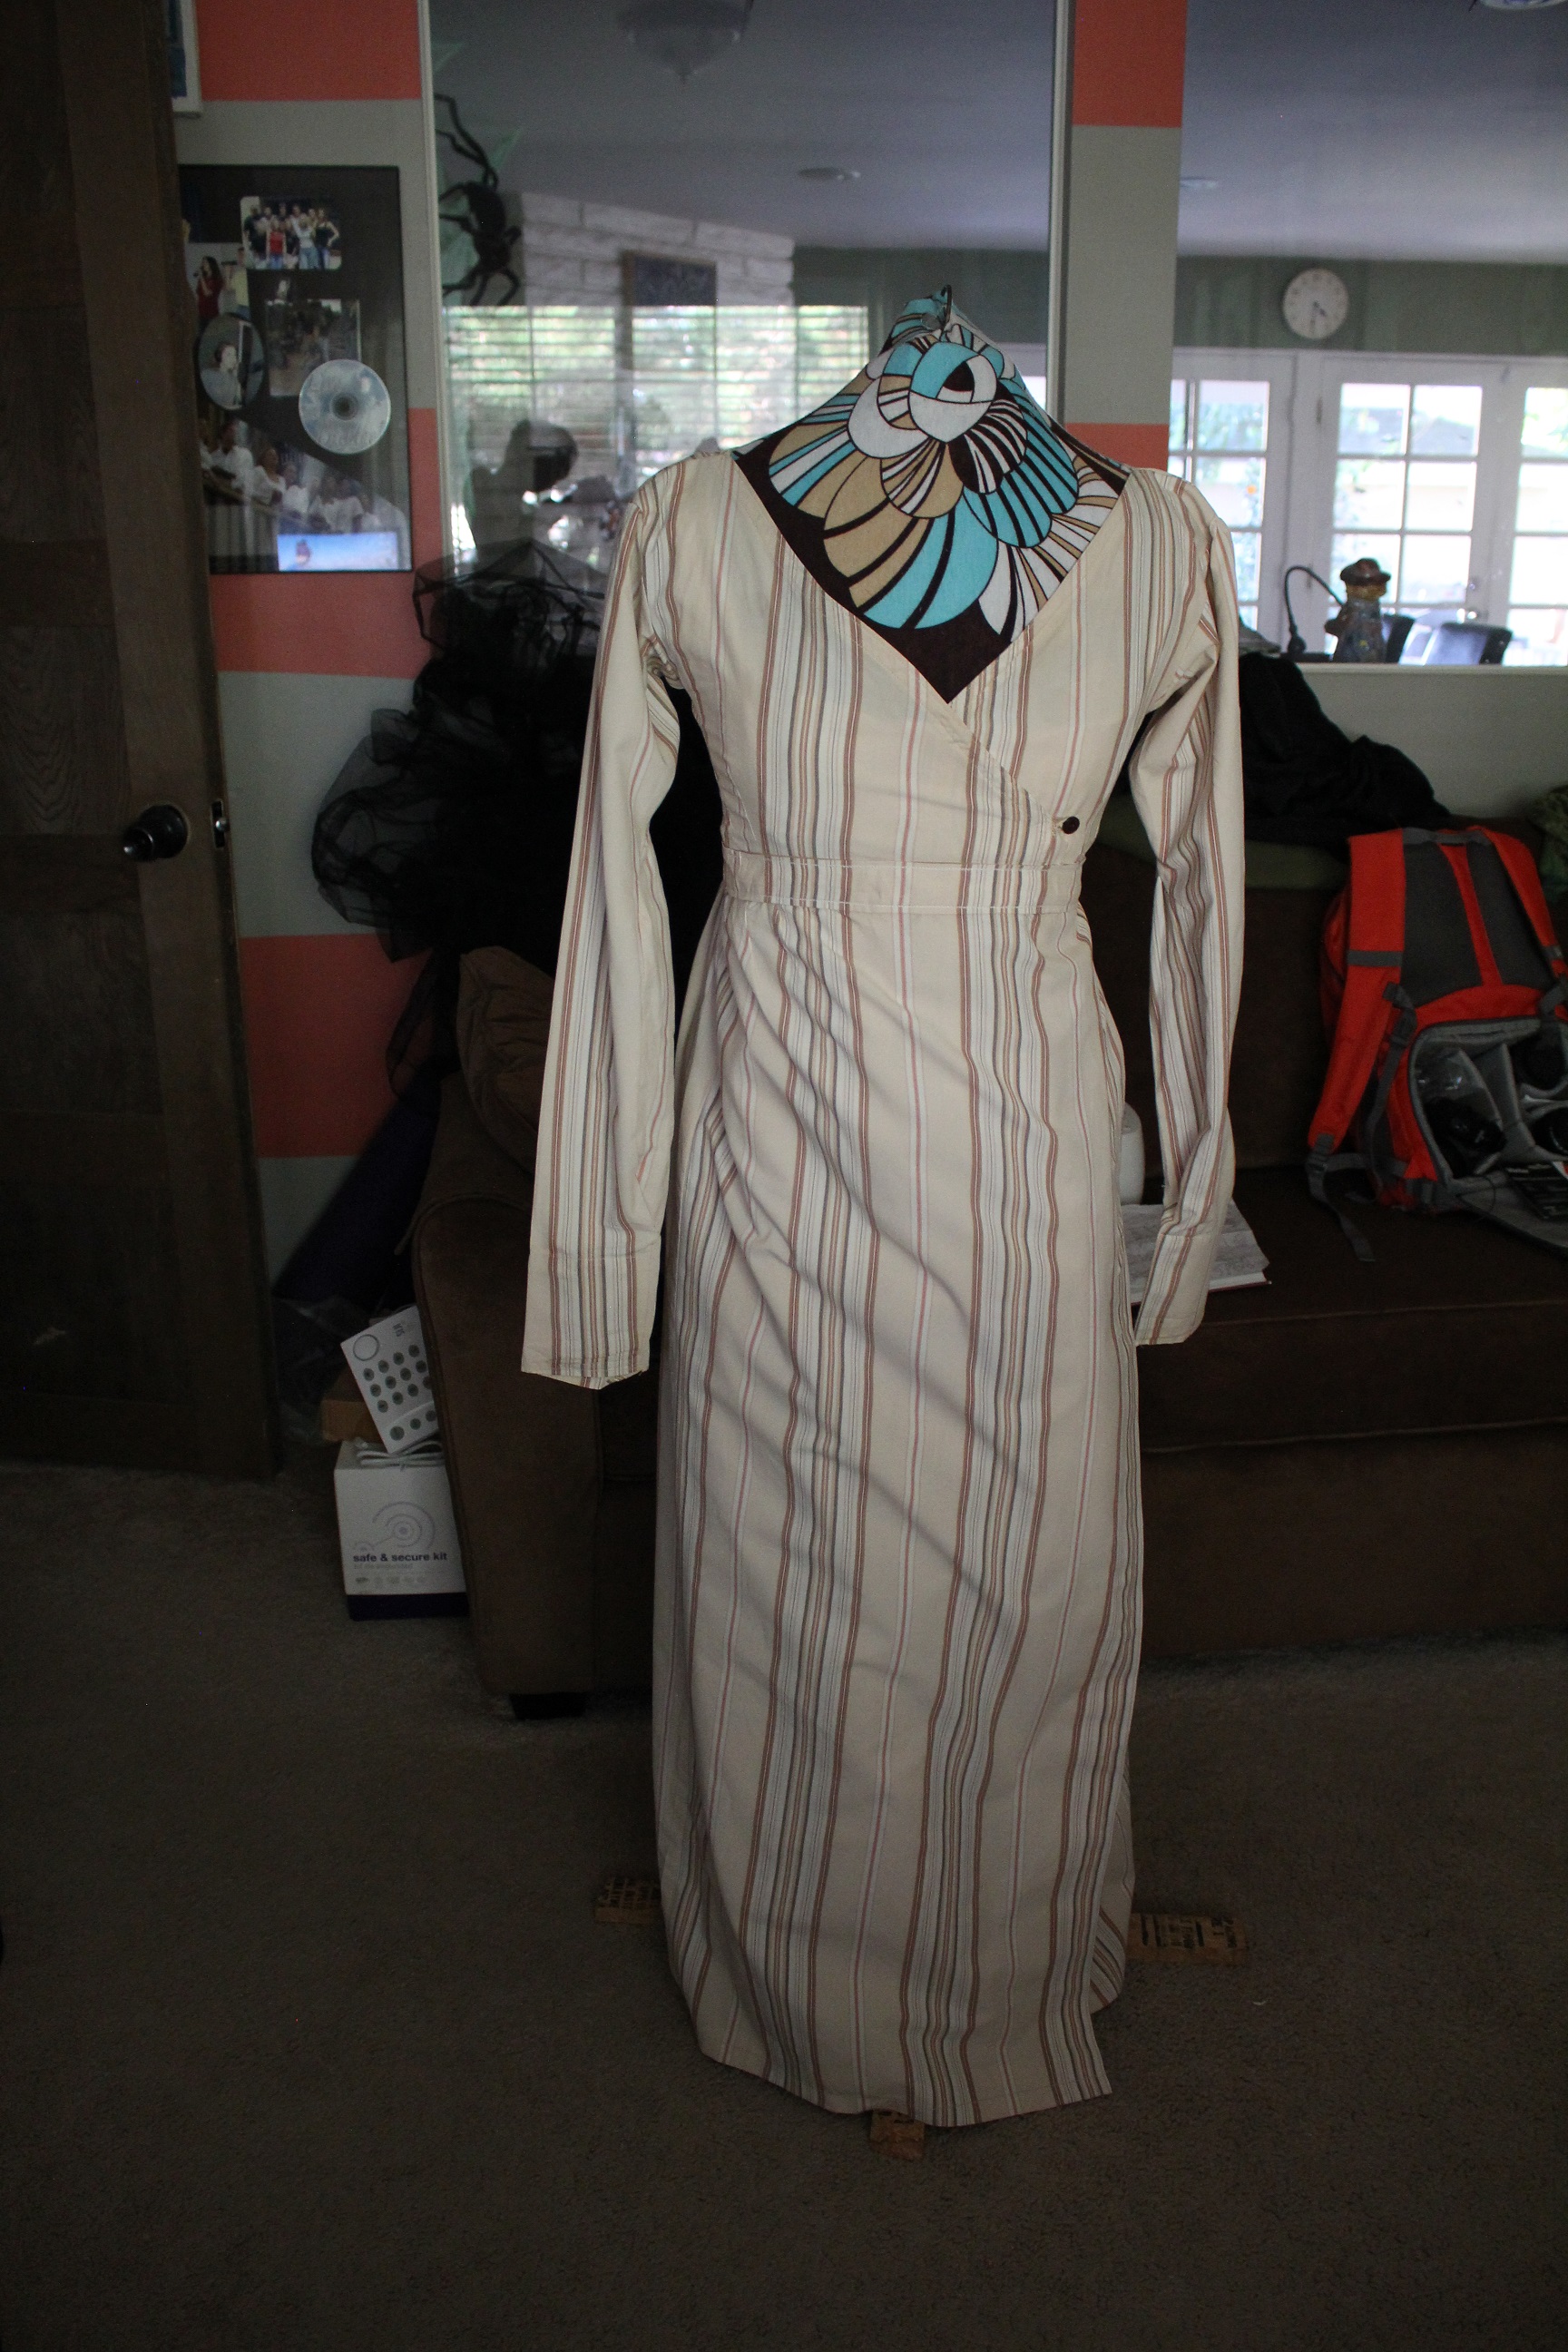
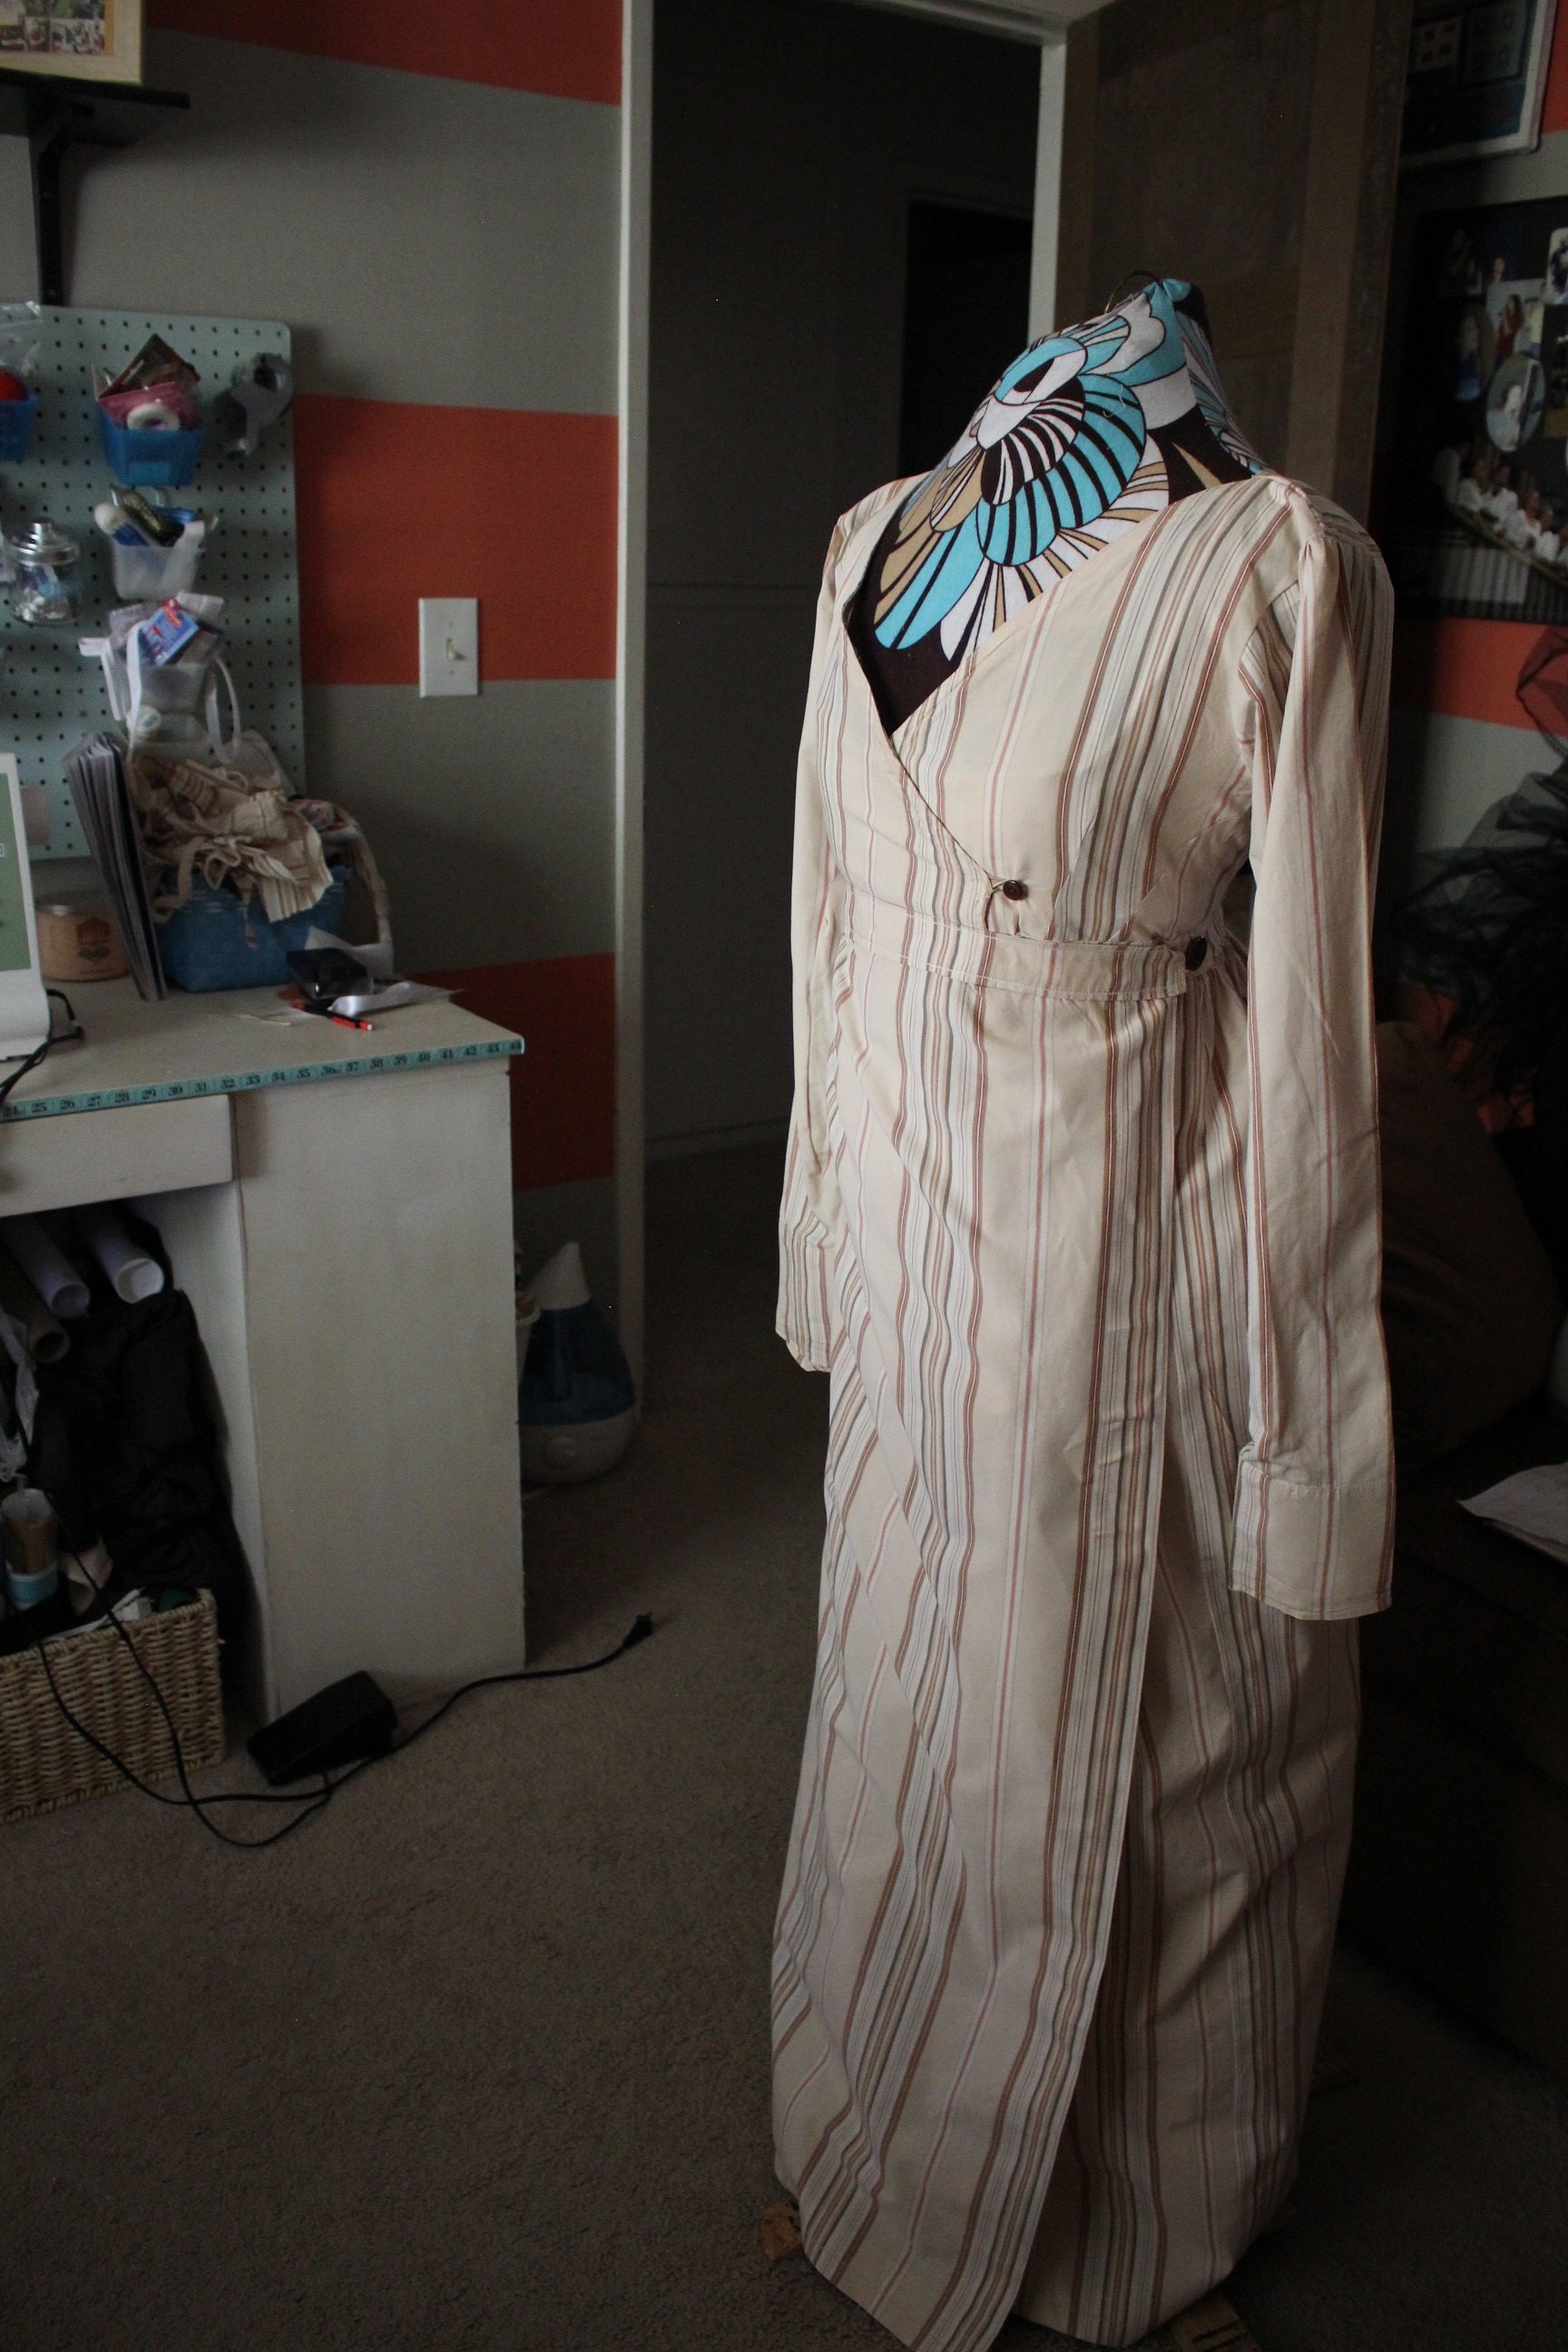
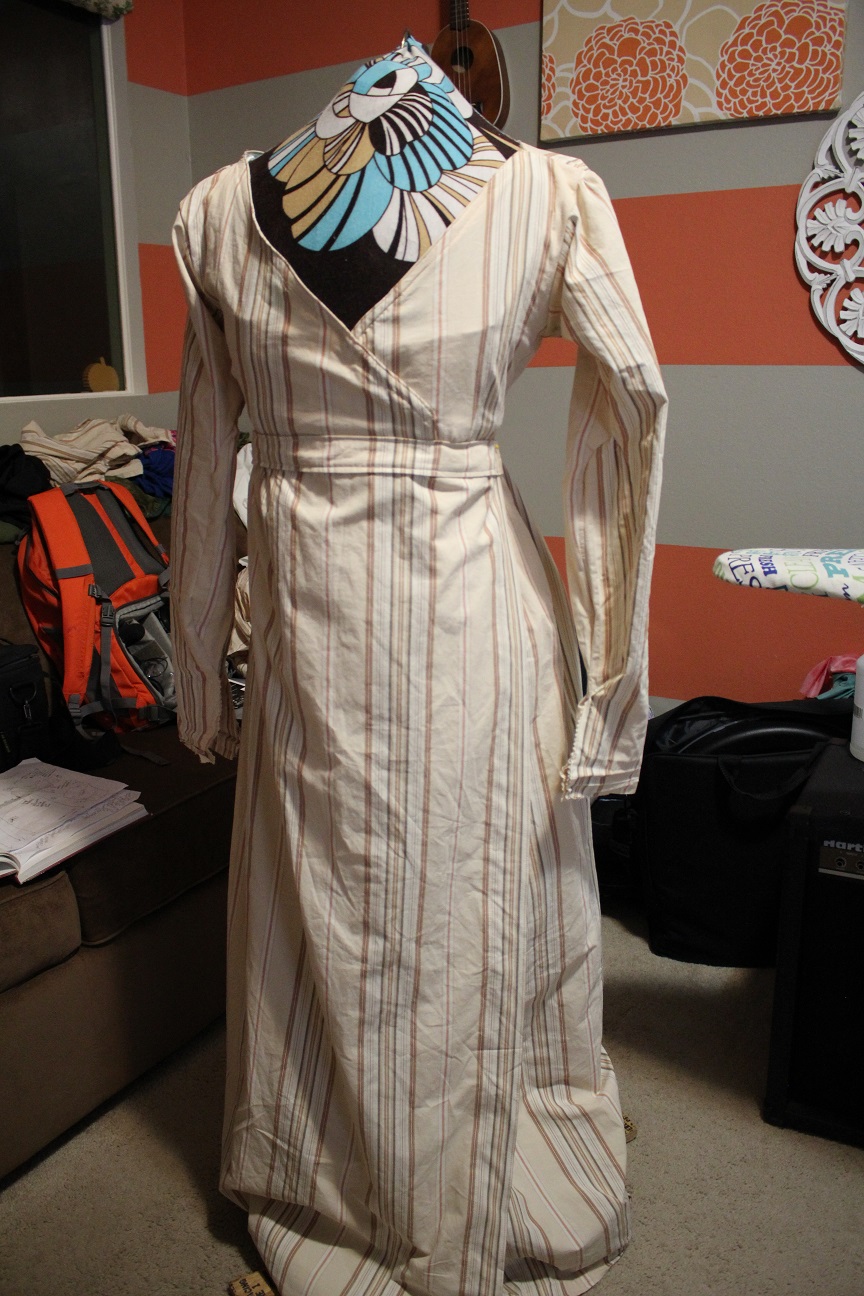
Here it is on the body double.
So, I don't have too much to say about last steps. This has been a really cool undertaking and I'm more than happy I took it on. Without further adieu, here is a janky photoshoot I did myself today.
This weekend, I've convinced Matt to do a proper photoshoot with me. Hopefully it won't be sweltering. So proud of this beauty! Excited to wear it for our annual costume party this Saturday. And,
hopefully, find some more excuses to wear it elsewhere.
Here it is on the body double.

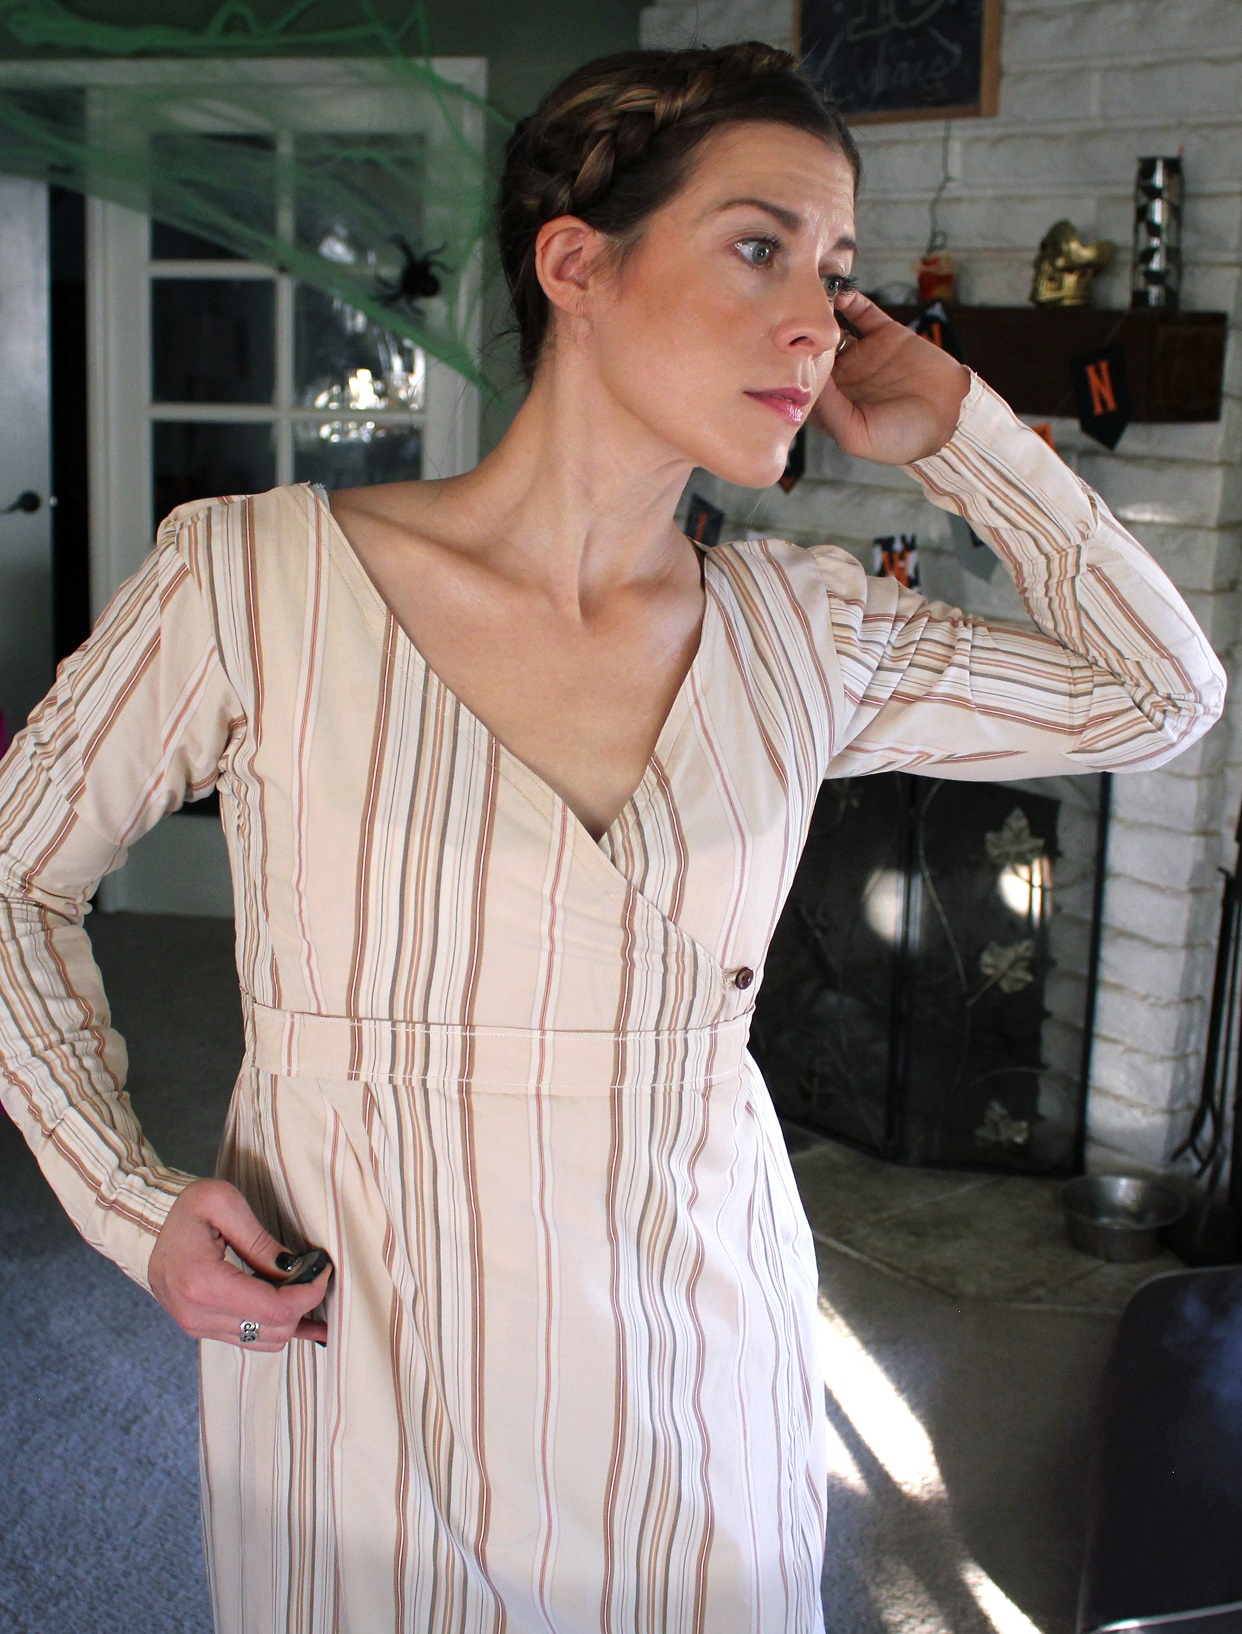
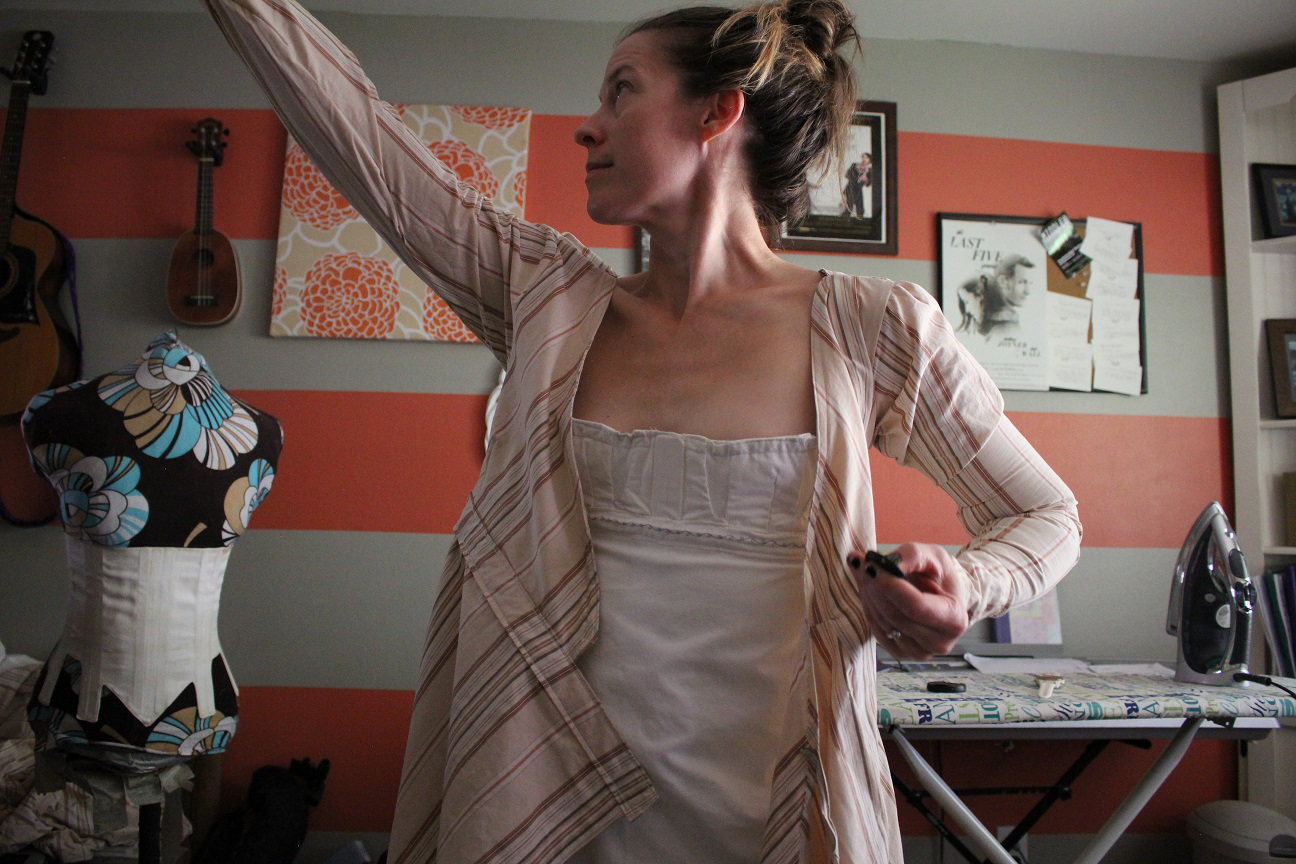
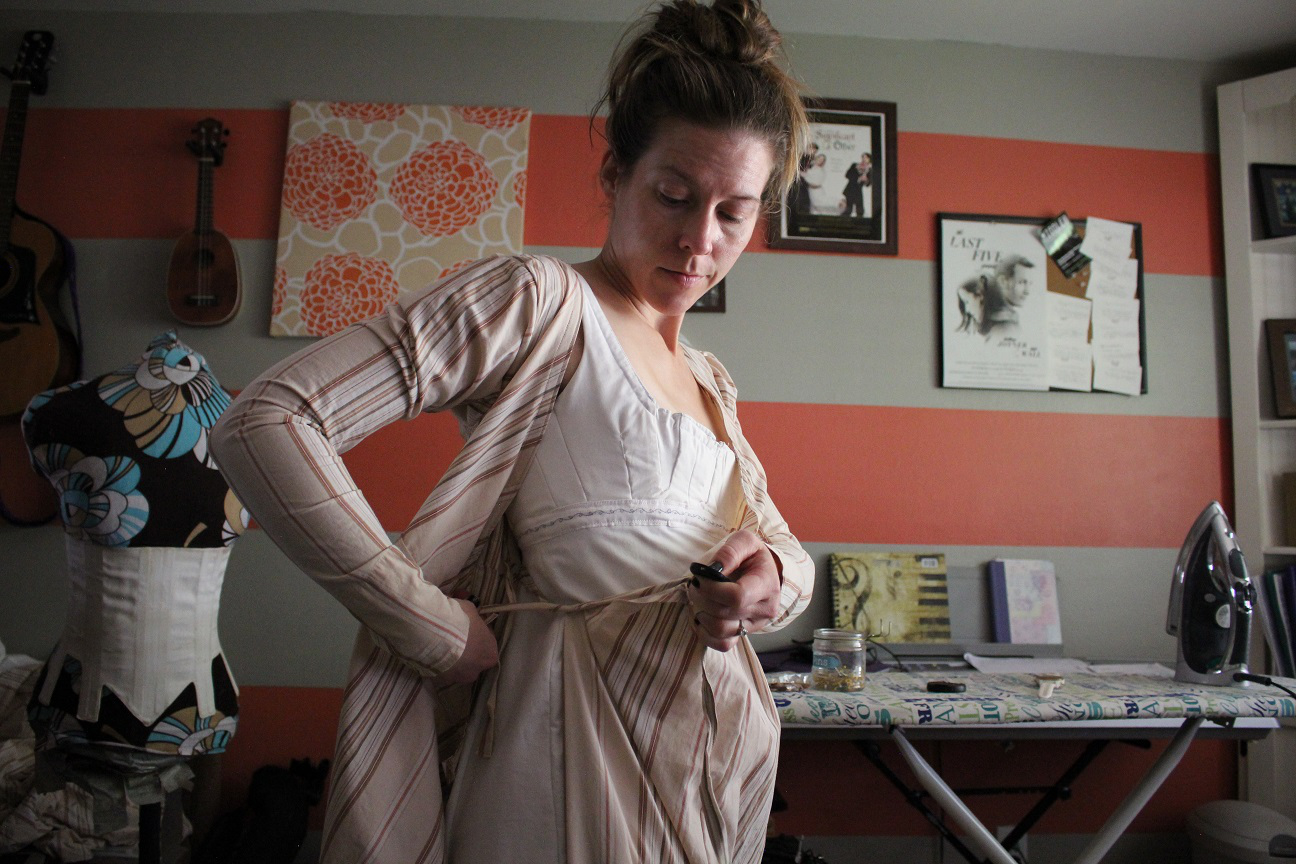
 And, my awkward photoshoot.


 Here's the comparison:

Tues22
We're nearing the finish line here. Today is the day of final fittings and trim. Admittedly, I'm spending a lot of time on this, yet not making fast progress, because I think I don't want this
project to end. I always get that way with projects. I kind of savor the last few bits and draw it out. This has been a really interesting, fun project and I learned a HUGE amount about historical dress.
I've watched far too many historical costuming vlogs while mindlessly handsewing and I think my office is very ready to kick my craft hoard out.
Today, I began with final touches. The sleeves turned out decently from the night before, and I toyed with the idea of putting trim on them- lacing, buttons, cuffs, etc. I looked up extant examples to see
what precedent was set, and it seemed like there weren't that many with sleeve detail. I held up a few things to the sleeve and decided against it. This is a somewhat plain, sturdy day dress, and it doesn't
need all the frills and excitement of a ball gown. Plus, the back is where the detail will shine. So, instead I began sewing up little parts where the fabric was worn, because if you'll remember, this was an old
sheet I got at Goodwill.
 I knew I needed some buttons for my front wrap, so after hitting the gym, I stopped at JoAnn's and got an assorted pack of brown buttons.
After debating the wrist closures some more, I decided to add a small panel to the cuff and leave them plainly sewed up, with no closures. This looked nice. I continued on through the afternoon fixing pieces here and
there and reinforcing seams and fitting portions with darts and hems. Mid afternoon, it was time for a tea break. I might have gone overboard with an entire pot. What are you gonna do?
I knew I needed some buttons for my front wrap, so after hitting the gym, I stopped at JoAnn's and got an assorted pack of brown buttons.
After debating the wrist closures some more, I decided to add a small panel to the cuff and leave them plainly sewed up, with no closures. This looked nice. I continued on through the afternoon fixing pieces here and
there and reinforcing seams and fitting portions with darts and hems. Mid afternoon, it was time for a tea break. I might have gone overboard with an entire pot. What are you gonna do?
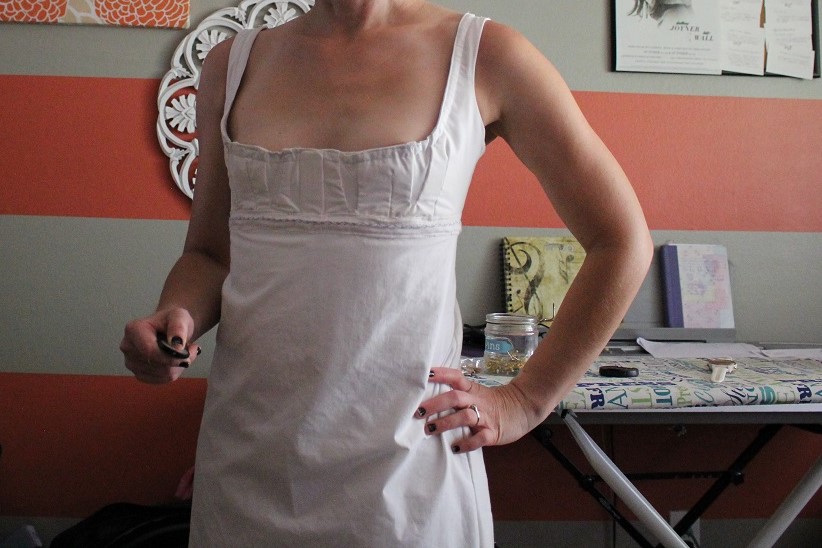
 Then it was time for the final fitting. I put on my lovely bodiced petticoat- I really love this undergarment! It's comfortable too!
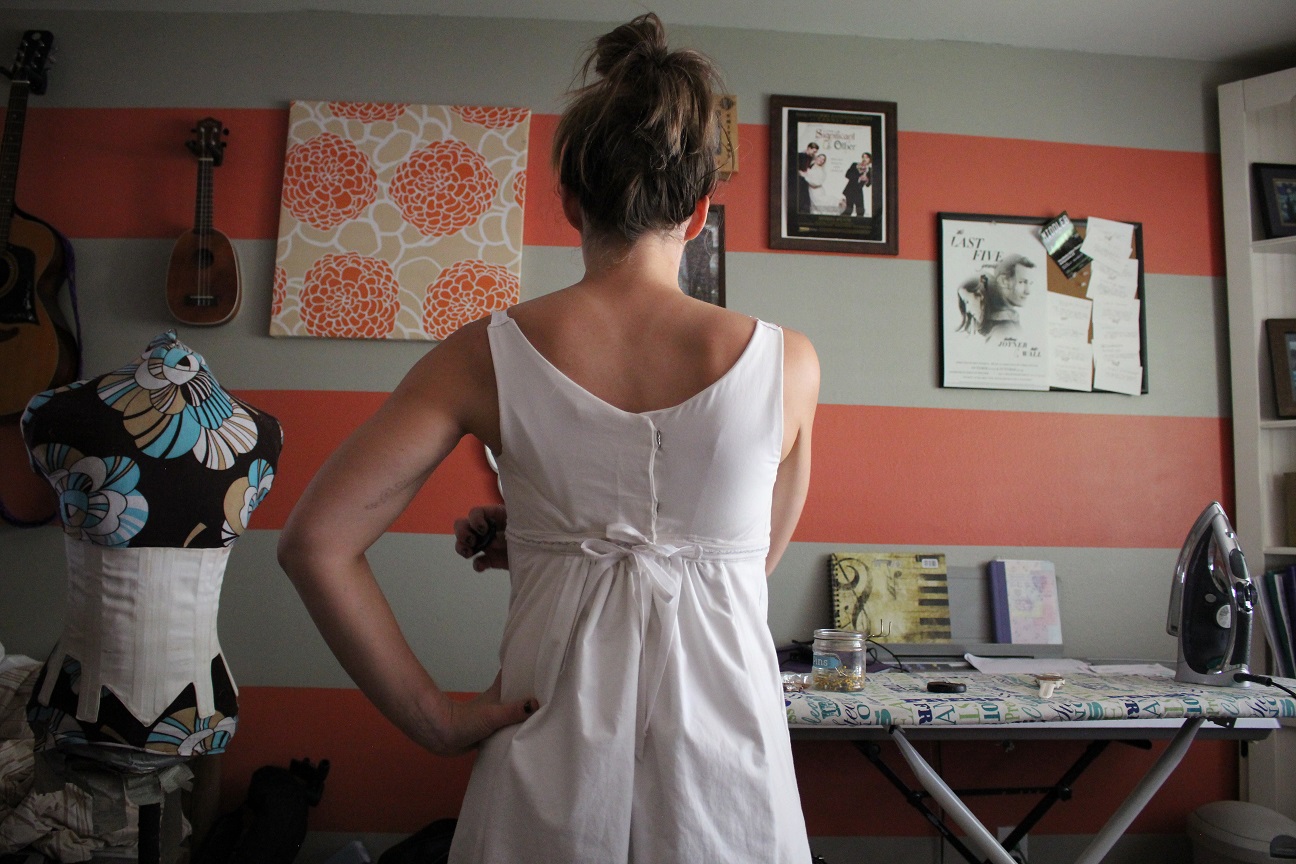
 And another beauty shot of that back with the gathering. ME-OW!
 Putting on the dress.

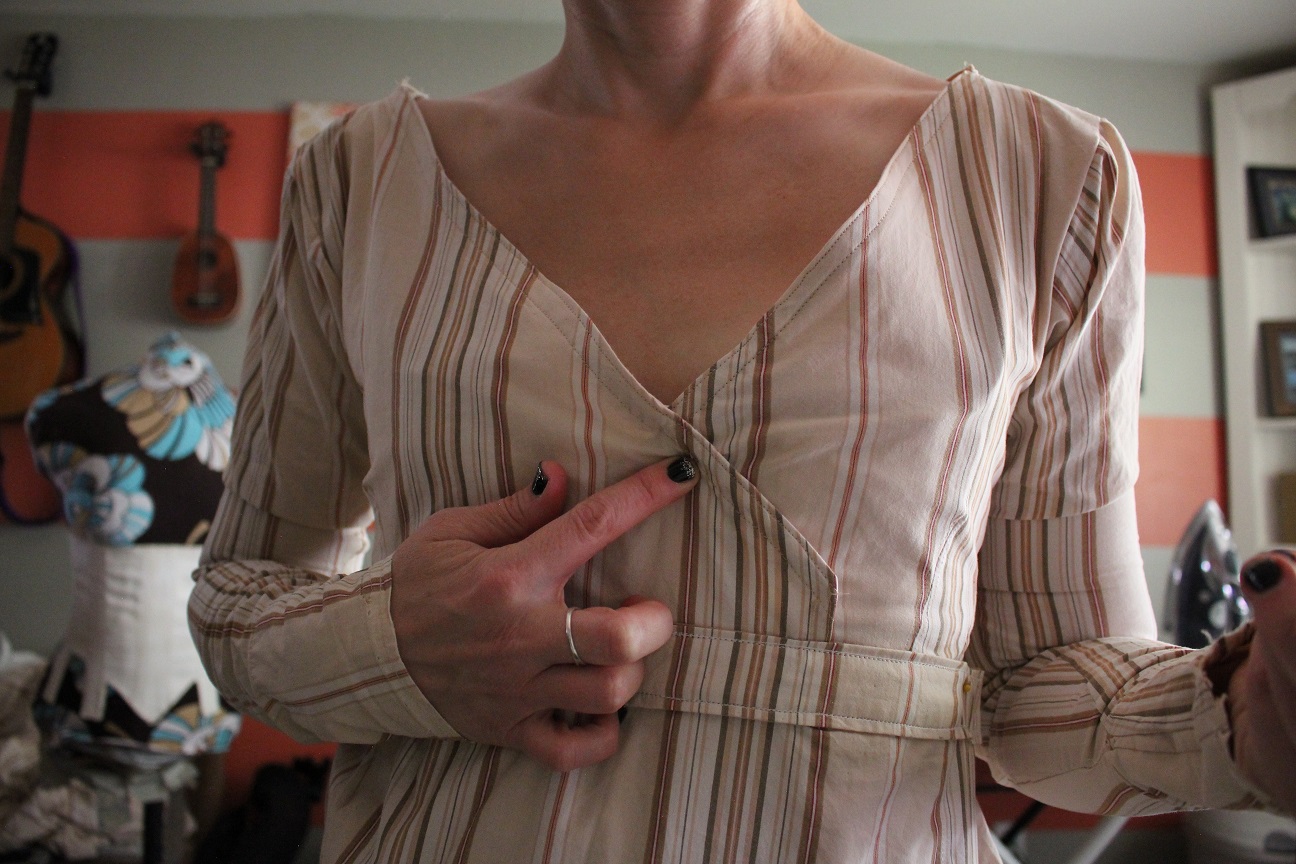
 Things were fitting better but would still need a few tweaks. Like a snap closure here to keep the wrap at the right place on the chest.
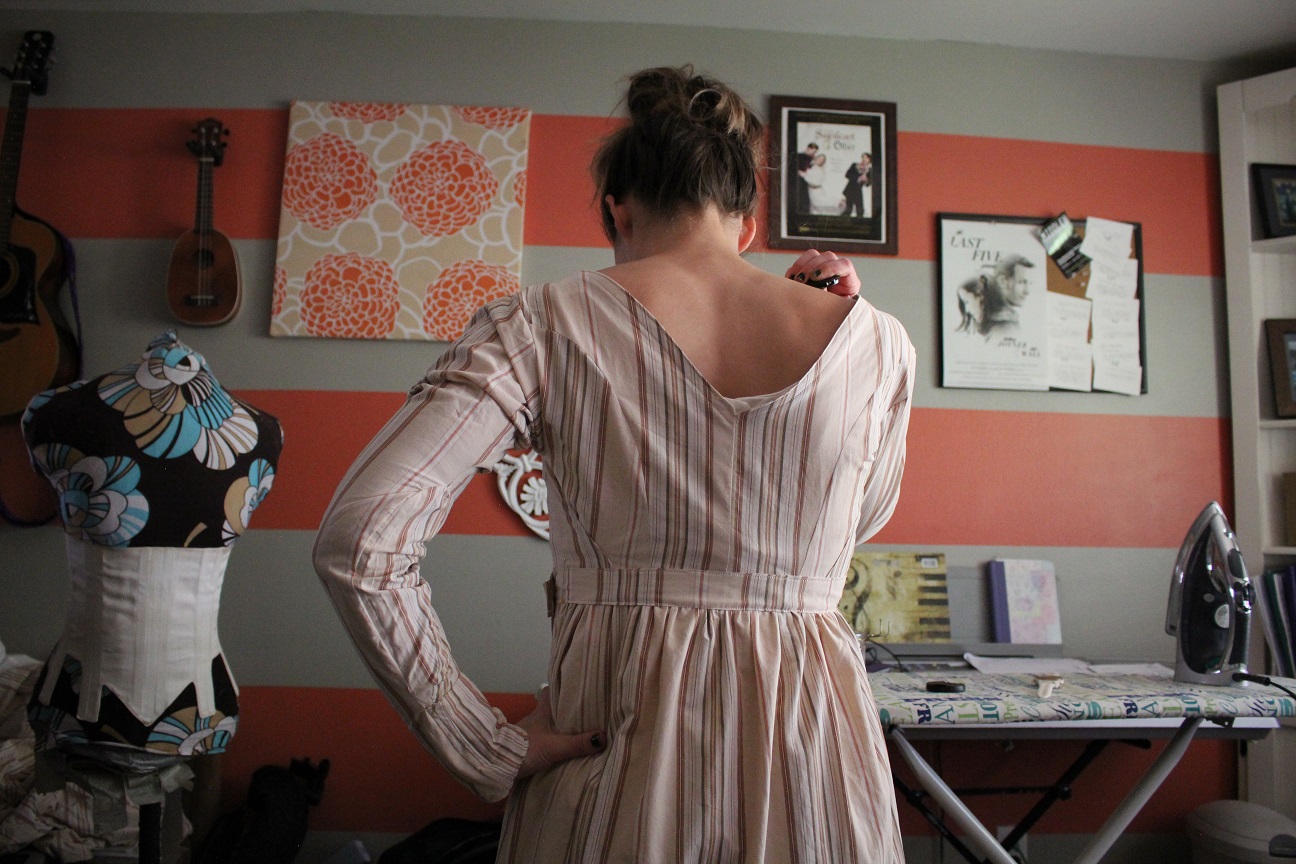
 And perhaps taking in more of the shoulder or back to get this gap out.
 Zalls in all, it was fitting quite well.

 Now, onto the trim. This part is fun, but fussier than I expected. I started with the buttons and the Rouleau loops to wrap around them. This looked nice. I stopped cursing how hard it was to make them.
But that was mostly because I now have a loop turner hanging on my craft peg board so I will NEVER have to do that again. Worth it?
Now, onto the trim. This part is fun, but fussier than I expected. I started with the buttons and the Rouleau loops to wrap around them. This looked nice. I stopped cursing how hard it was to make them.
But that was mostly because I now have a loop turner hanging on my craft peg board so I will NEVER have to do that again. Worth it?

 Then, to add that painted baby rick rack.
 Once that was sewed into place, I did FINAL FINAL fittings with my husband here so he could pin it on me accurately. This was for the gap on the front, one in the back, and the bottom hem. Thank you
Matt! After a quick break for dinner, I went back to it and sewed in the front snap for the wrap closure, and debated the bottom hem for a bit. In the original, there is this cool diagonal line piece
going around. I couldn't make my fabric do that.
Once that was sewed into place, I did FINAL FINAL fittings with my husband here so he could pin it on me accurately. This was for the gap on the front, one in the back, and the bottom hem. Thank you
Matt! After a quick break for dinner, I went back to it and sewed in the front snap for the wrap closure, and debated the bottom hem for a bit. In the original, there is this cool diagonal line piece
going around. I couldn't make my fabric do that.
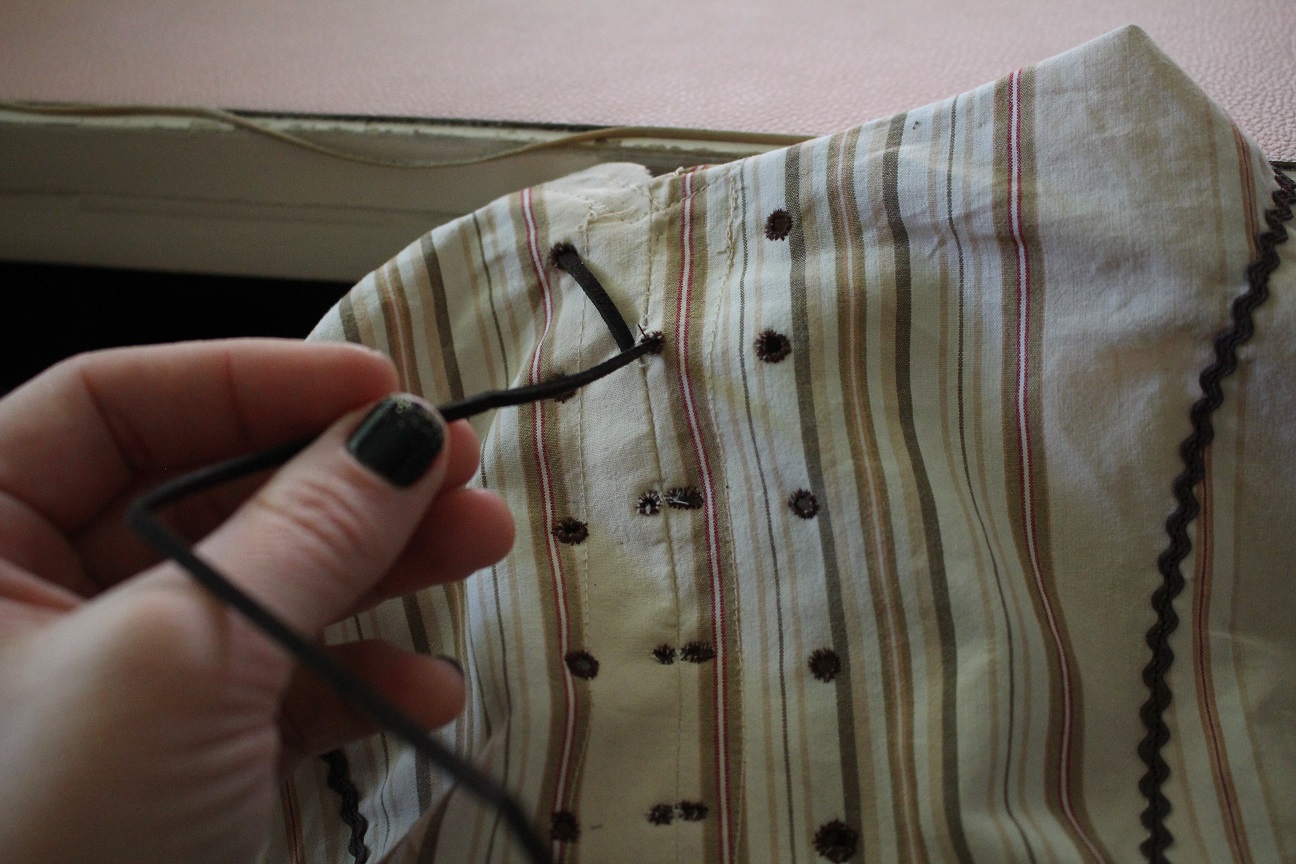
 So, I just hemmed it normally. Then it was onto the lacing. In the photo it looks as though it's just decorative, not functional, so I intended to do the same.
 I bought this suede lacing at Joann's over the weekend I thought would look nice. It was in the jewelry making section. I plotted out how I would place it and it occured to me that there was no way
I would be able to just pull it through with a large needle. I would have to make holes in my lovely back. So I carefully measured and marked where they would be, mocking it up the whole time with the
lacing to make sure it looked right to me.
I bought this suede lacing at Joann's over the weekend I thought would look nice. It was in the jewelry making section. I plotted out how I would place it and it occured to me that there was no way
I would be able to just pull it through with a large needle. I would have to make holes in my lovely back. So I carefully measured and marked where they would be, mocking it up the whole time with the
lacing to make sure it looked right to me.
 Then I gulped and made holes with my scissors into the fabric. I knew the holes would need to be reinforced with thread, so I began the arduous task of doing so...to TWENTY HOLES. In the meantime,
Matt had long since gone to bed and I was in the living room, hunched over a hoop sewing while watching some period shows (Gentleman Jack-meh, and Vanity Fair- I'll give it a go.)
Around 1 am, the holes were finished as was I. Actual lacing would have to wait until morning.
Then I gulped and made holes with my scissors into the fabric. I knew the holes would need to be reinforced with thread, so I began the arduous task of doing so...to TWENTY HOLES. In the meantime,
Matt had long since gone to bed and I was in the living room, hunched over a hoop sewing while watching some period shows (Gentleman Jack-meh, and Vanity Fair- I'll give it a go.)
Around 1 am, the holes were finished as was I. Actual lacing would have to wait until morning.


Mon21
After my late night, I woke up a bit late and launched right into it. We're T-minus 6 days so I've got no time to waste! I began with ignoring the stupid wrap front that won't do what I want so that I wouldn't
be tempted to punt my body double across the room. Then, I began trying to problem solve how I would secure the under wrap to sit nicely underneath the top layer. Eventually, I decided on the same system
I created for the petticoat. A series of drawstrings. I found an extant gown that had something similar so I think I'm in good company here.

 I made the drawstrings out of scrap material from the dress and secured them where they needed to attach.
Now, onto another pressing task that won't get any easier if I wait. The sleeves.
Oh, sleeves. Anyone who sews knows that sleeves are like drawers for woodworkers. They're HARD! There's minimal room for error and they take a lot of fitting and futzing. I don't like fussy steps, but
here we are.
I made the drawstrings out of scrap material from the dress and secured them where they needed to attach.
Now, onto another pressing task that won't get any easier if I wait. The sleeves.
Oh, sleeves. Anyone who sews knows that sleeves are like drawers for woodworkers. They're HARD! There's minimal room for error and they take a lot of fitting and futzing. I don't like fussy steps, but
here we are.
 They were already cut out and pinned from before, so I just needed to mess with them to get them ready to sew up. For reasons unknown to me, I cut the top a little weird, so that ended up being fixed as well
as a few spots here and there that needed taking in. I don't have Keira Knightley's bird arms, so fitting sleeves is always a rather difficult task for me. No delicate features here. Just large forearms
and muscle-y biceps. They turned out pretty good after quite a few adjustments. Then it was on to the gather up top.
They were already cut out and pinned from before, so I just needed to mess with them to get them ready to sew up. For reasons unknown to me, I cut the top a little weird, so that ended up being fixed as well
as a few spots here and there that needed taking in. I don't have Keira Knightley's bird arms, so fitting sleeves is always a rather difficult task for me. No delicate features here. Just large forearms
and muscle-y biceps. They turned out pretty good after quite a few adjustments. Then it was on to the gather up top.
 Once that was done, I sewed the sleeves onto the armholes. Looking good, McCoy!
 Tomorrow, it's onto final fitting adjustments- taking in here and there, fixing the wonky wrap front, figuring out closures for the wrist/cuff, and sewing in buttons for the waistband to fasten to.
It's almost done!!!
Tomorrow, it's onto final fitting adjustments- taking in here and there, fixing the wonky wrap front, figuring out closures for the wrist/cuff, and sewing in buttons for the waistband to fasten to.
It's almost done!!!
Sun20
Woof. I'm running into some difficulties. I was noticing as I was finishing up edges and fitting the dress that the wrap front (where the V meets at the chest) was ending too low and showing the petticoat.
I don't know why it's doing that now when it wasn't doing that in the beginning. I tried many things. First, I tried letting out one of those nice darts I put in to make it fit the chest better. Helped only a
micro bit. Then I looked closer at the picture and it looked like they maybe used elastic at the wrap? There's a bit of scrunch at parts which leads me to believe that it was something like elastic.
So, I spent a bunch of time sewing in some elastic where it looked like they did on the original.
 That maybe helped? But then it made the wrap look weird. It also didn't seem to spring back with the elastic. Sigh.

 I went ahead and moved on to the next task because I was getting frustrated. This only brought more difficulty. Apparently no one on earth sells small amounts of brown baby rick rack for my trim.
NO ONE. Not online, not at the fabric store, NOBODY. I got a different piece of trim at JoAnn's and hoped that I could source the rick rack elsewhere. I couldn't. So the next day, I went back to JoAnn's and
bought white baby rick rack. And a bottle of brown fabric paint. When a door gets closed....
I went ahead and moved on to the next task because I was getting frustrated. This only brought more difficulty. Apparently no one on earth sells small amounts of brown baby rick rack for my trim.
NO ONE. Not online, not at the fabric store, NOBODY. I got a different piece of trim at JoAnn's and hoped that I could source the rick rack elsewhere. I couldn't. So the next day, I went back to JoAnn's and
bought white baby rick rack. And a bottle of brown fabric paint. When a door gets closed....
 More fittings and fussings and the rest of the dress is looking better, but that wrap front is still bugging me.
 I went ahead and sewed in the waistband.
 I stayed up until midnight sewing and then had a heart to heart with myself as I laid in bed. Why am I getting worked up on it not being exactly like the original? This is a Halloween costume, for
crying out loud. Perspective, Brittany. I can make it however I want. And tomorrow is another day. Actually, tomorrow was right then because at that point it was 1:30am. But I digress...
I stayed up until midnight sewing and then had a heart to heart with myself as I laid in bed. Why am I getting worked up on it not being exactly like the original? This is a Halloween costume, for
crying out loud. Perspective, Brittany. I can make it however I want. And tomorrow is another day. Actually, tomorrow was right then because at that point it was 1:30am. But I digress...
Wed16
I've jumped right into making the dress because the Halloween costume party is a little over a week away and I don't know how much time I'll have to devote to this. I've been prepping for
a screening of my film, Priscilla, which is TOMORROW NIGHT! Ah! And that has been occupying a lot of my thoughts.
 It's already coming right along because, if you'll remember, I already cut and pinned a bunch of pieces months ago when I thought I would make it for my comedy sketch, The Proposal.
Trying to figure out my thoughts at the time, however, are a completely different beast. I did what I could, sewing up the back pieces where it made sense.
It's already coming right along because, if you'll remember, I already cut and pinned a bunch of pieces months ago when I thought I would make it for my comedy sketch, The Proposal.
Trying to figure out my thoughts at the time, however, are a completely different beast. I did what I could, sewing up the back pieces where it made sense.
 That seemed to look right.
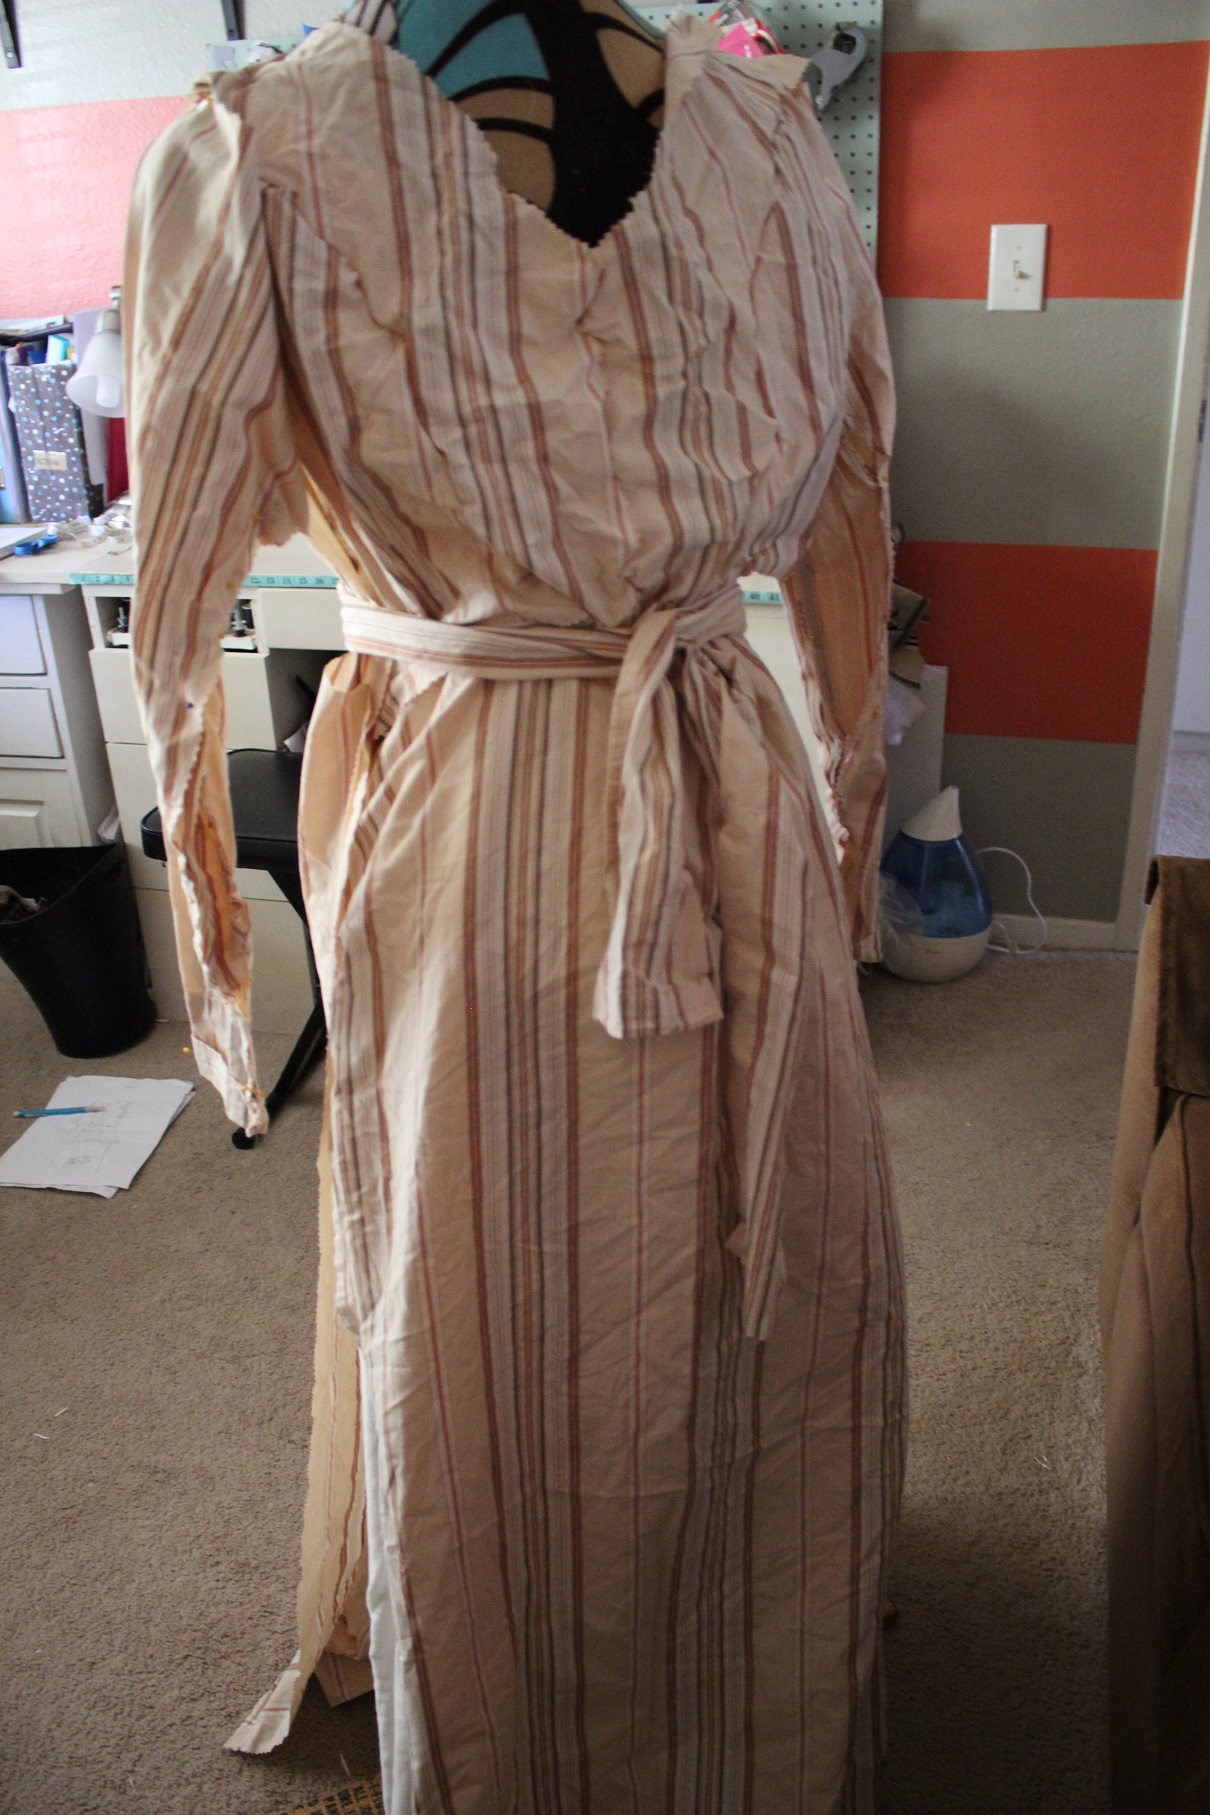
 Putting it on the dress form, it started to look coherent, but I didn't like what we were doing with the waistband. In the original, the waistband is cut so it follows the lines of the bodice.
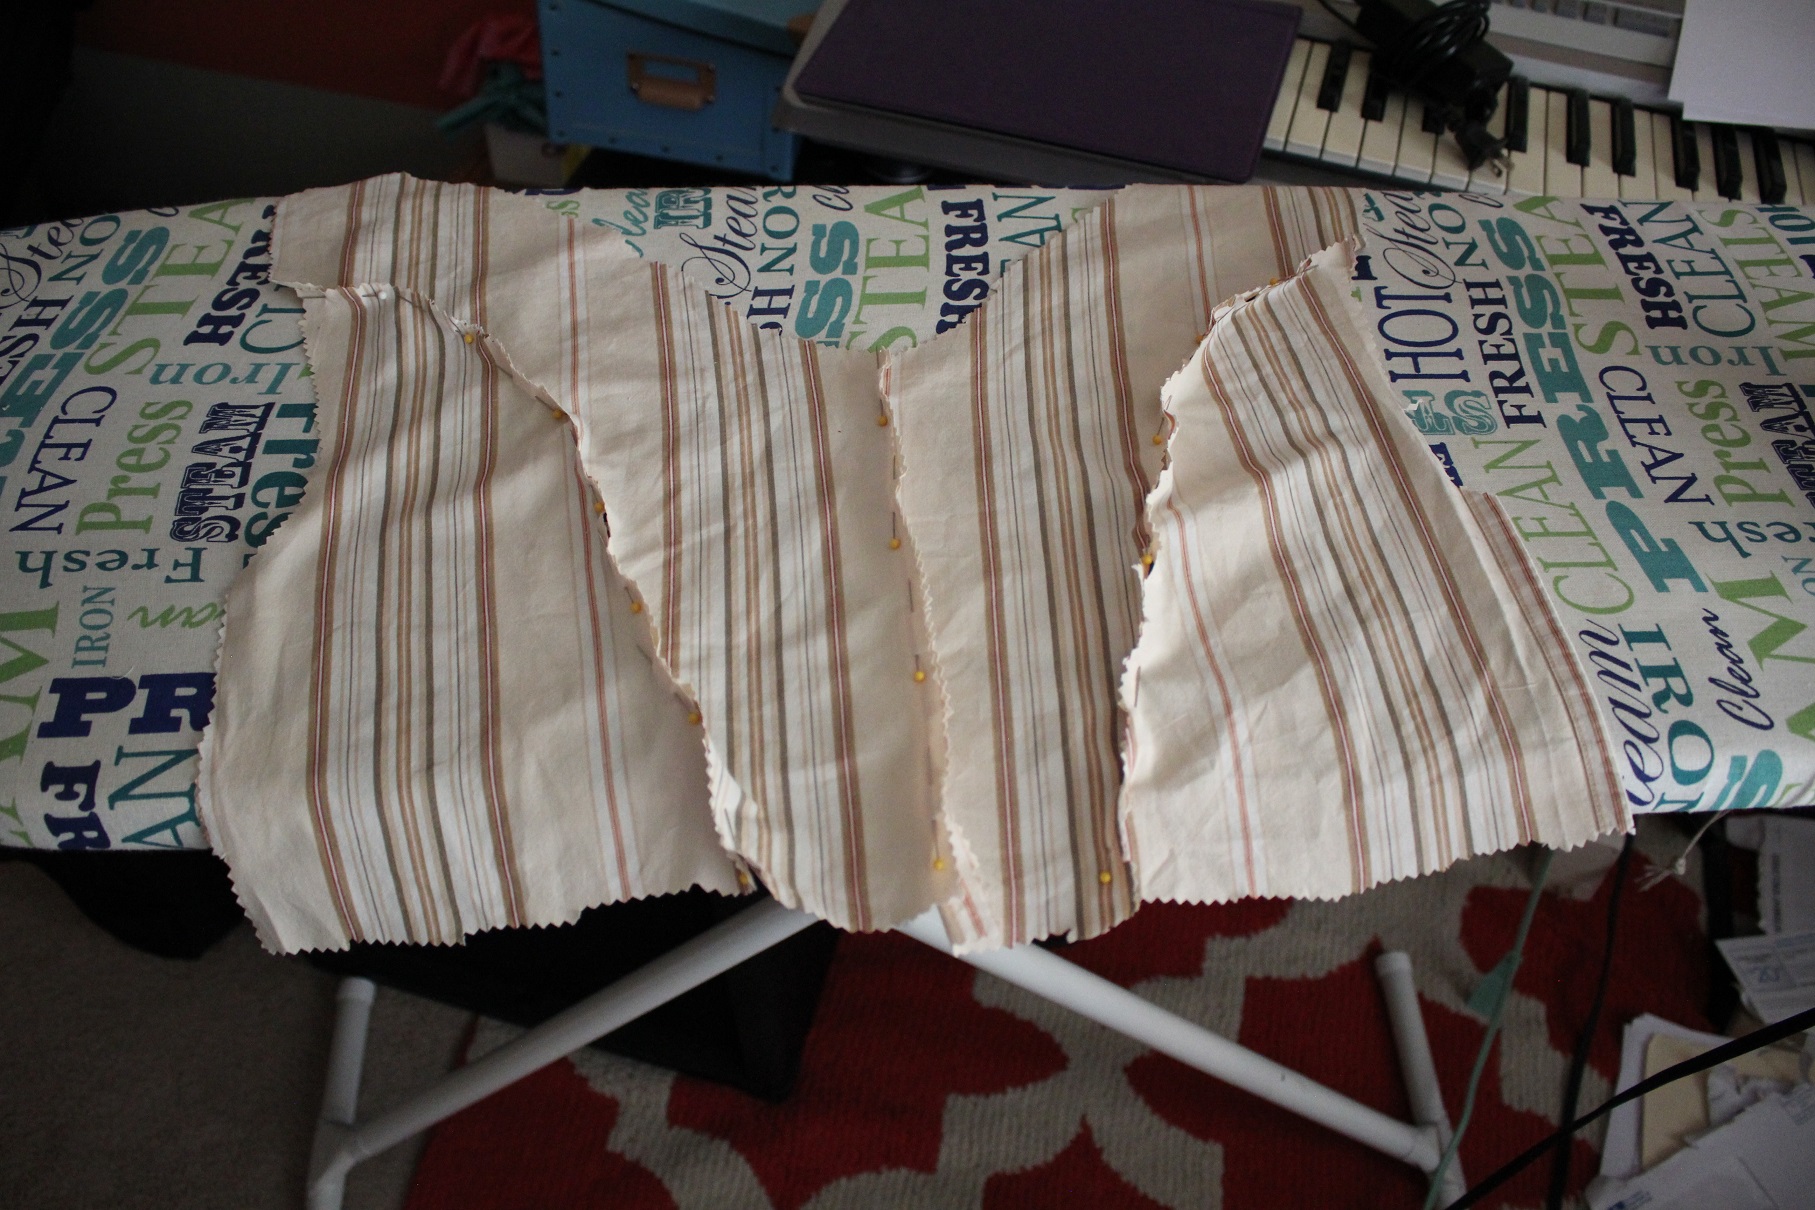
 I decided to go ahead and recut a waistband for the front and back that followed the pattern on the material.
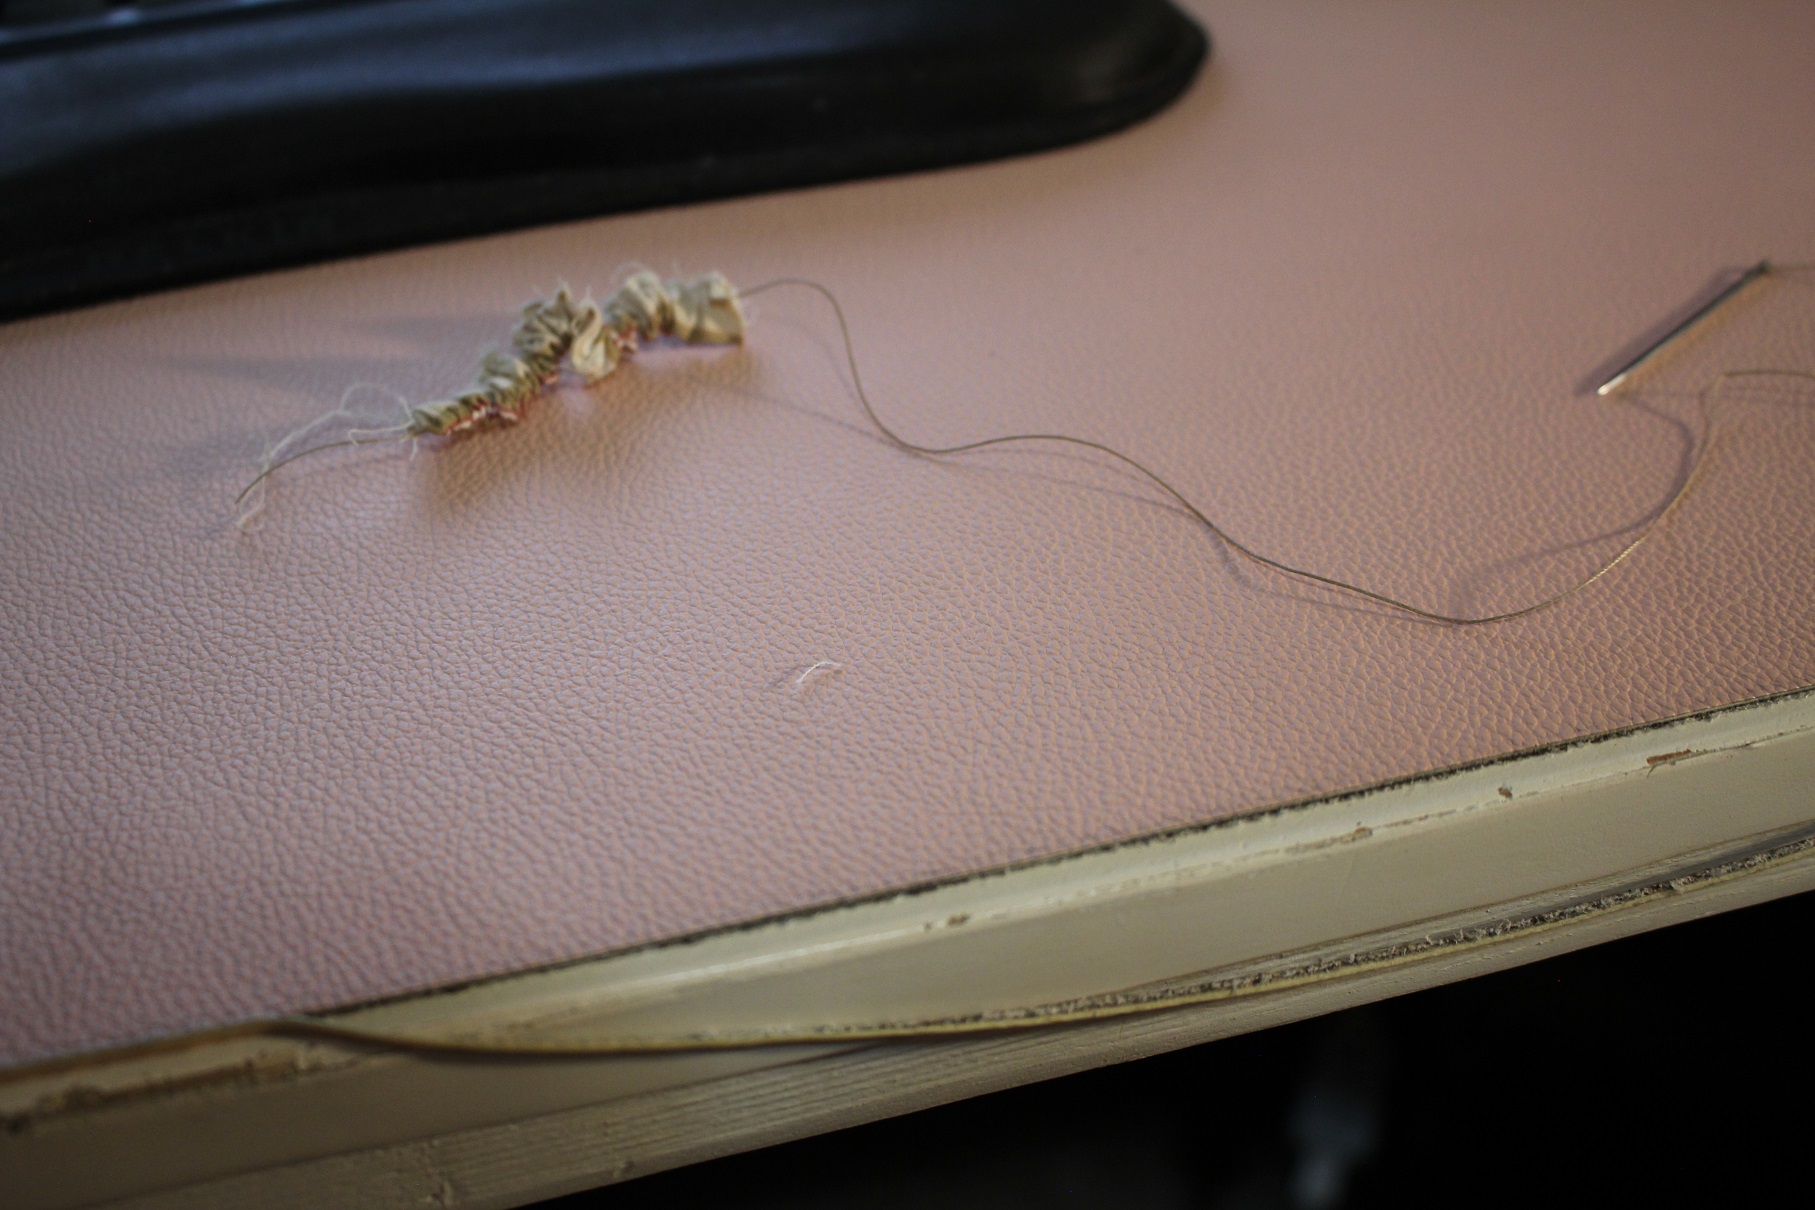
 Then I decided that it looked like they used fabric loops instead of button holes for the wrap waist, so I looked up tutorials on making Rouleau loops and began.
 I began to pull the fabric through to get it right side out and instantly regretted my decision.
 Approximately 14,000 hours and quite a few historical sewing vlogs later, I got it through. Then immediately placed a loop turner in my ebay cart. Never again.
 After watching the clip of Elizabeth's visit to Pemberley on freeze frame a billion times and zooming in on pictures, I made a few adjustments to the dress. A dart here and there, taking in fabric
where my spine is crooked, etc.
After watching the clip of Elizabeth's visit to Pemberley on freeze frame a billion times and zooming in on pictures, I made a few adjustments to the dress. A dart here and there, taking in fabric
where my spine is crooked, etc.
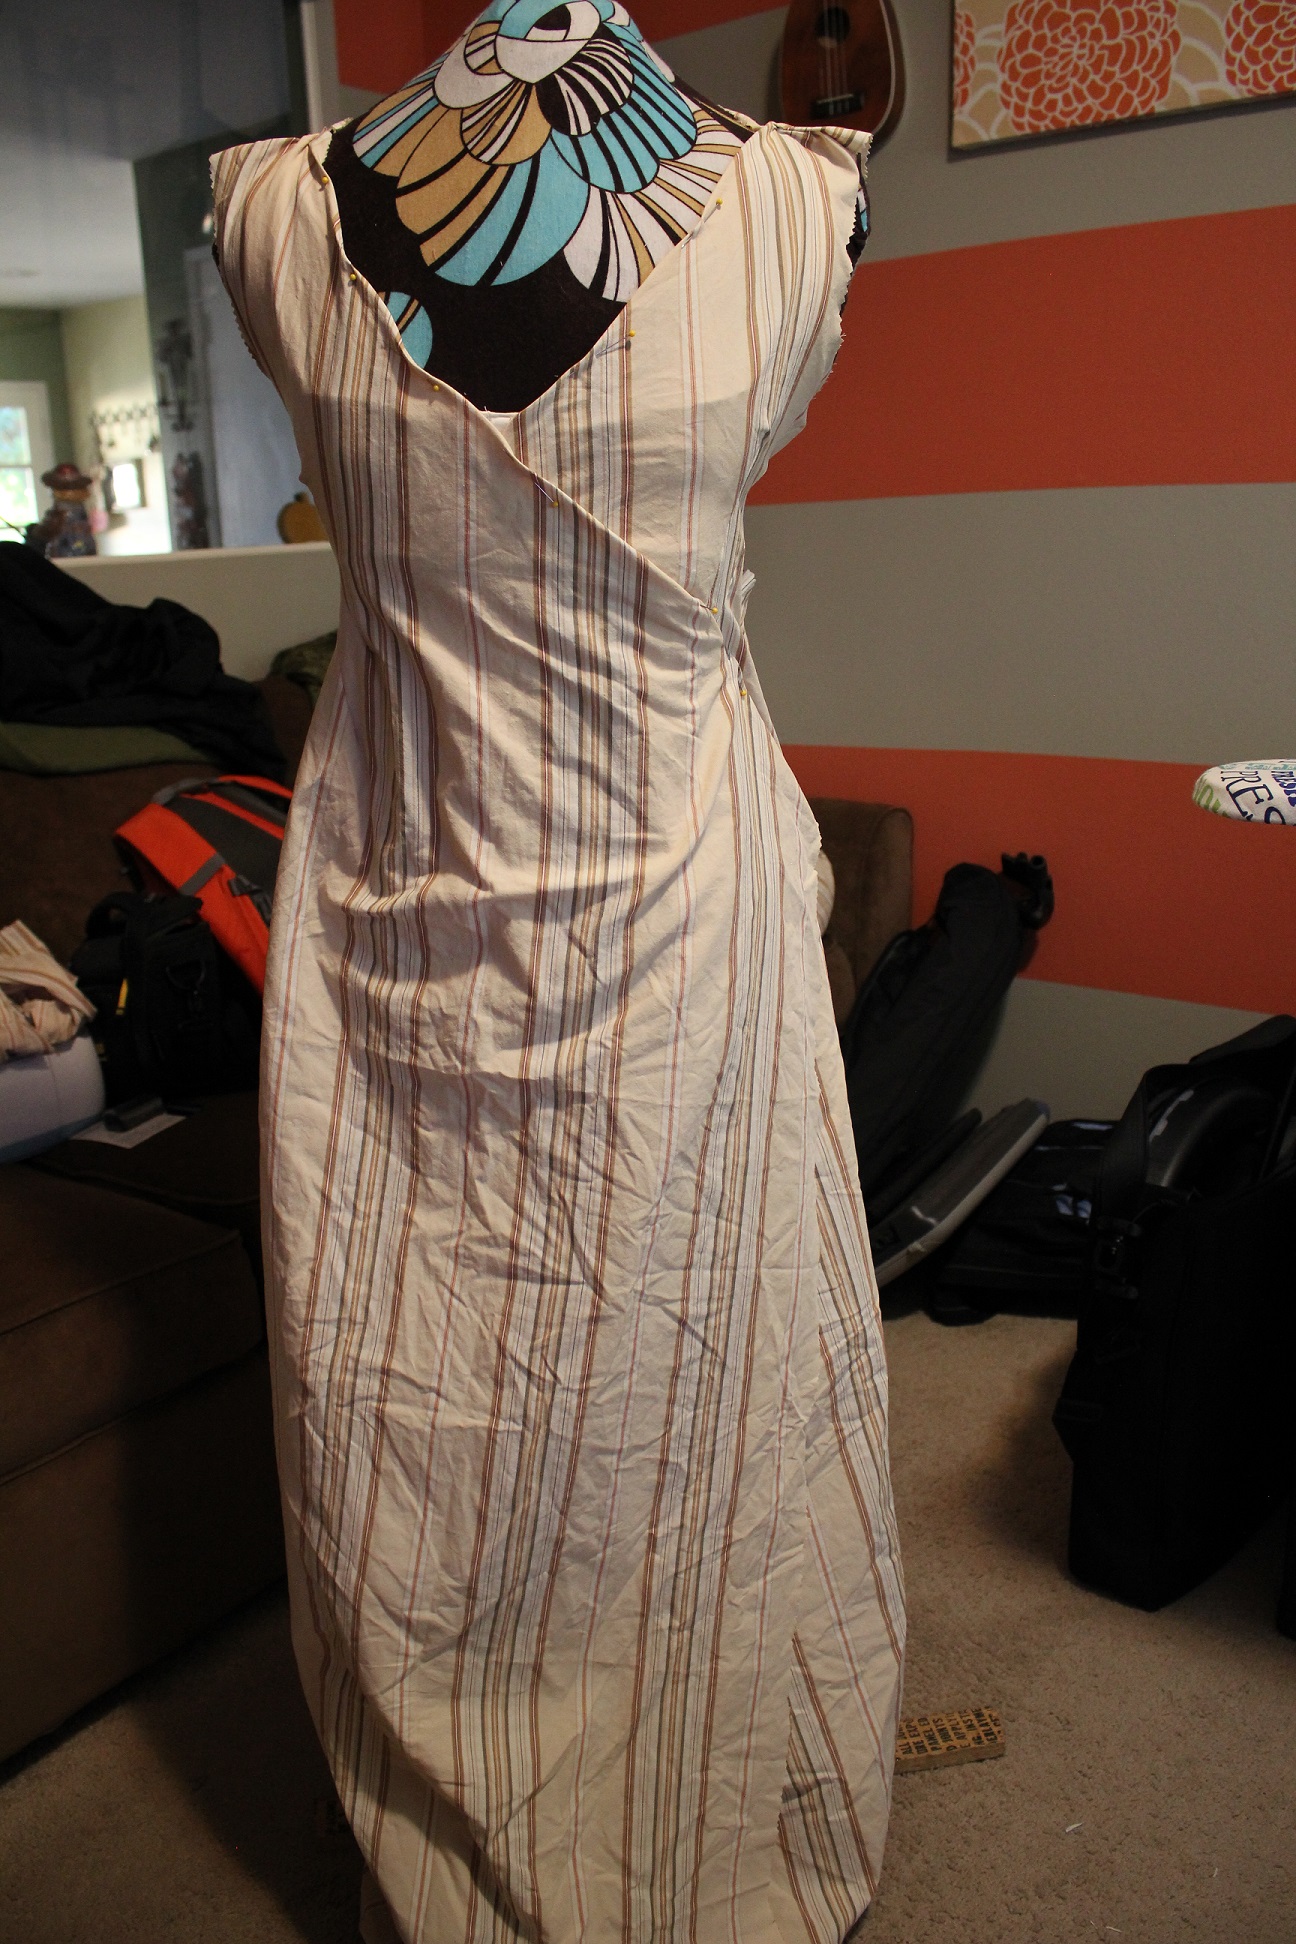
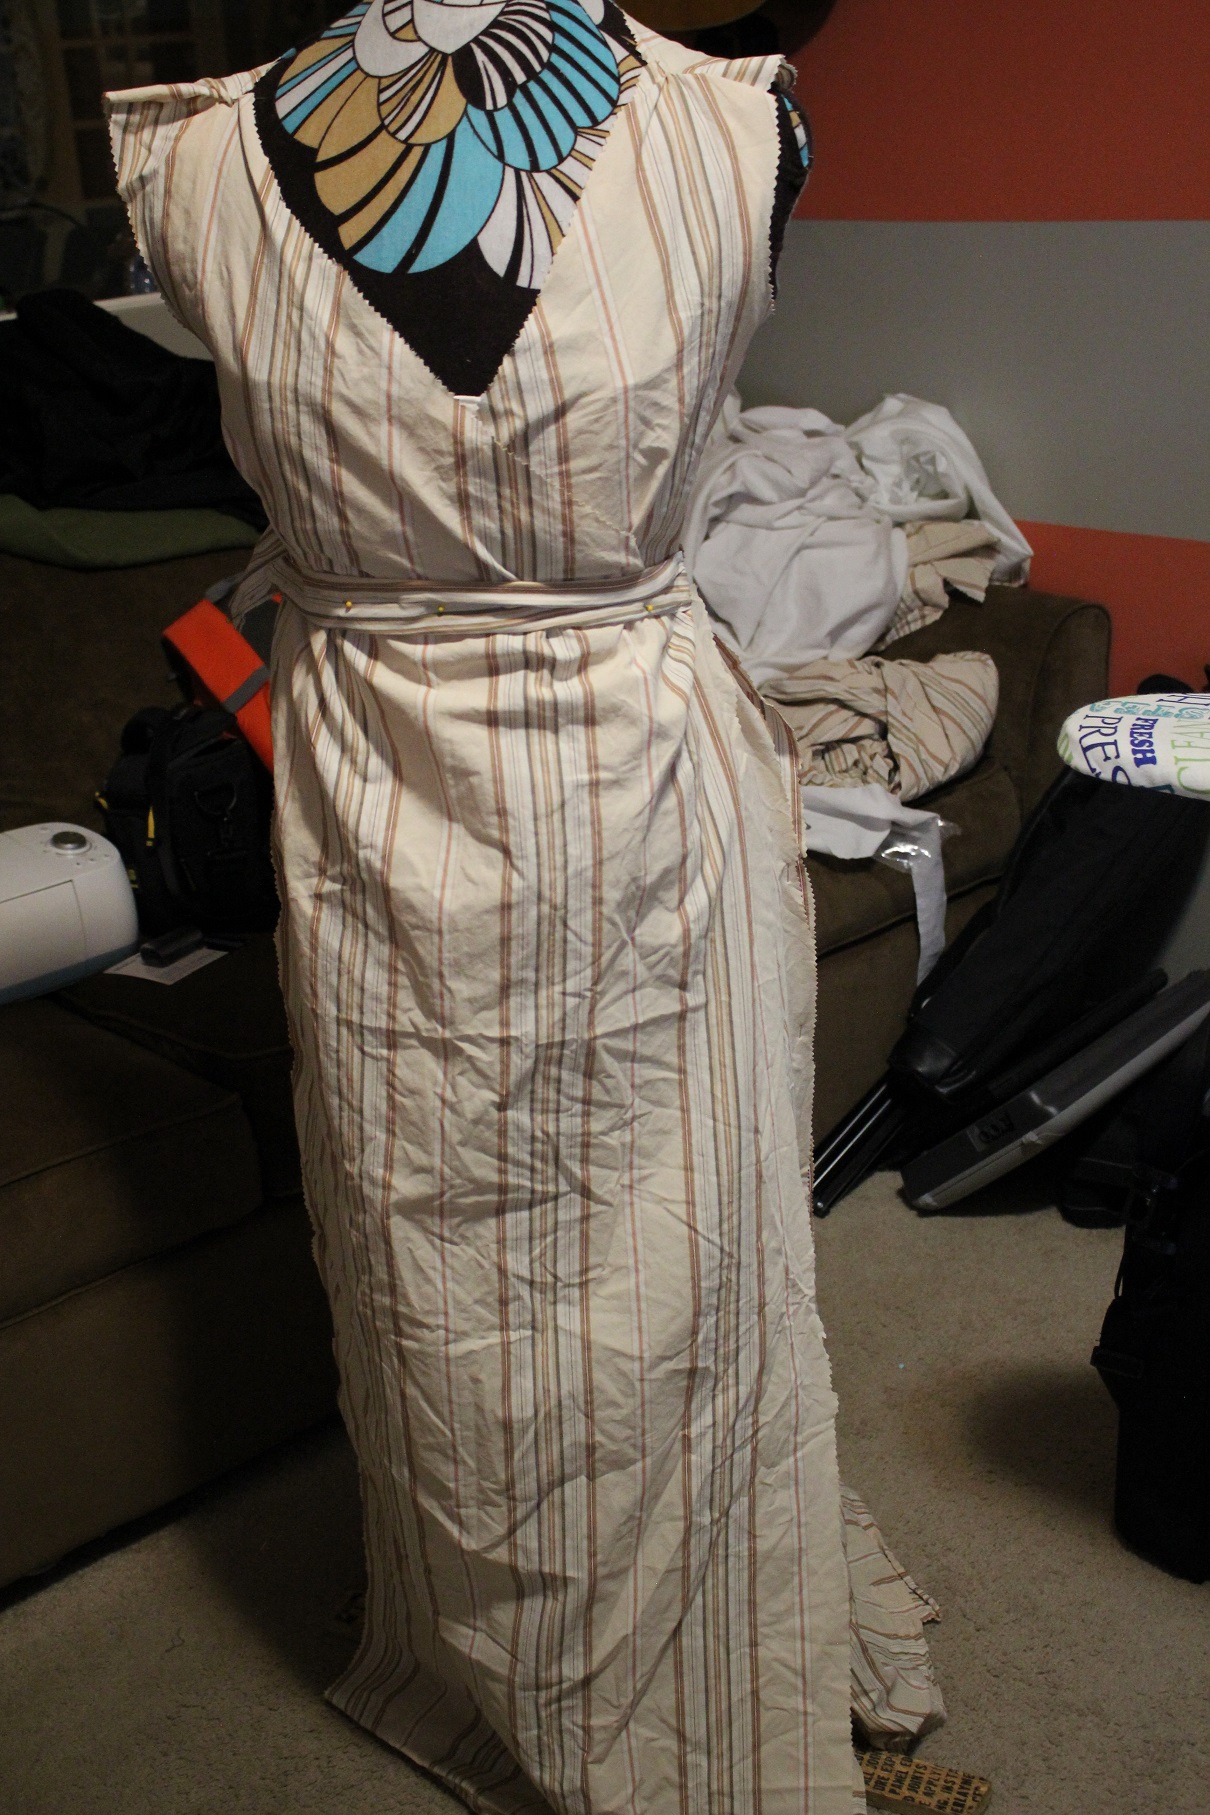
 Now, it's starting to look like a dress! That was quick!


