Mon15
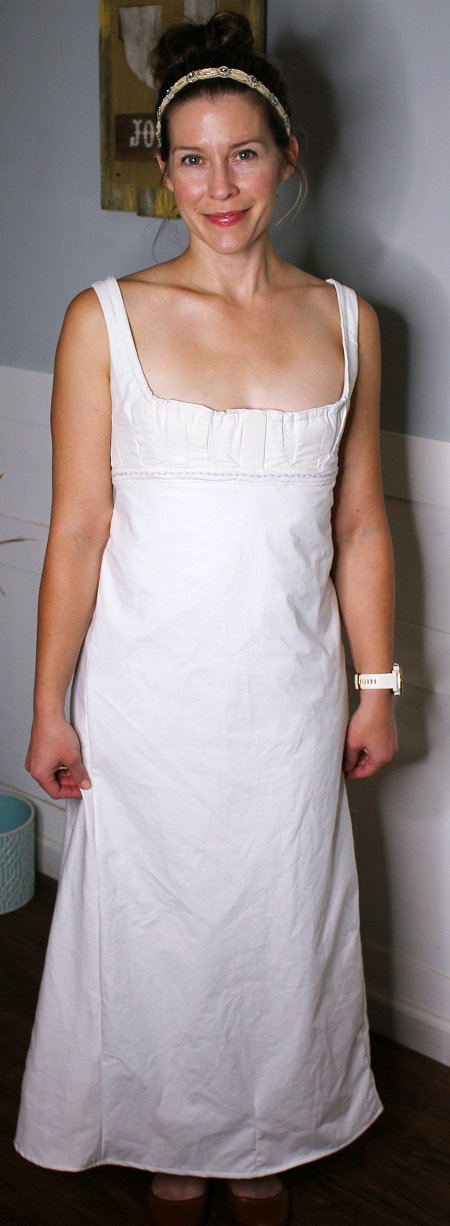
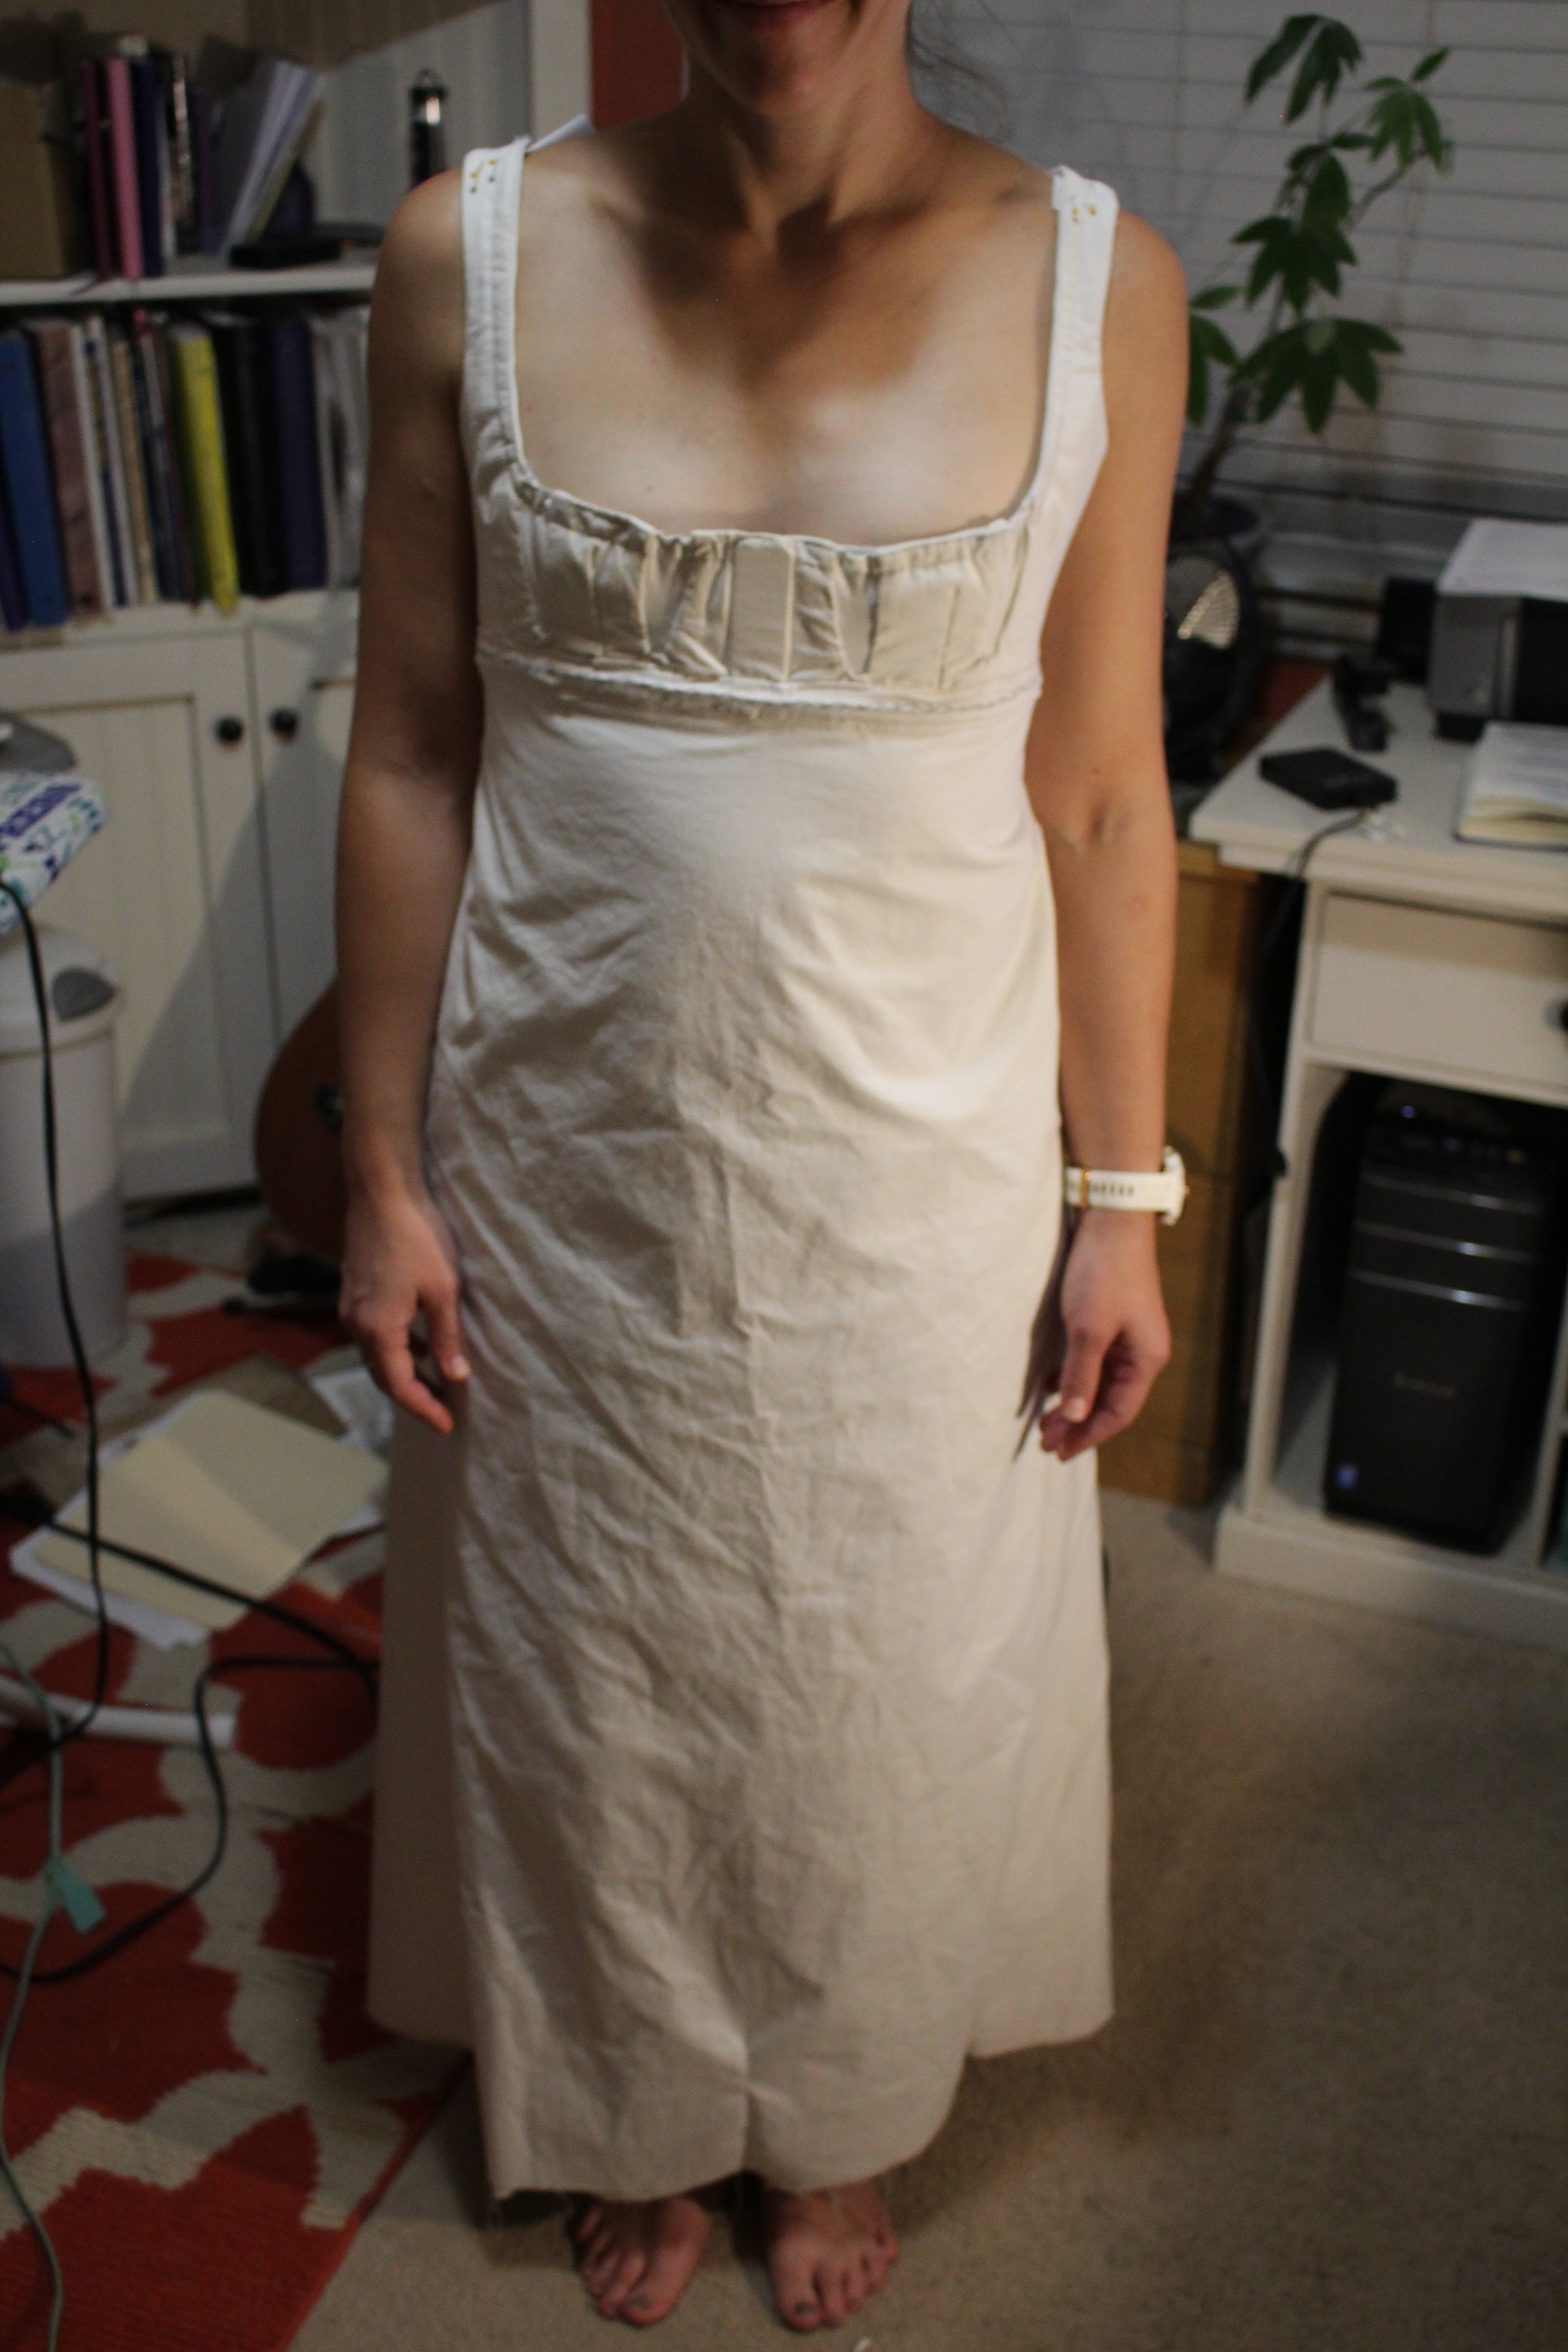
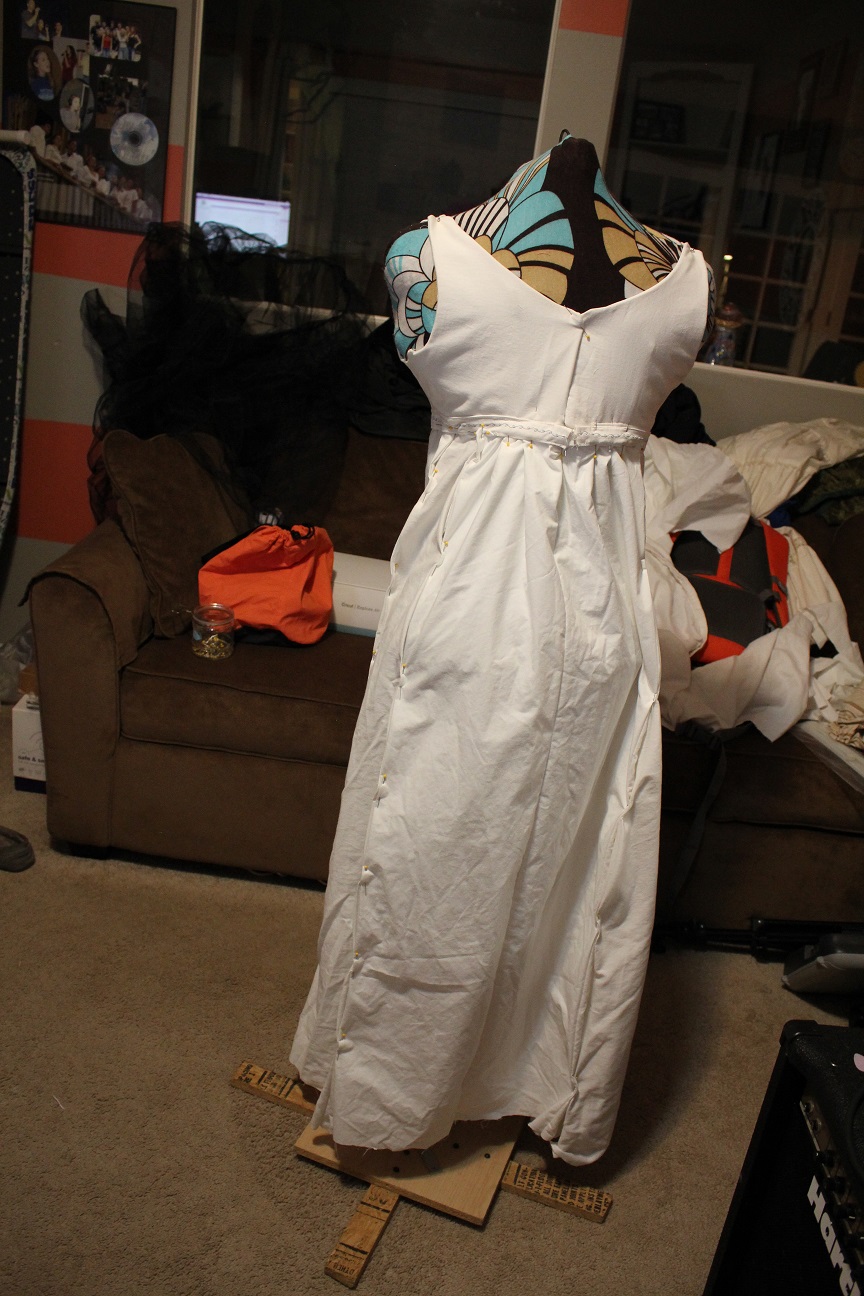
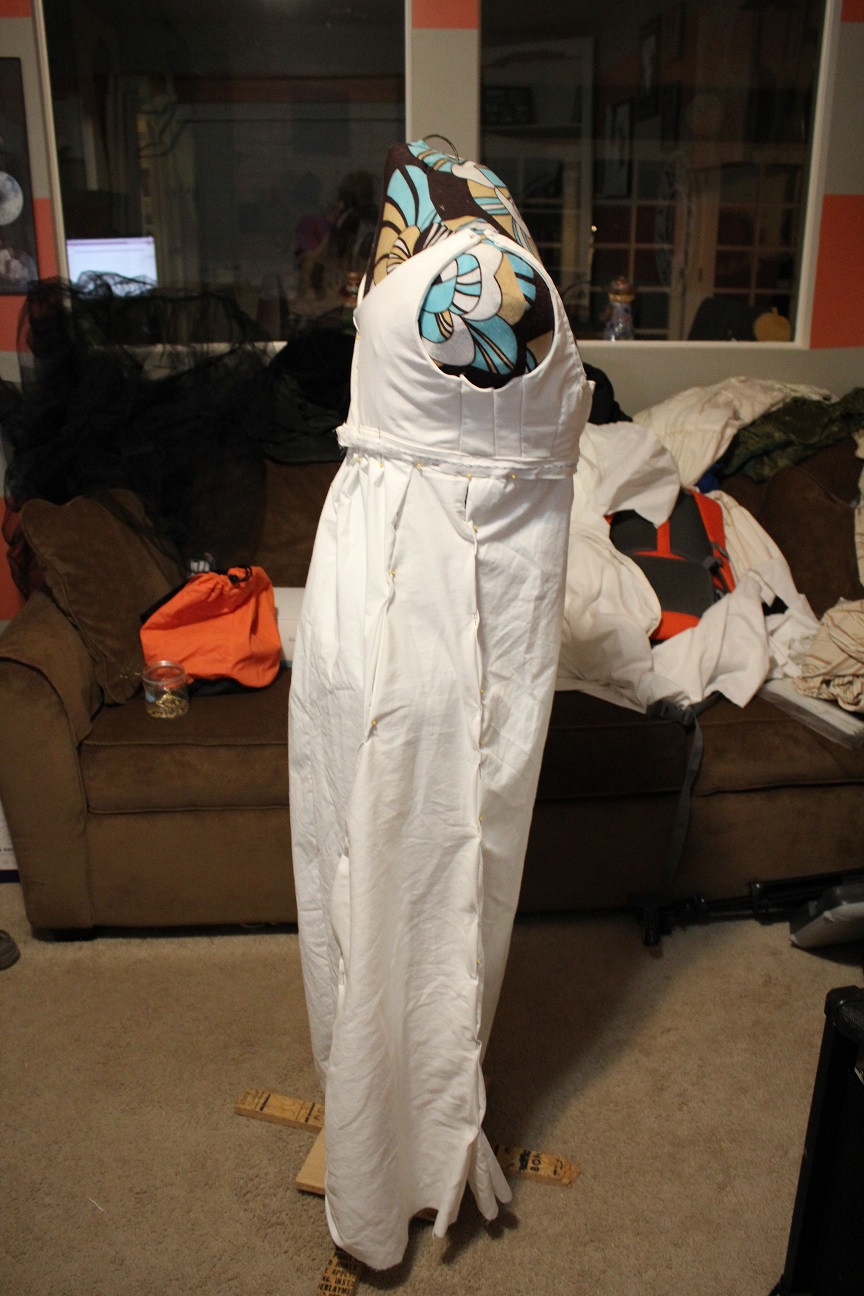
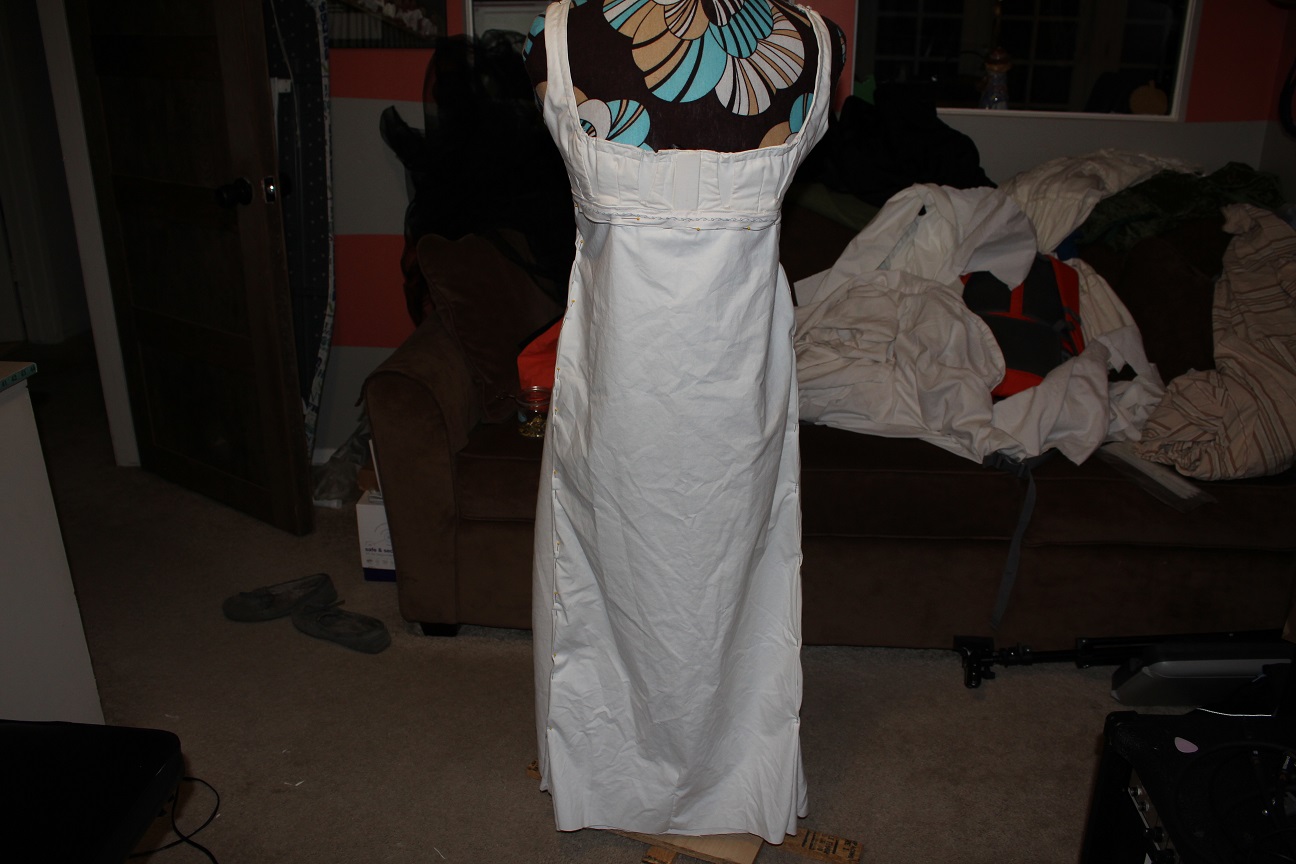
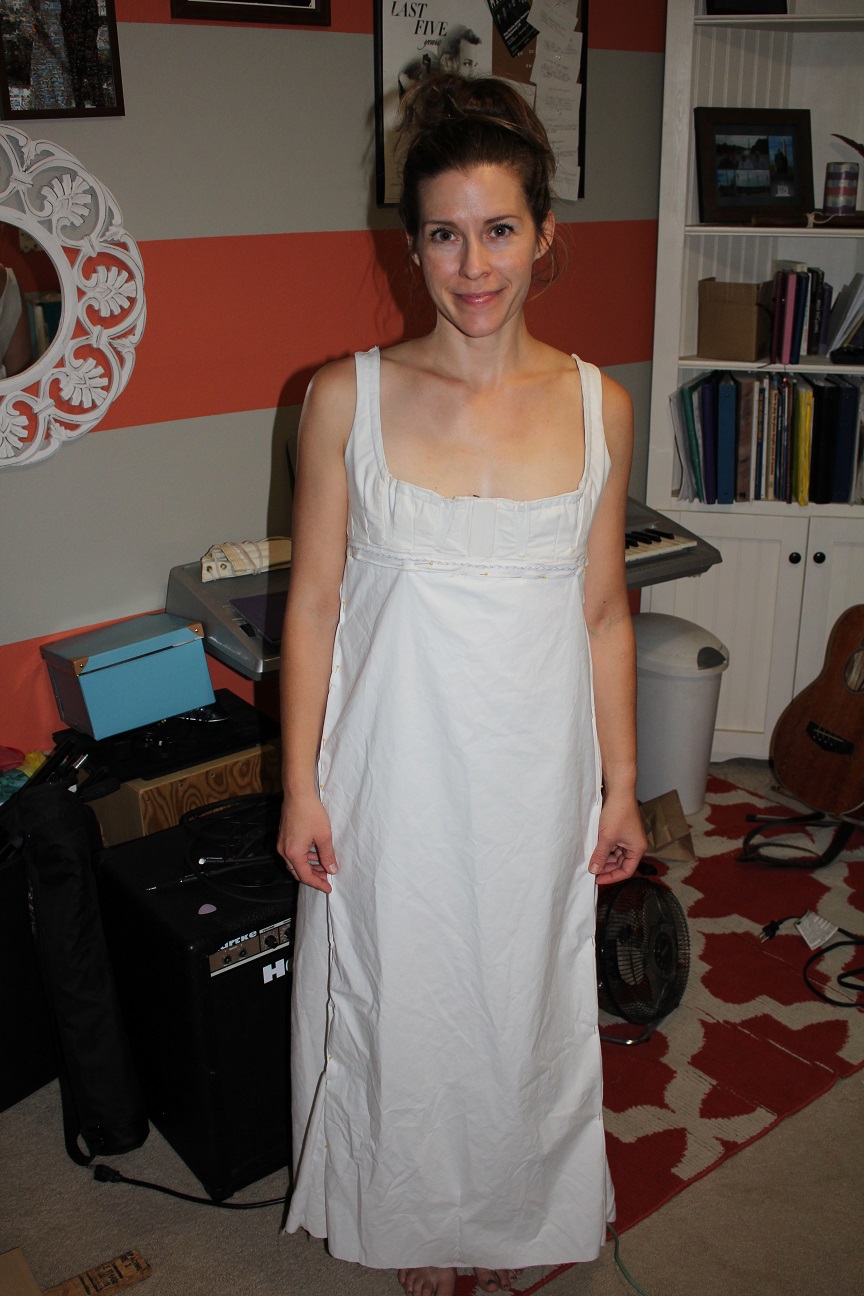
Ahhhhhhh! Yours truly is positively reveling in the fact that I FINISHED THE PETTICOAT LAST NIGHT! And it's beautiful! It's absolutely the shape and structure of a Regency gown and I'm proud as can be.
This was a long process, but the good news is that learning with this petticoat enables me to make the dress better since it will have a similar form.
The final touches were to lengthen the shoulder straps (I found it fit much better with a lower neckline) with some bias tape, and to hem the bottom of the skirt. I also did a few tweaks where some
material had bunched up or extended too far in places and got it tidied up. Then I forced my husband to take pictures of me whilst chanting "REGENCY FASHION SHOW! REGENCY FASHION SHOW!"
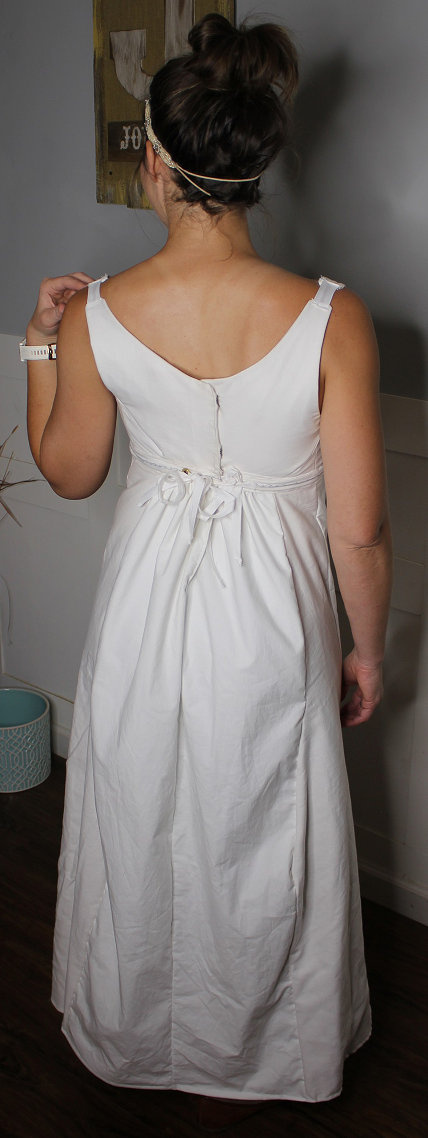
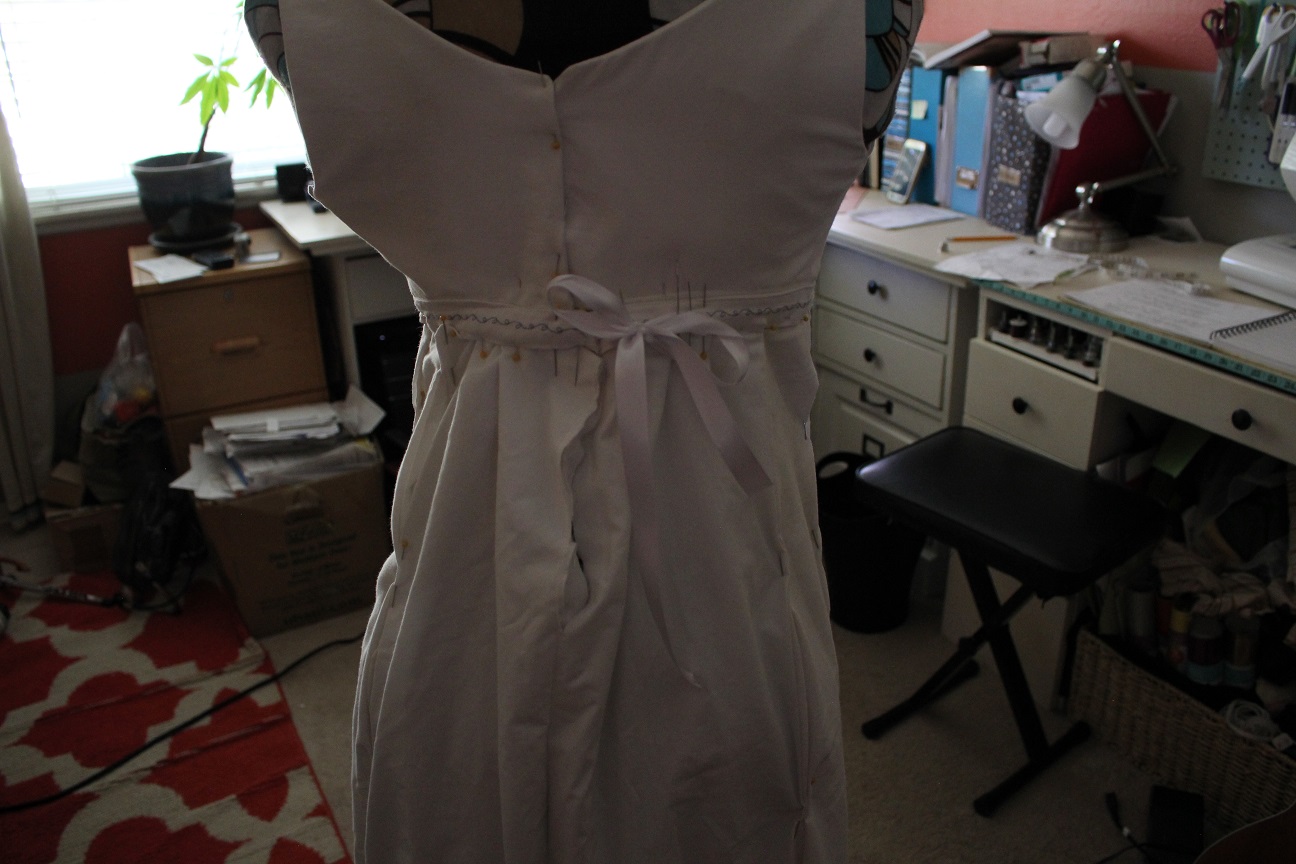
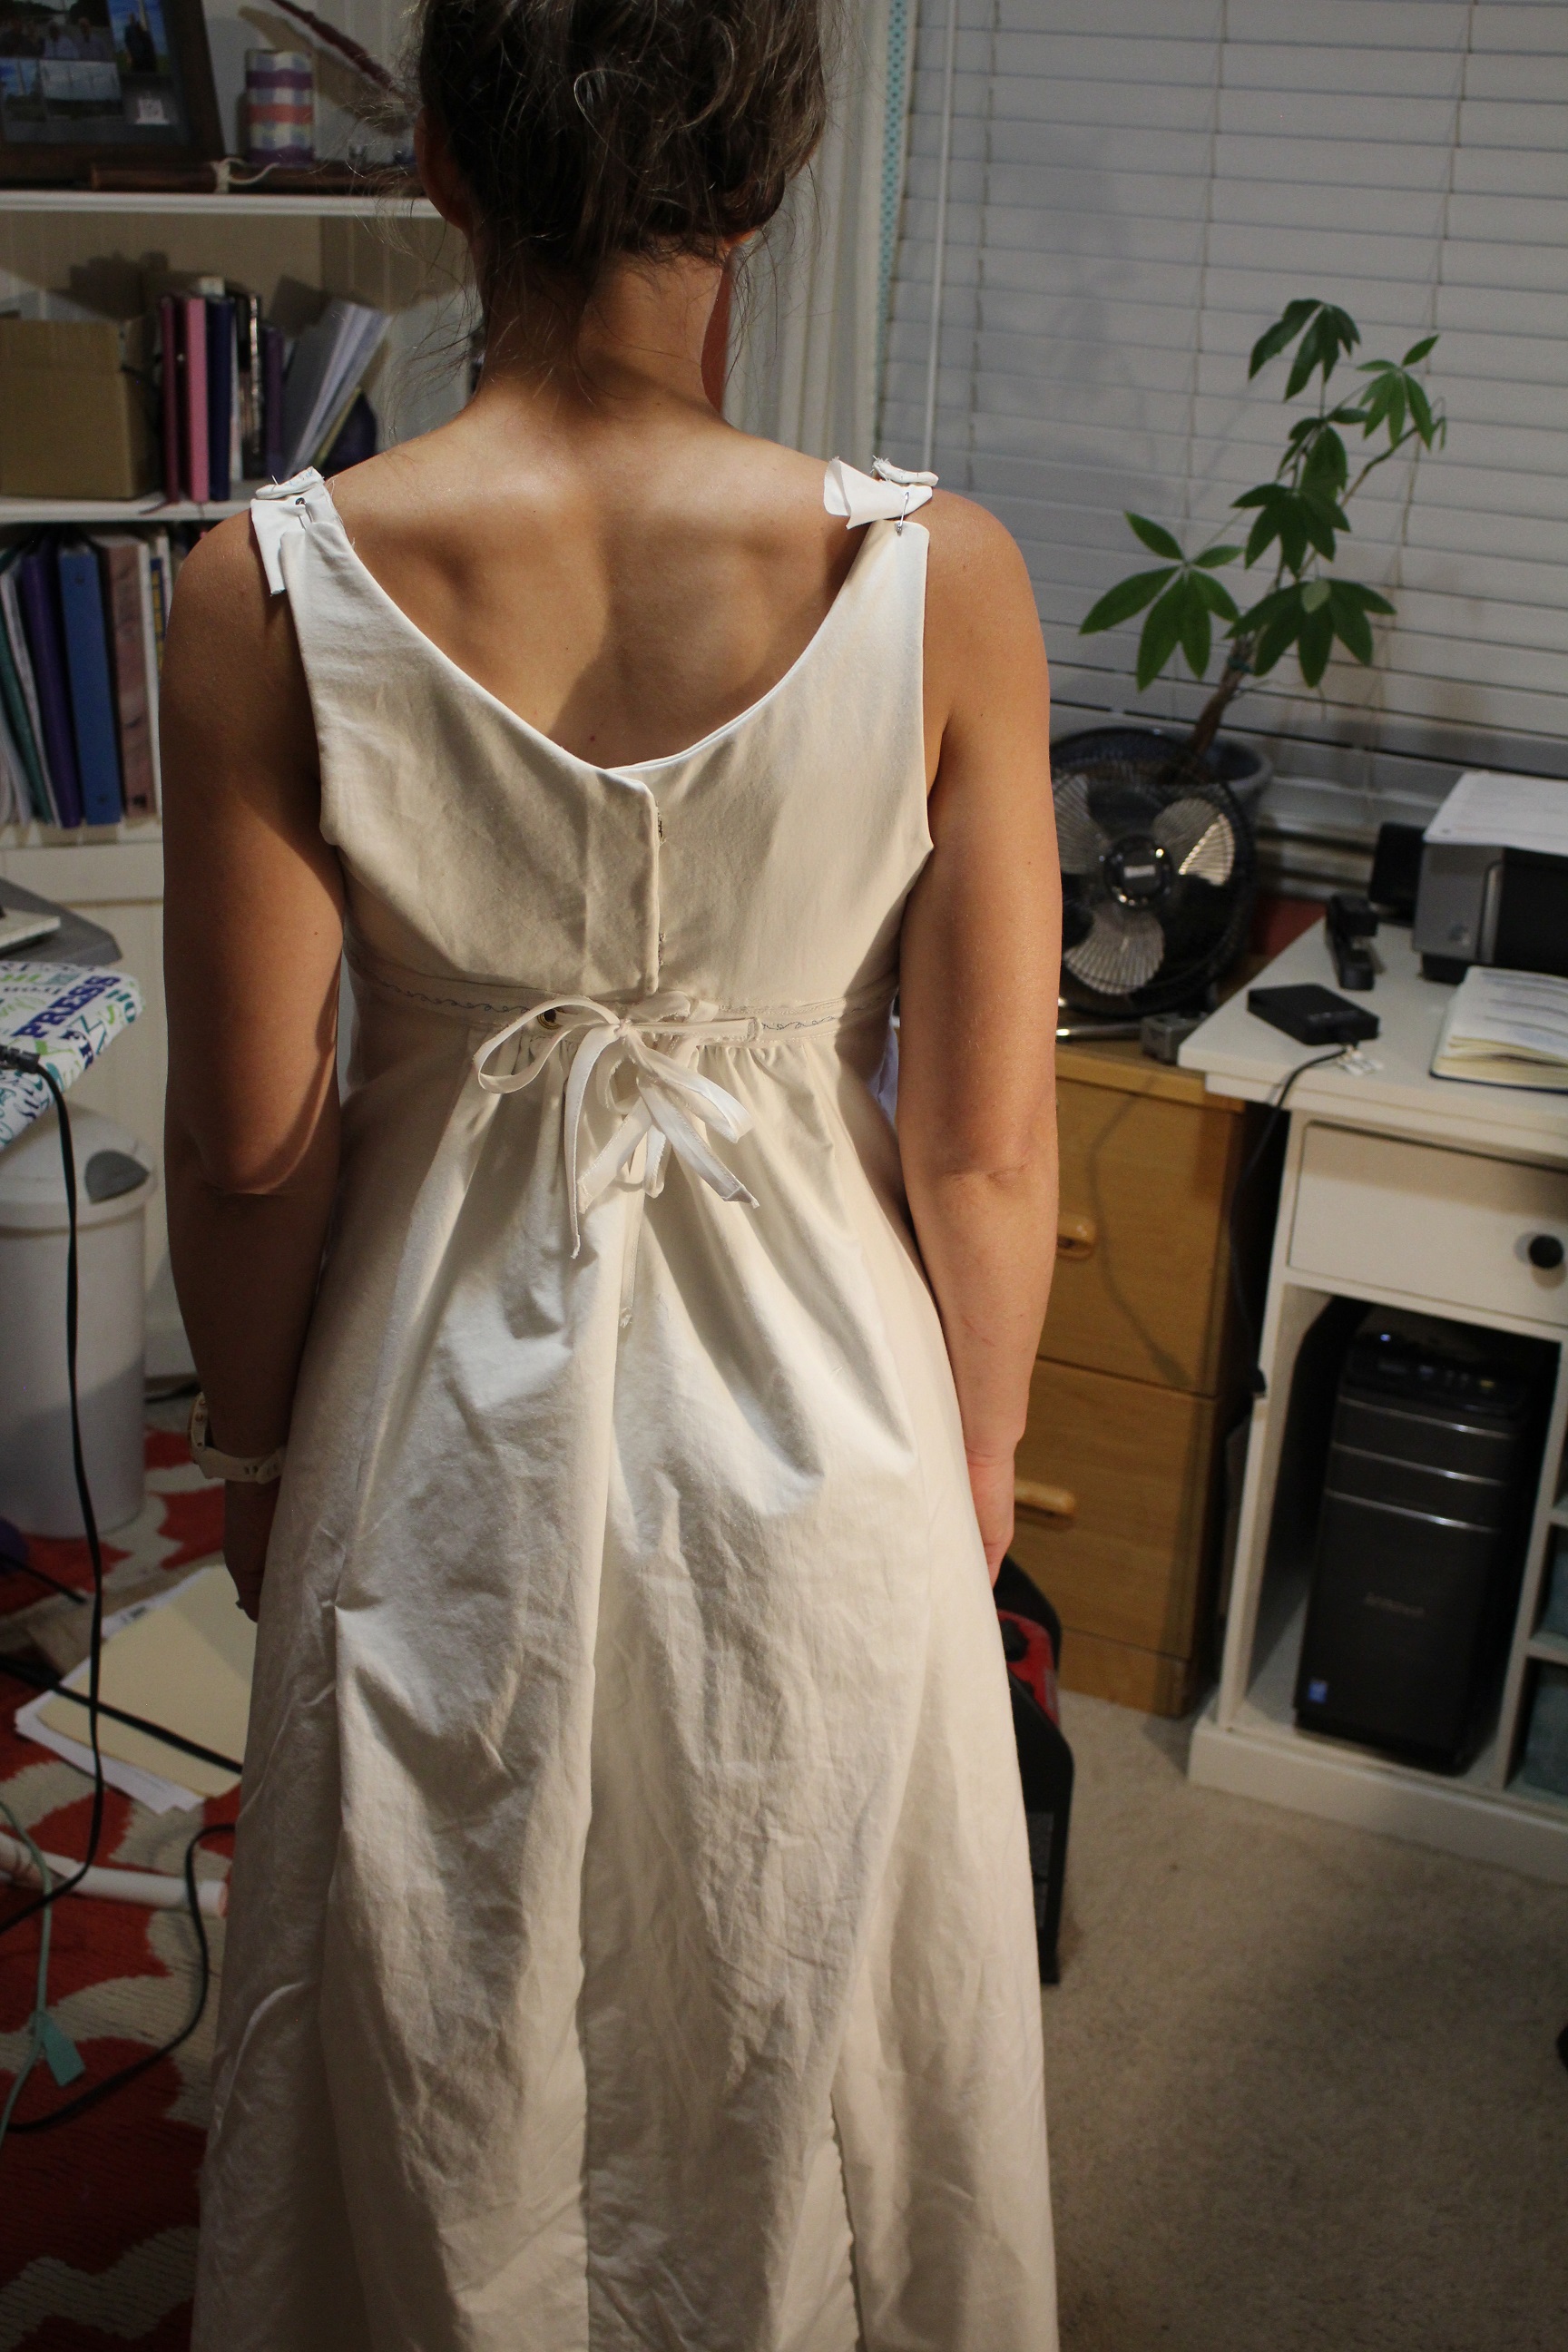
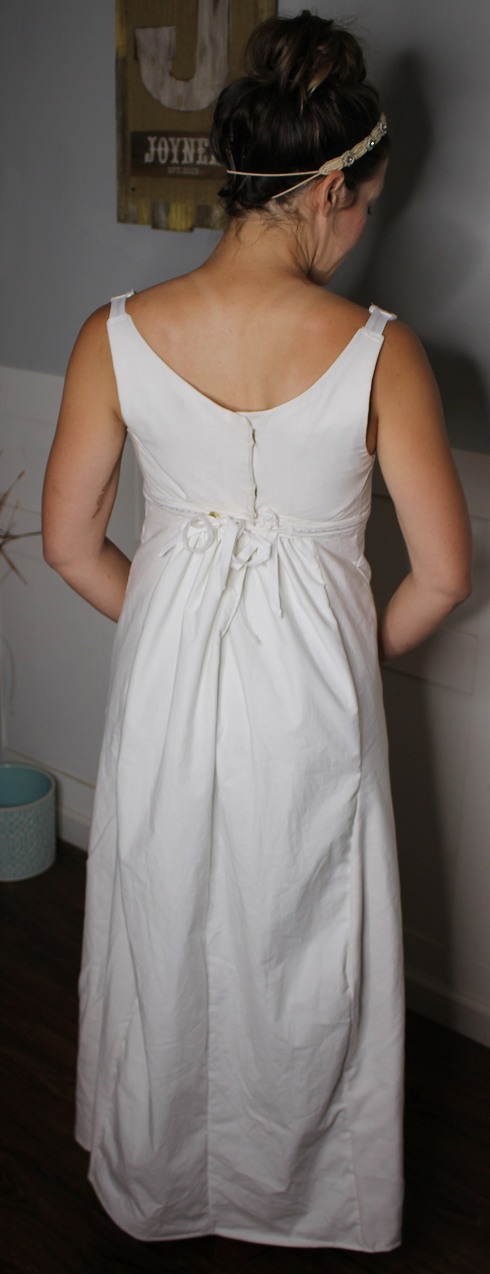 I'm in love with this gathered back. It's so pretty!

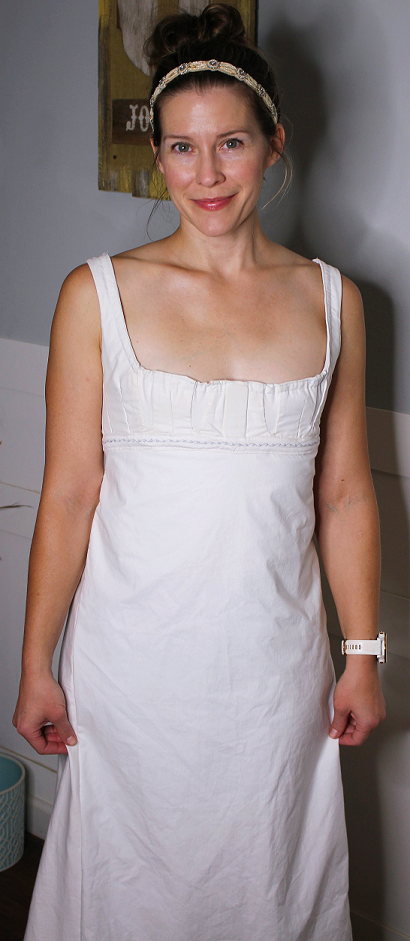 Bonus points to you if you know where this pose comes from. I'll give you a hint- it's a Jane Austen film from the 90's.
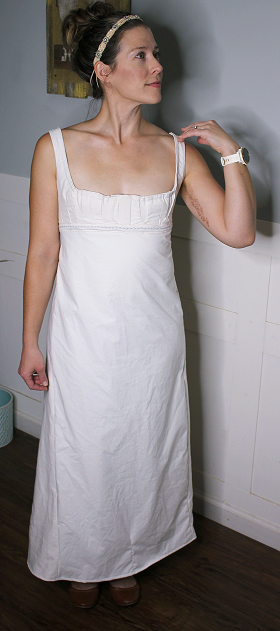
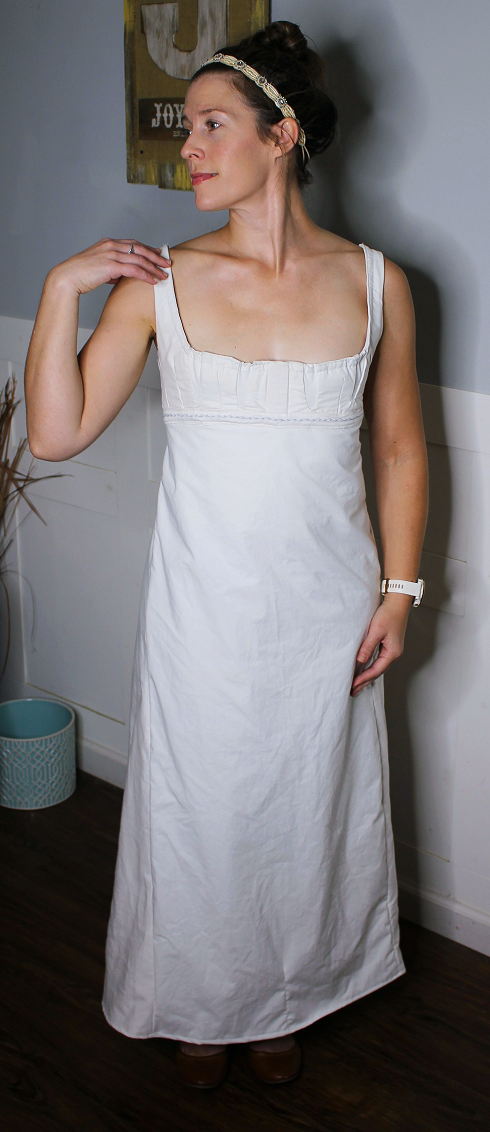 I am so happy with this beautiful undergarment that no one will see!!
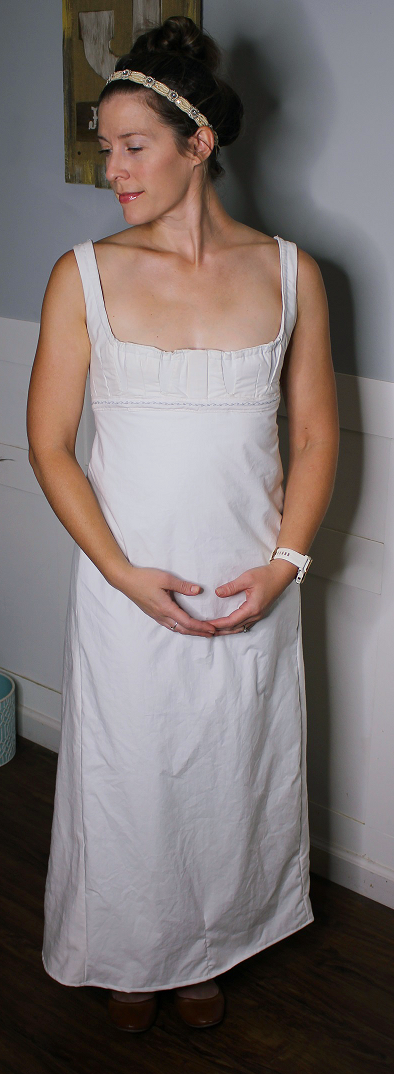 Now, onto the dress! The clock is ticking.
Sun14
So, last time I left off with a rough pinning of the skirt. I moved on to sewing up the skirt panels when I noticed a large bulge at the back where there was a curve in one panel and a straight line in another.
It stumped me for awhile, but this costume can't wait for stumpery, so I moved on and hoped it would work itself out.
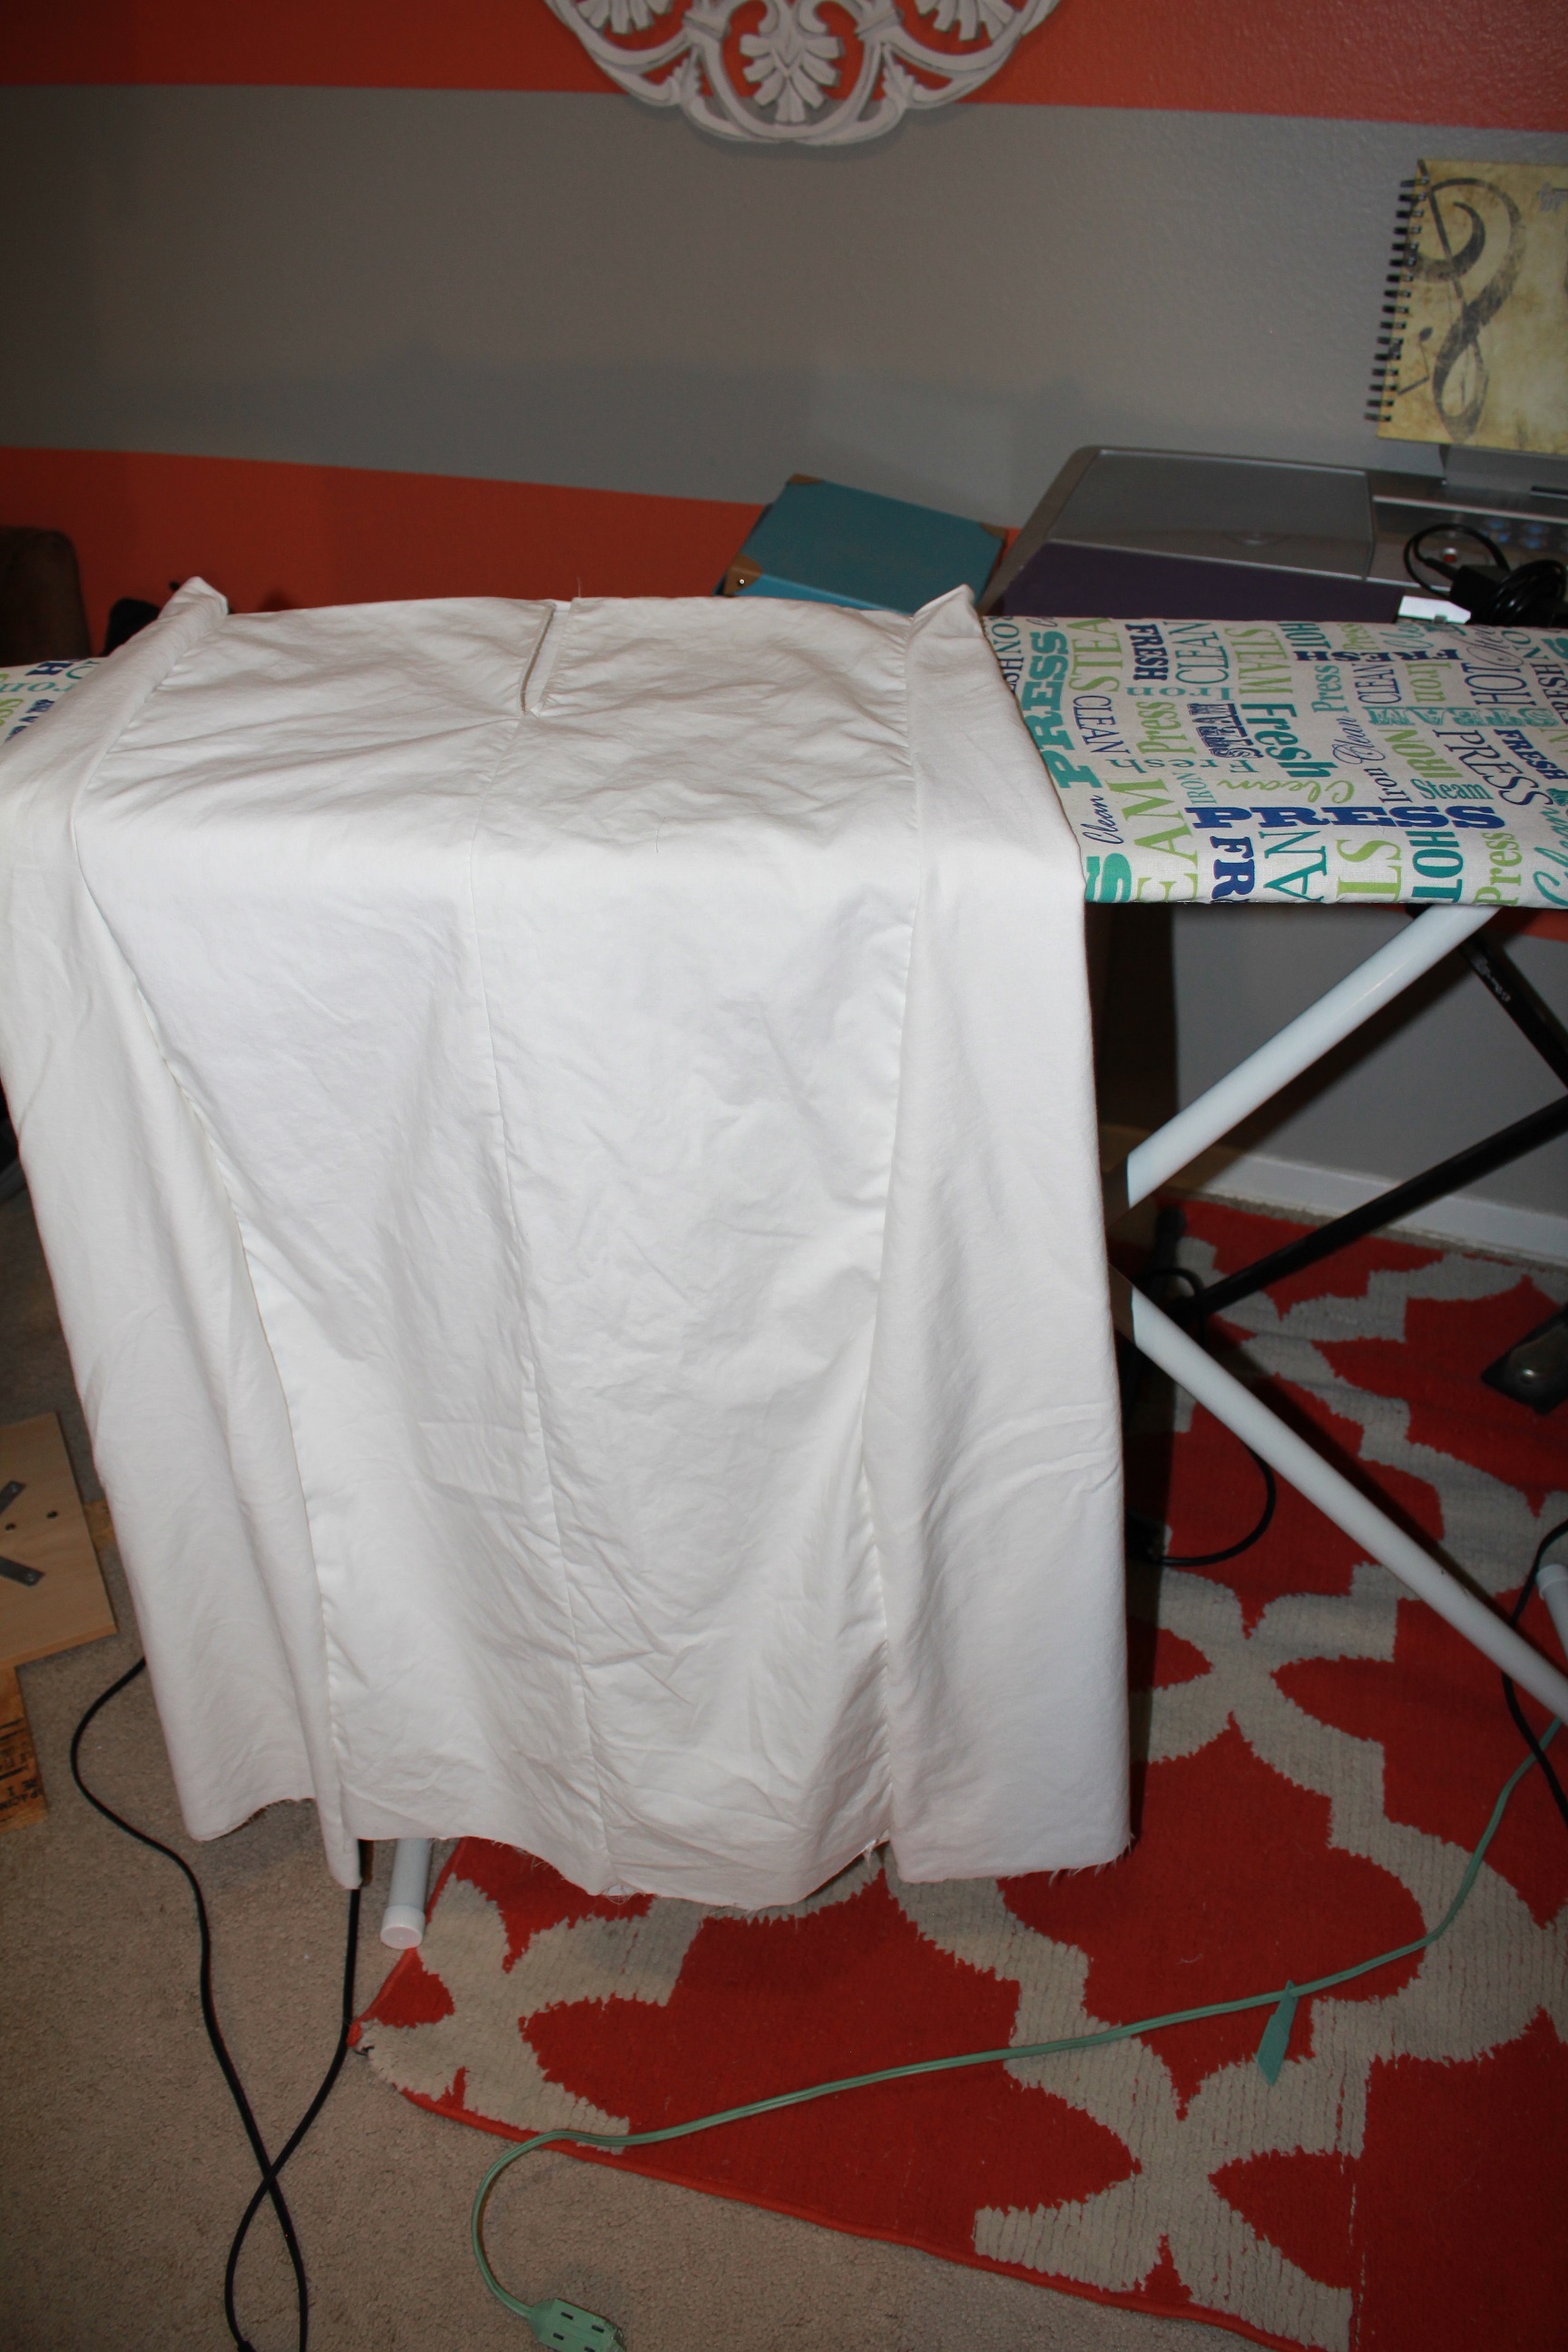
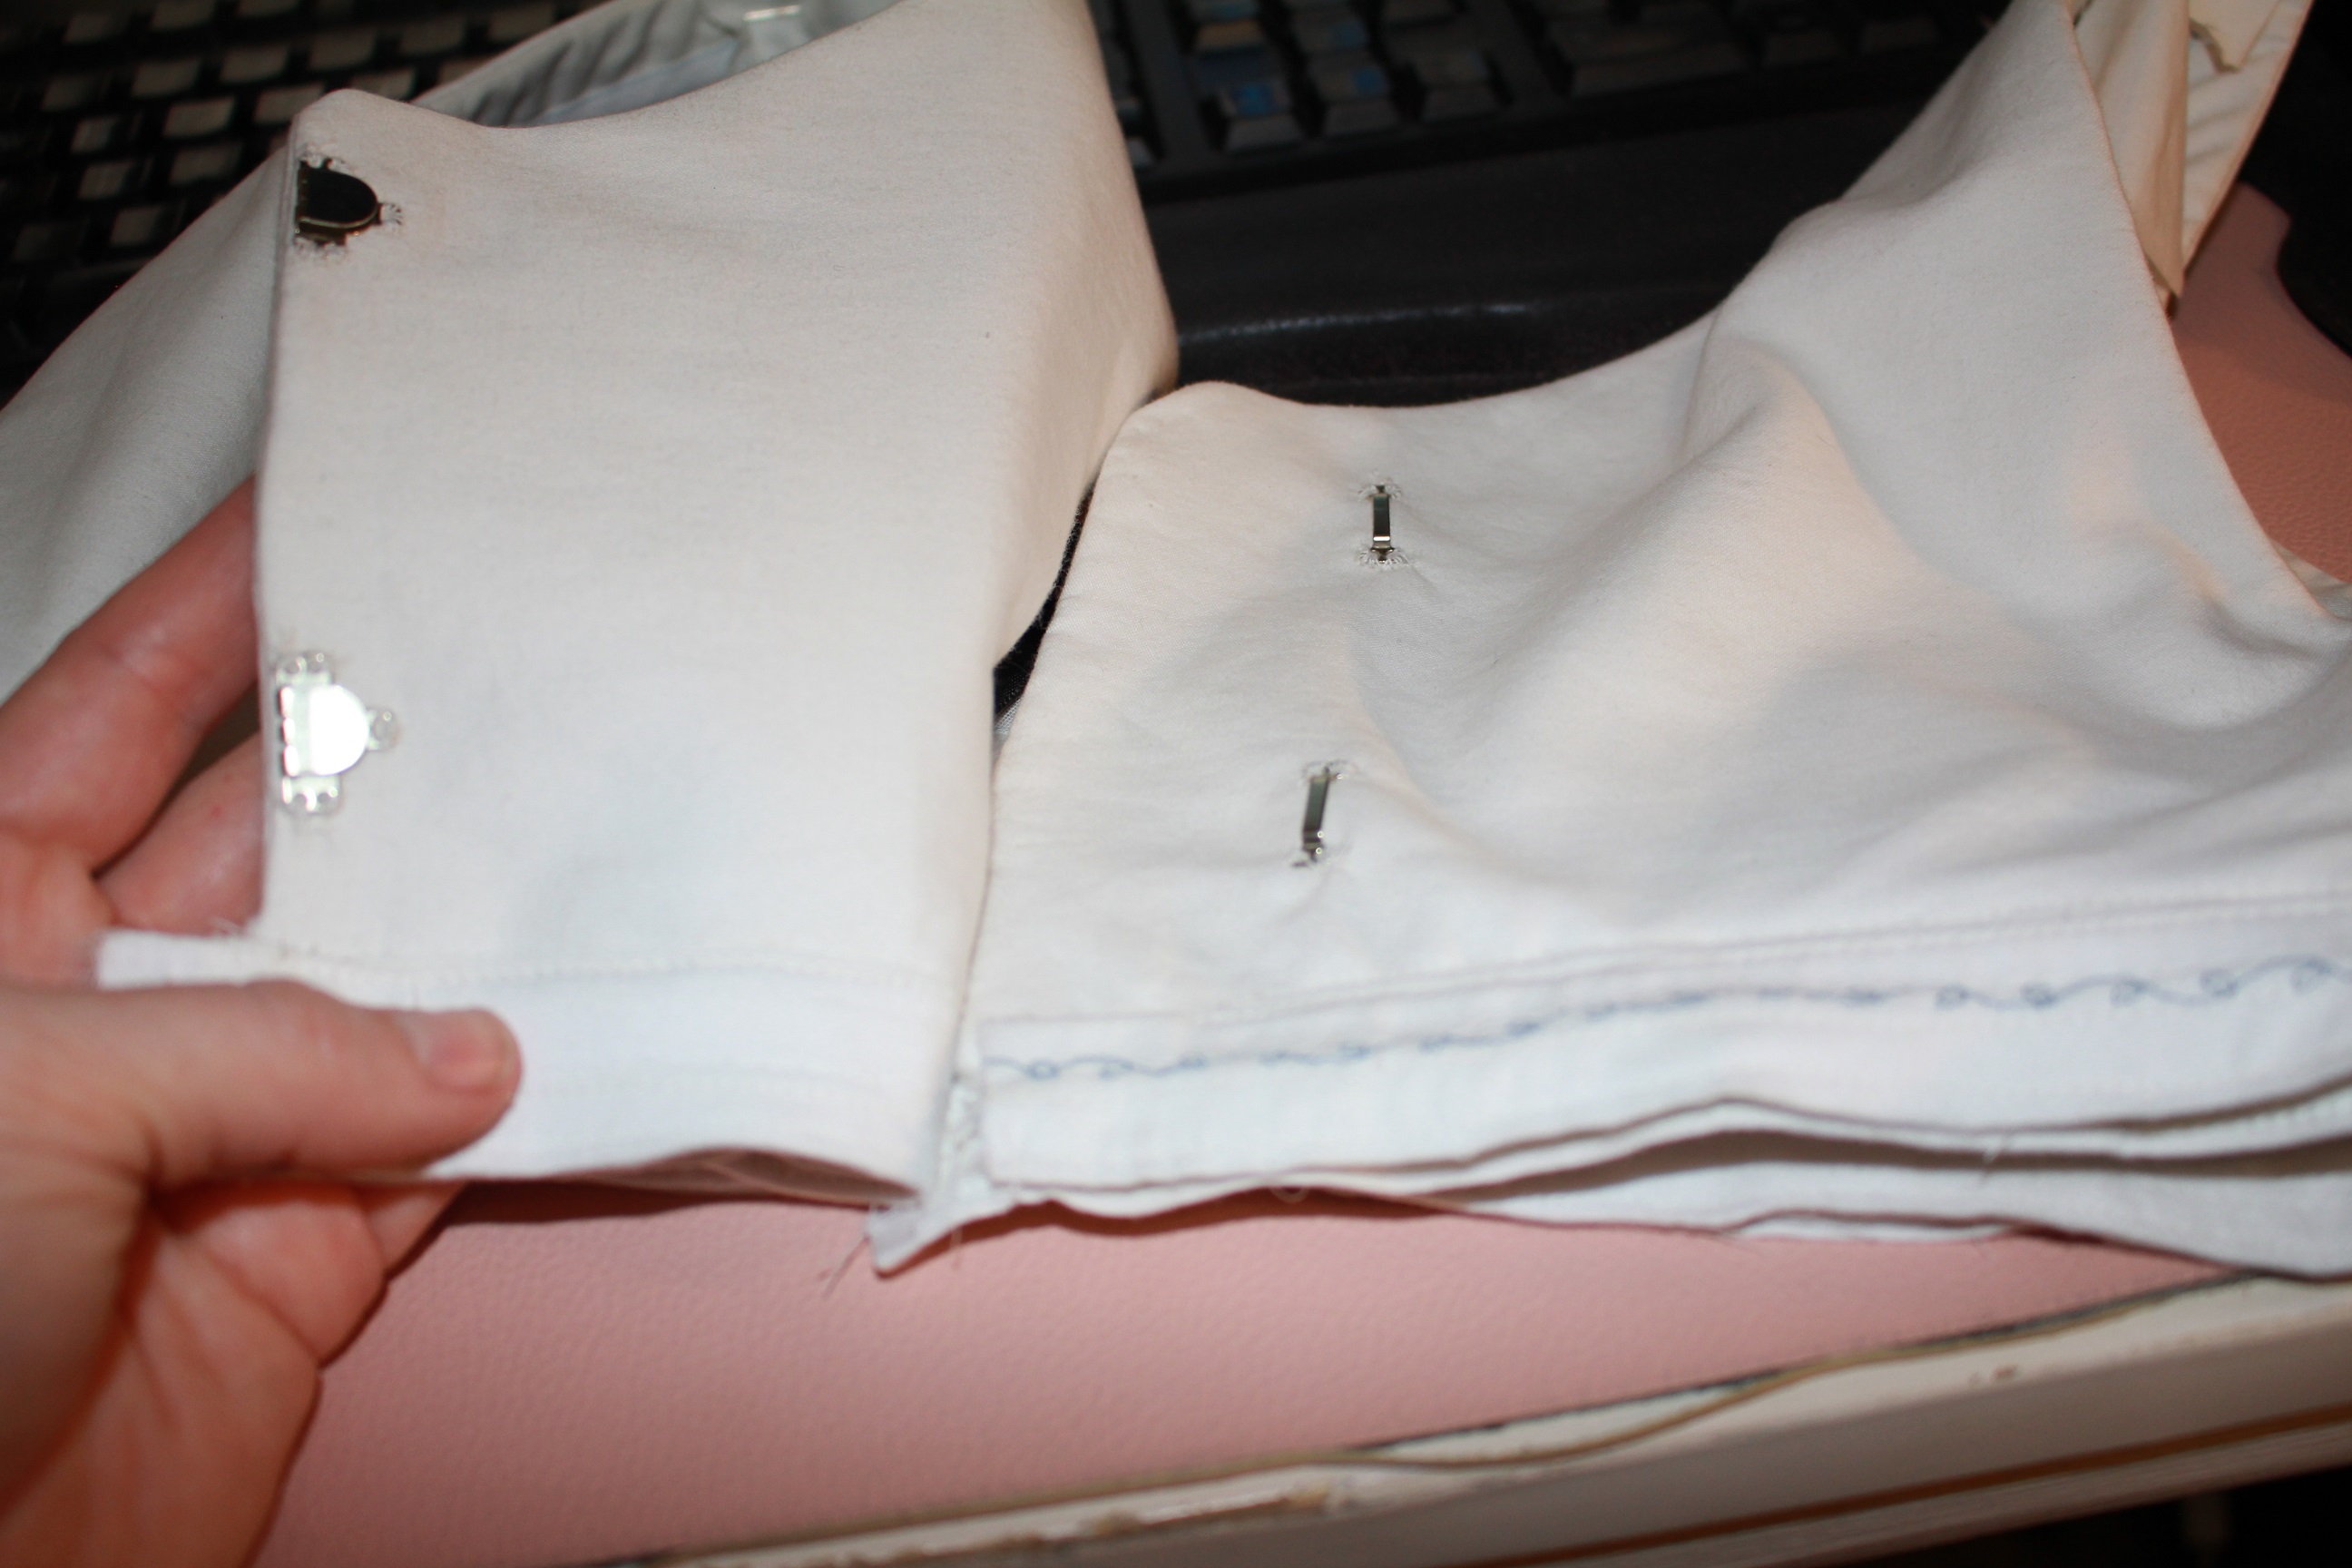
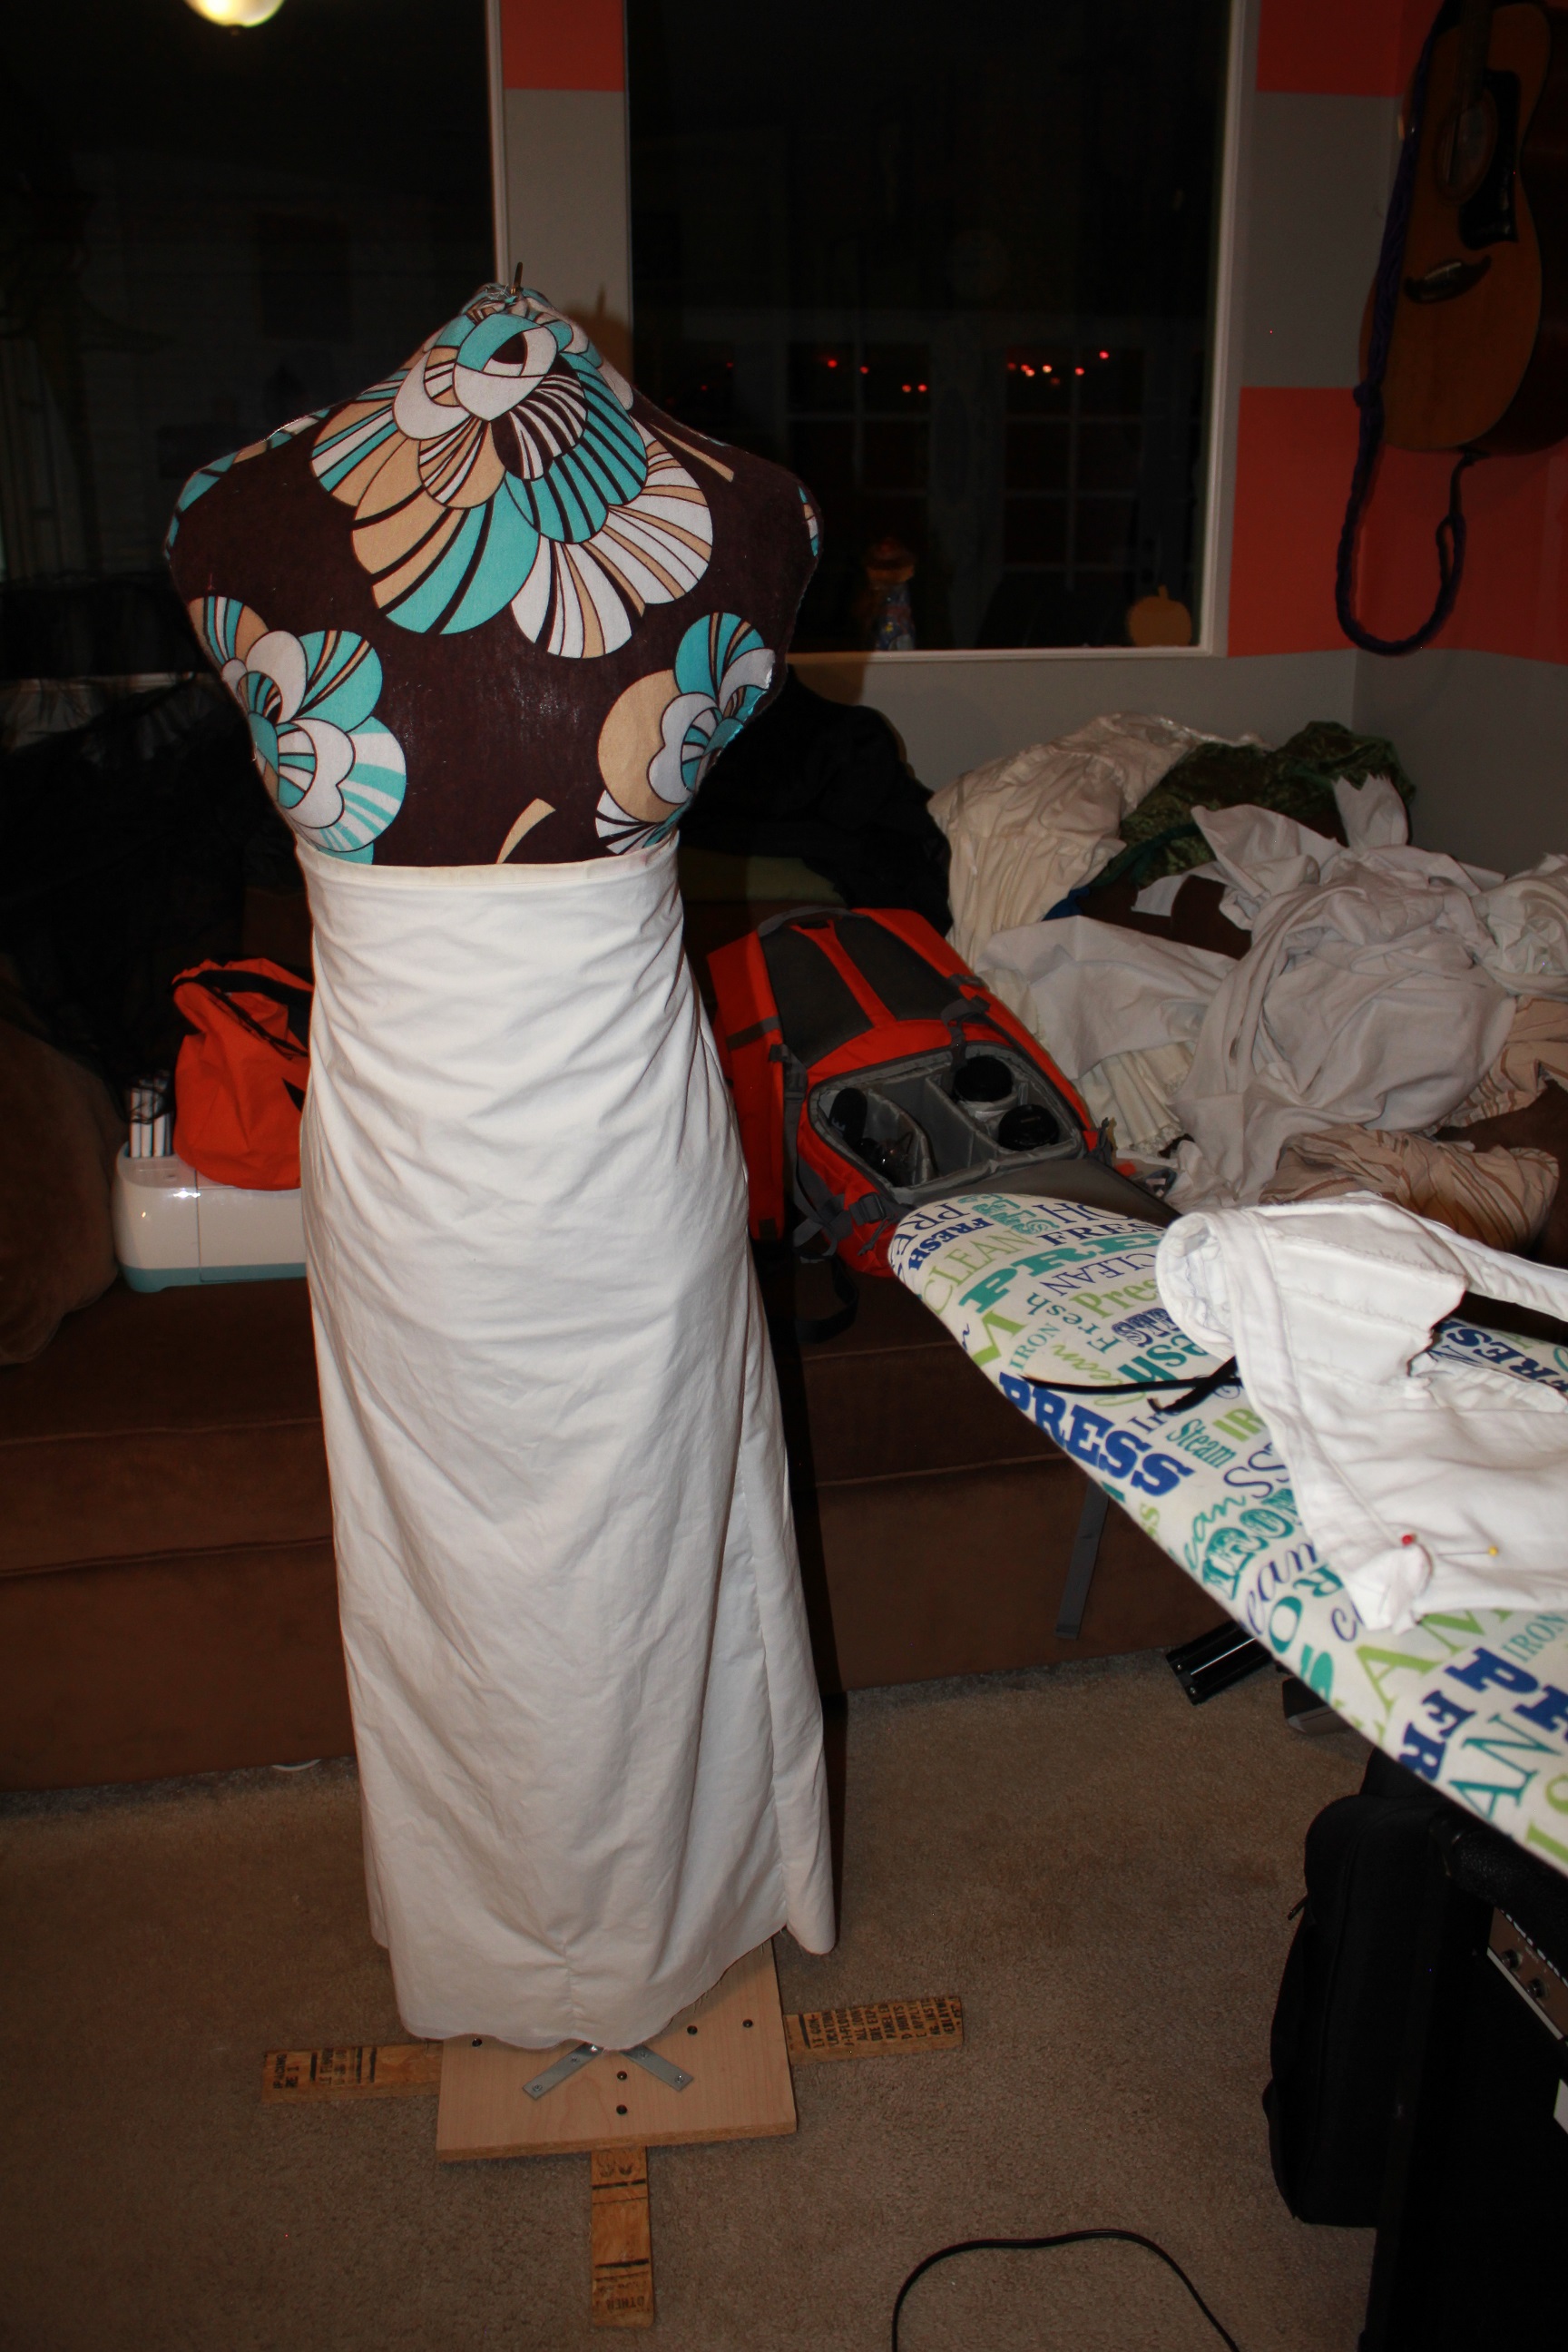 I then moved onto fitting the bodice and placing closures- 2 hook and eyes in the back.
 I noticed that the waistband was still showing gaps, so I spent awhile conjuring up a way to really tighten in the waistband.
 I stared at it for about 10 minutes before starting to mock up a possible workaround.
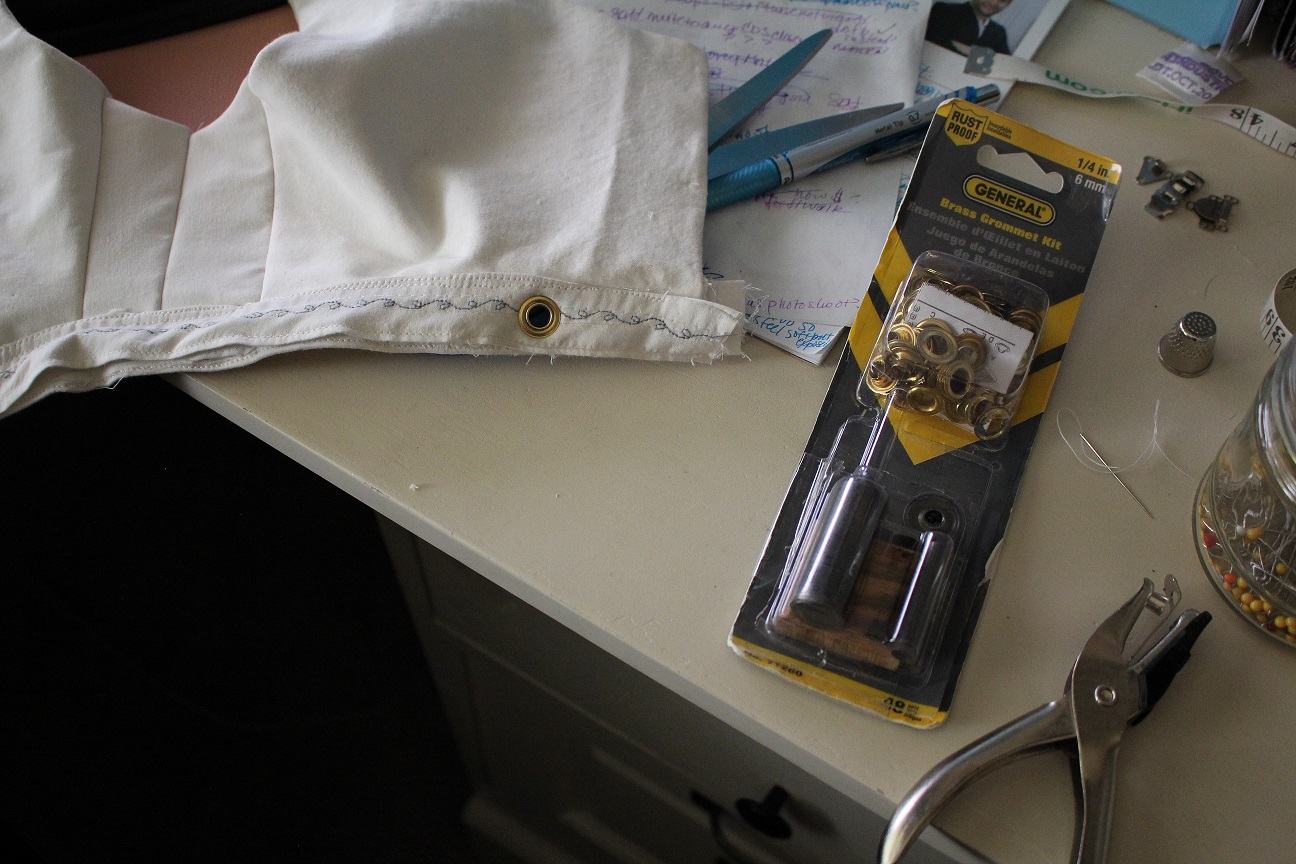
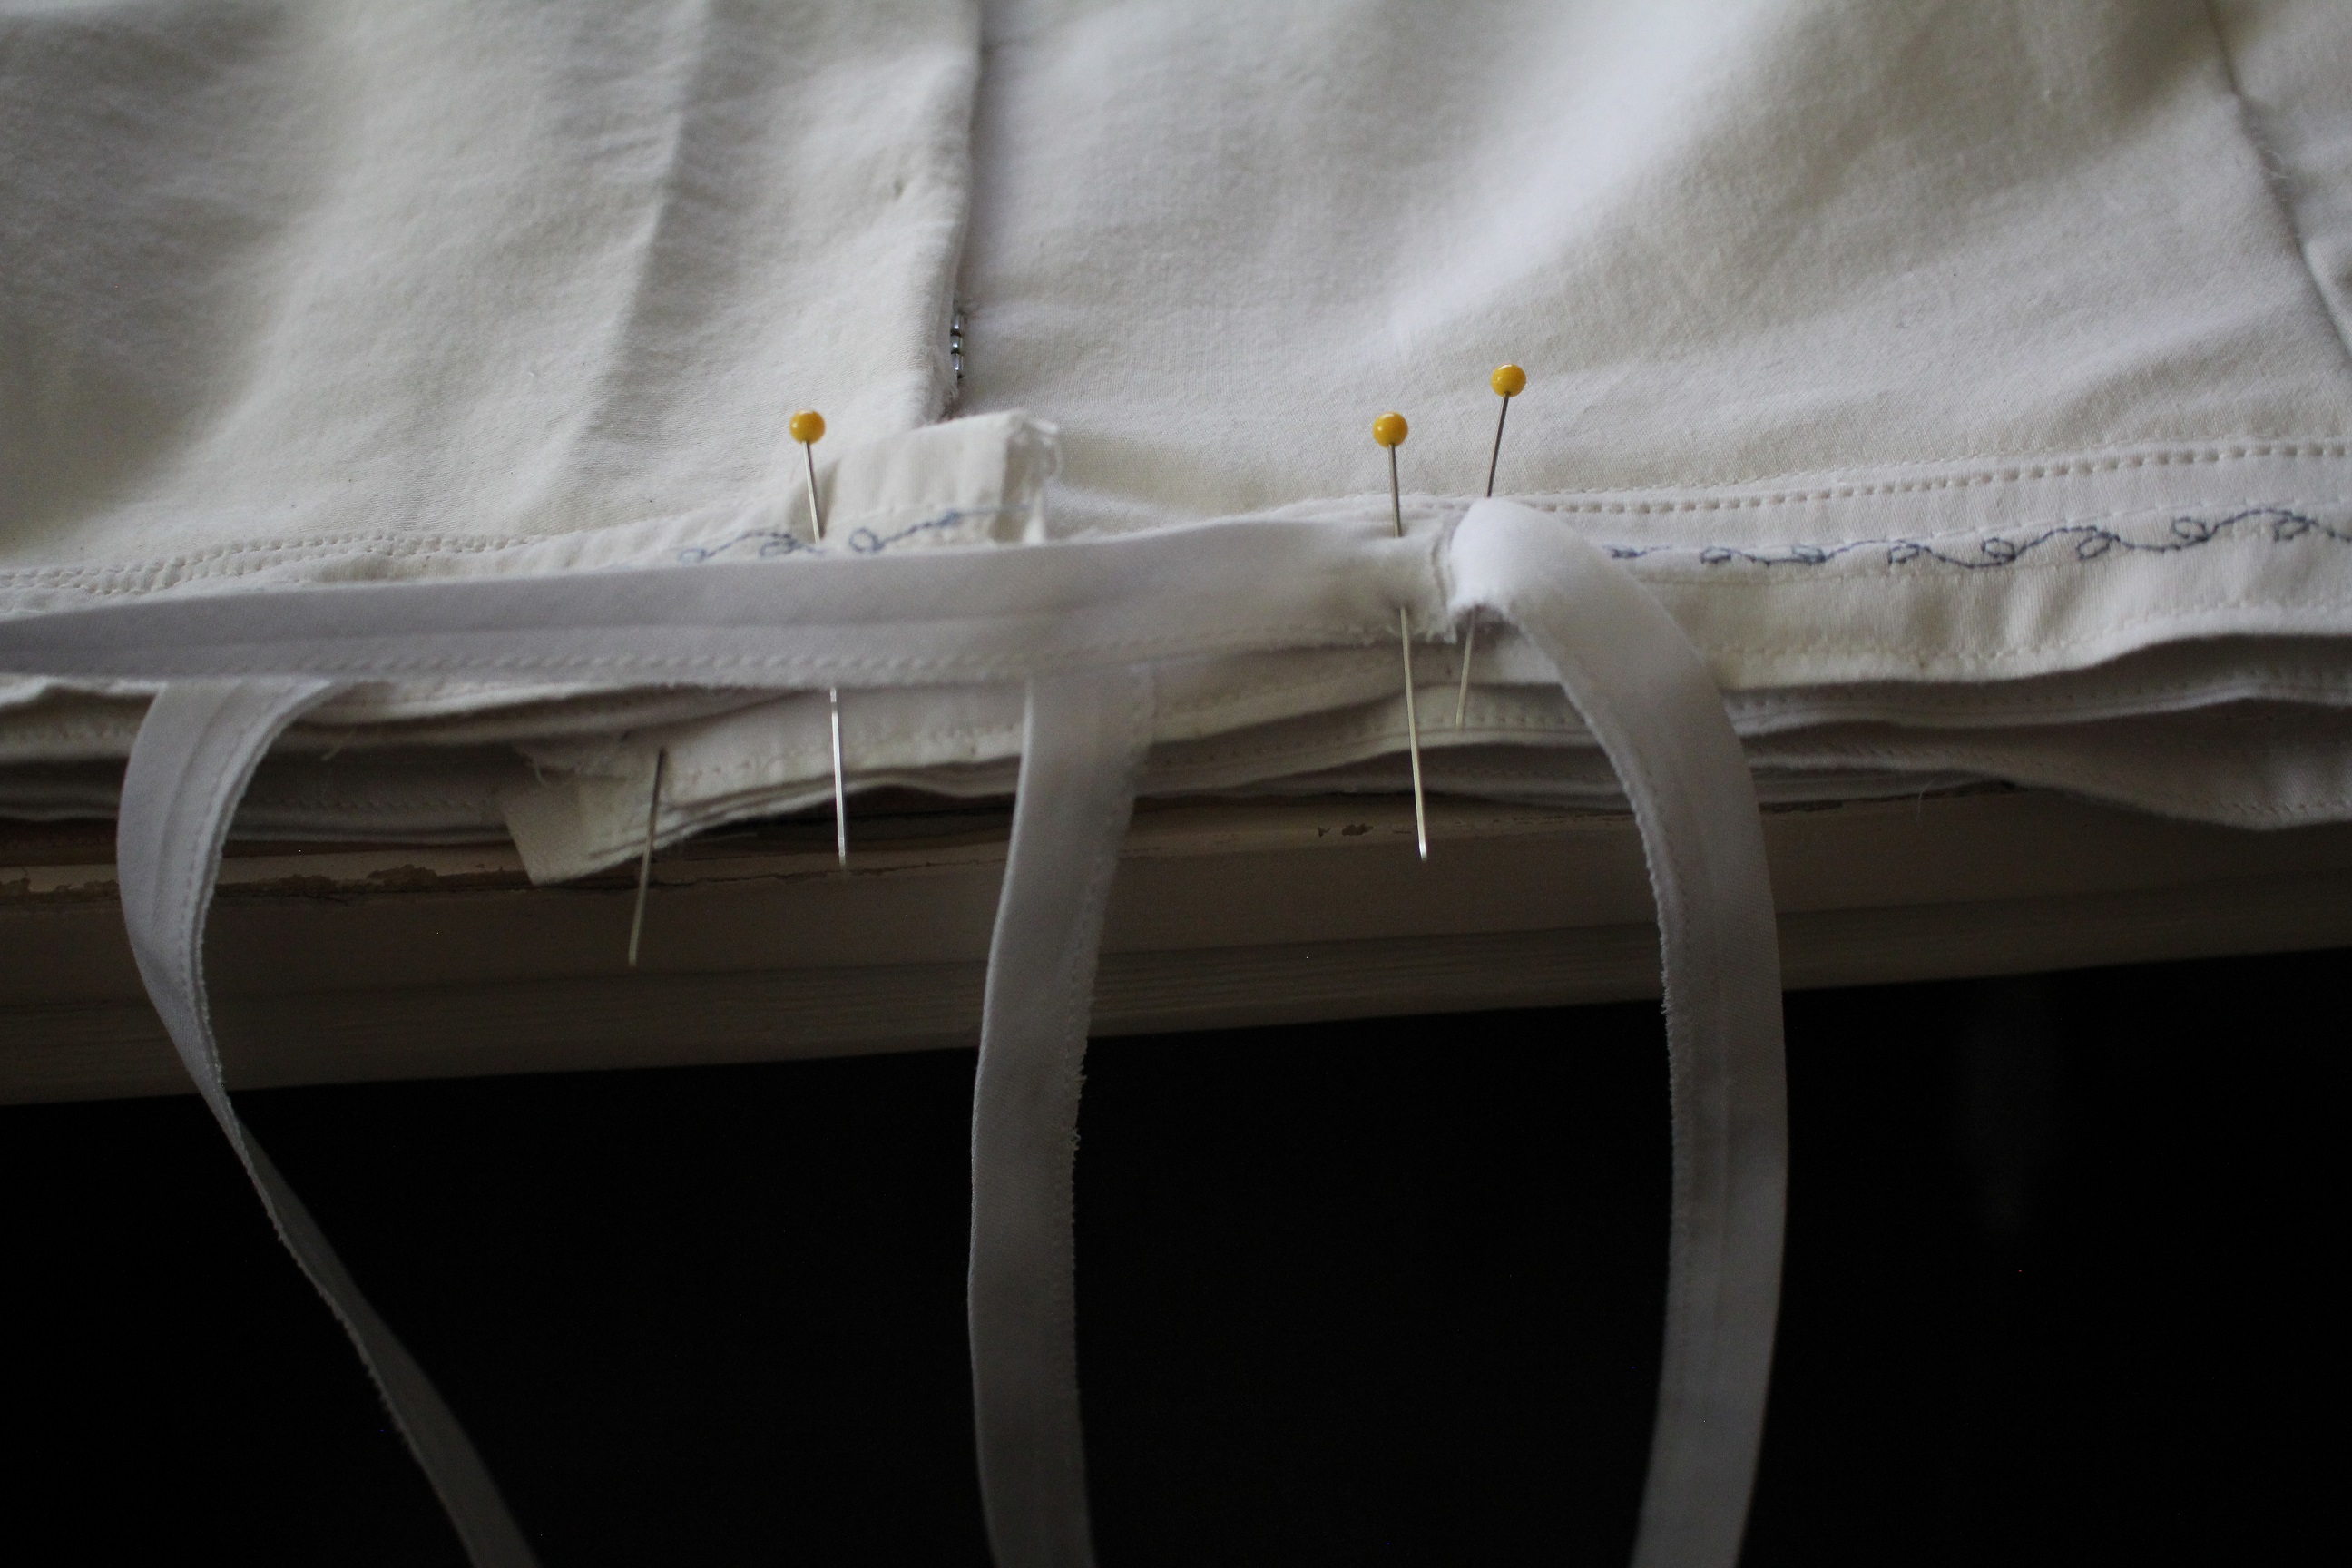
I decided that a series of drawstrings would make it the fit that I wanted.
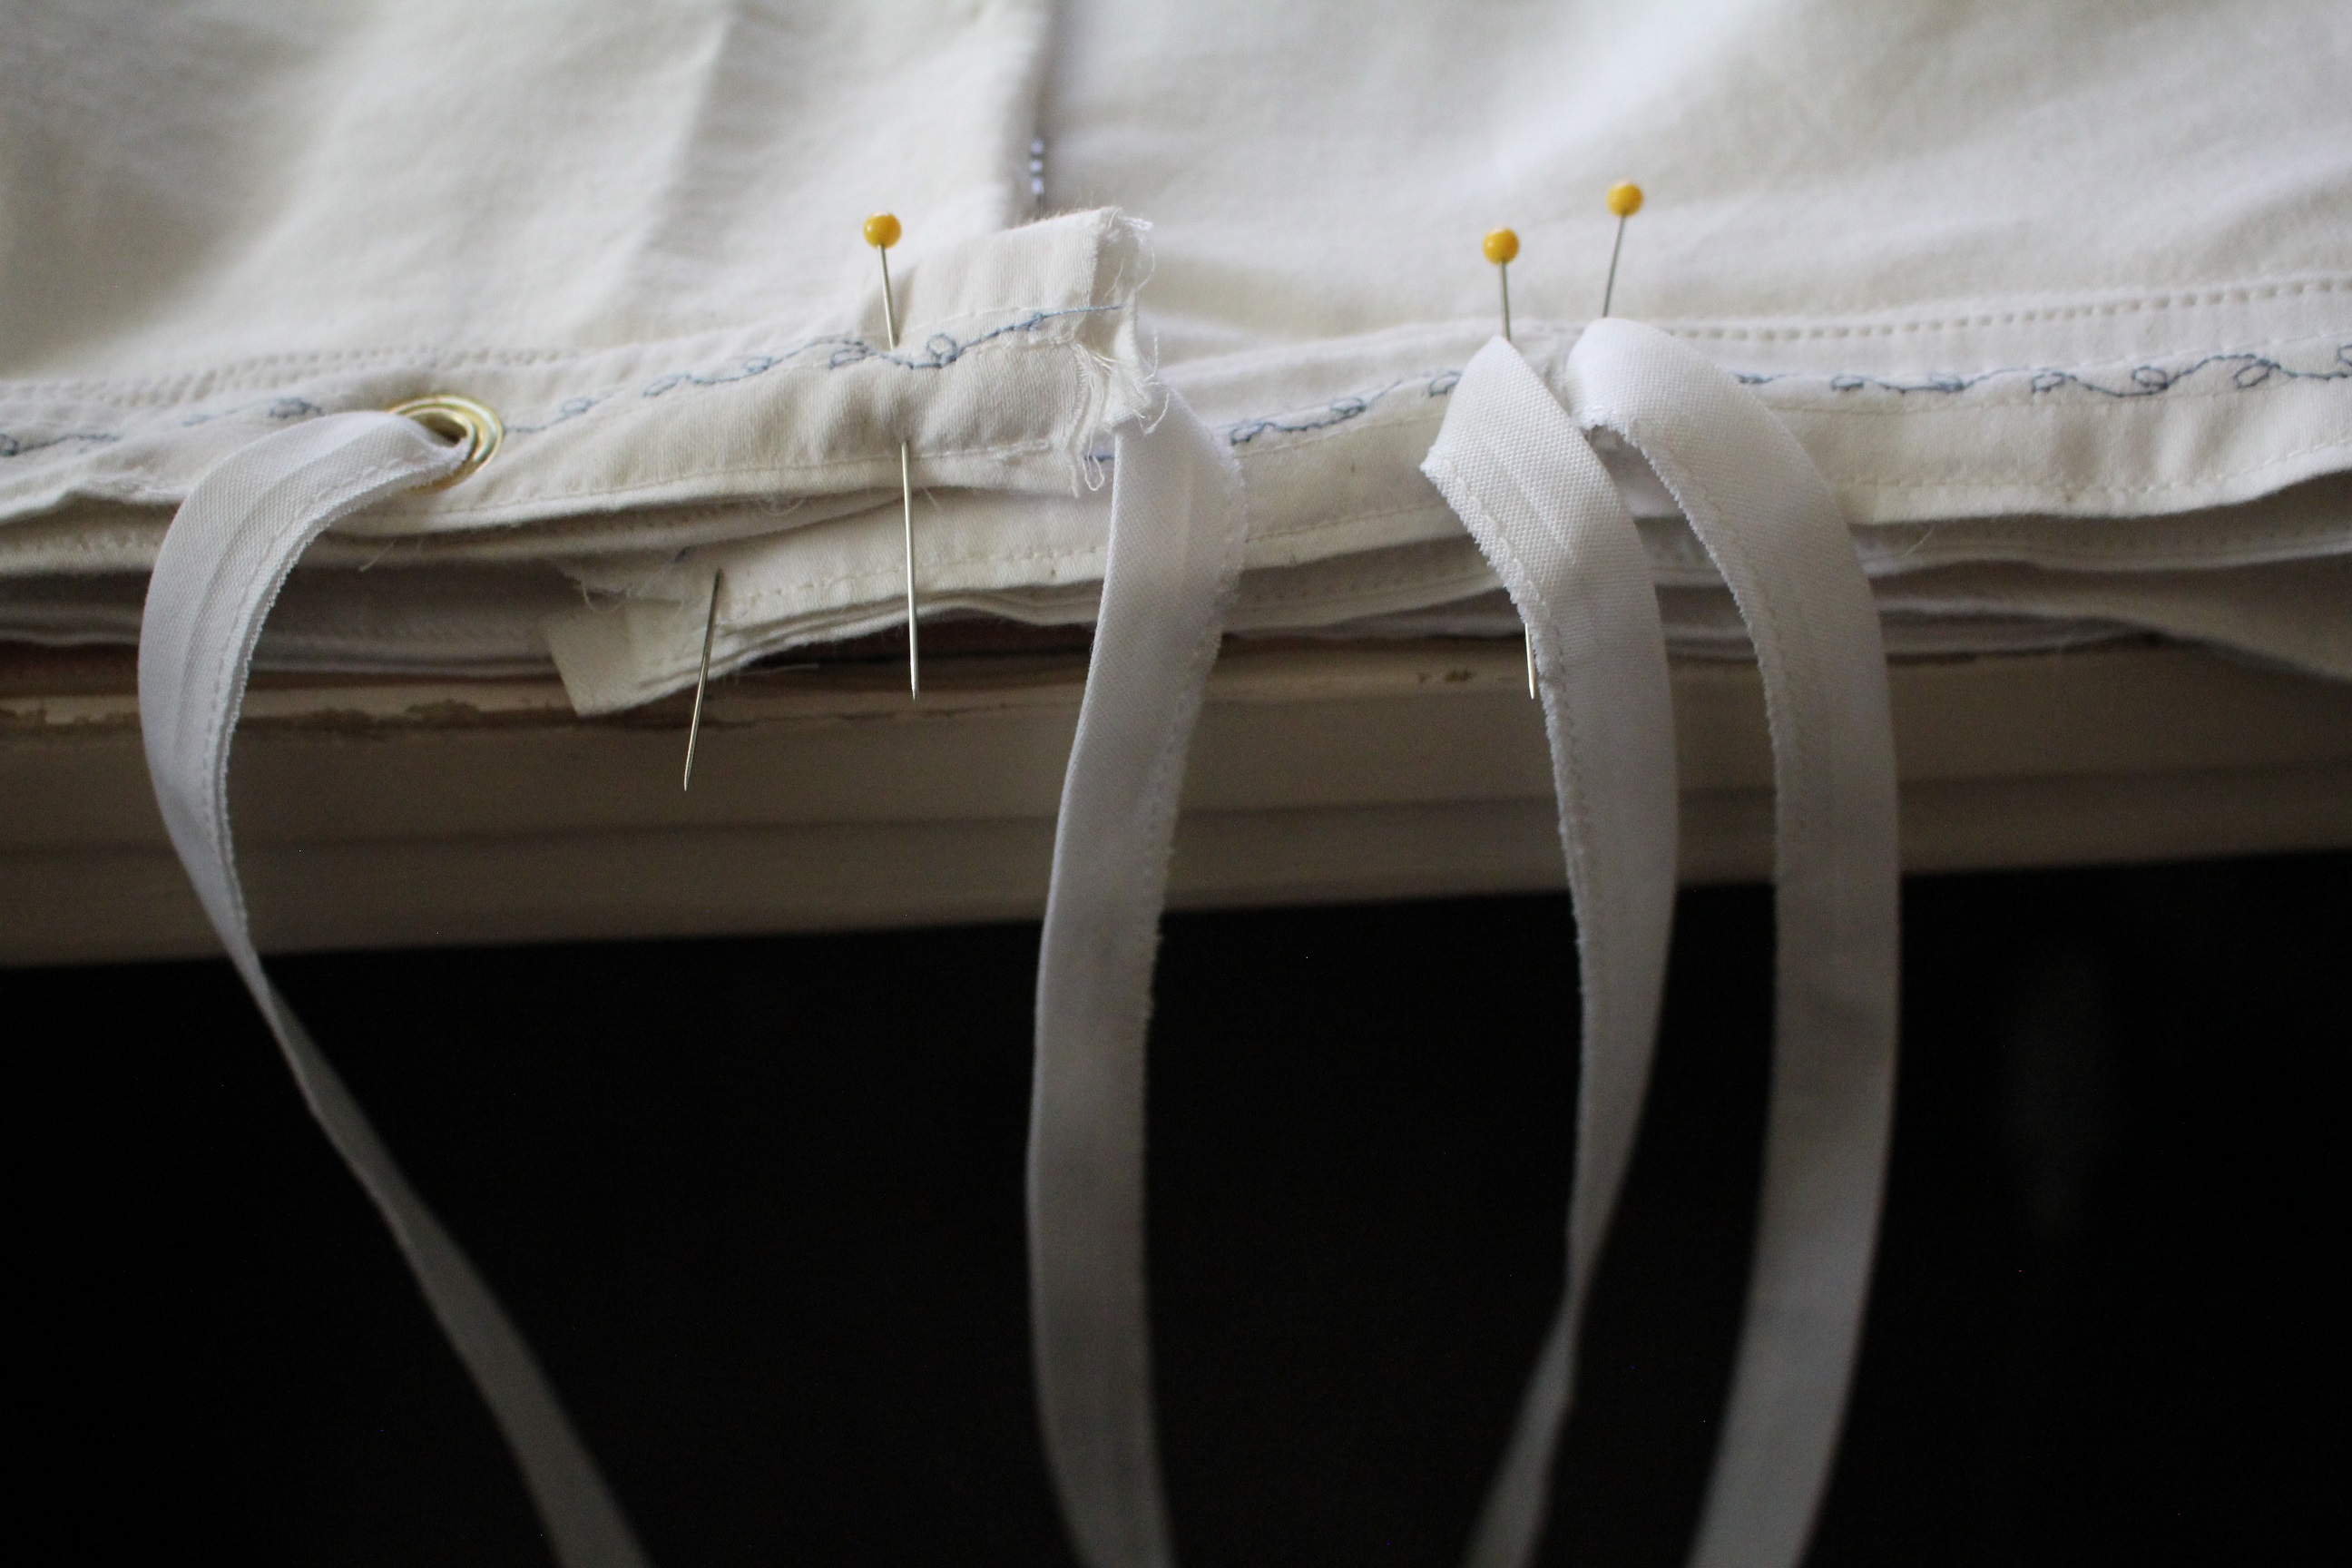
 One would be at each end of the back pieces. The right would pass under the left side and come up through a grommet on the left side.
 Then, I would tie a set from the edge of the left side and further over on the right.
 Then, pull the grommet one tightly over to the right and tie it with the final outside drawstring on the right.
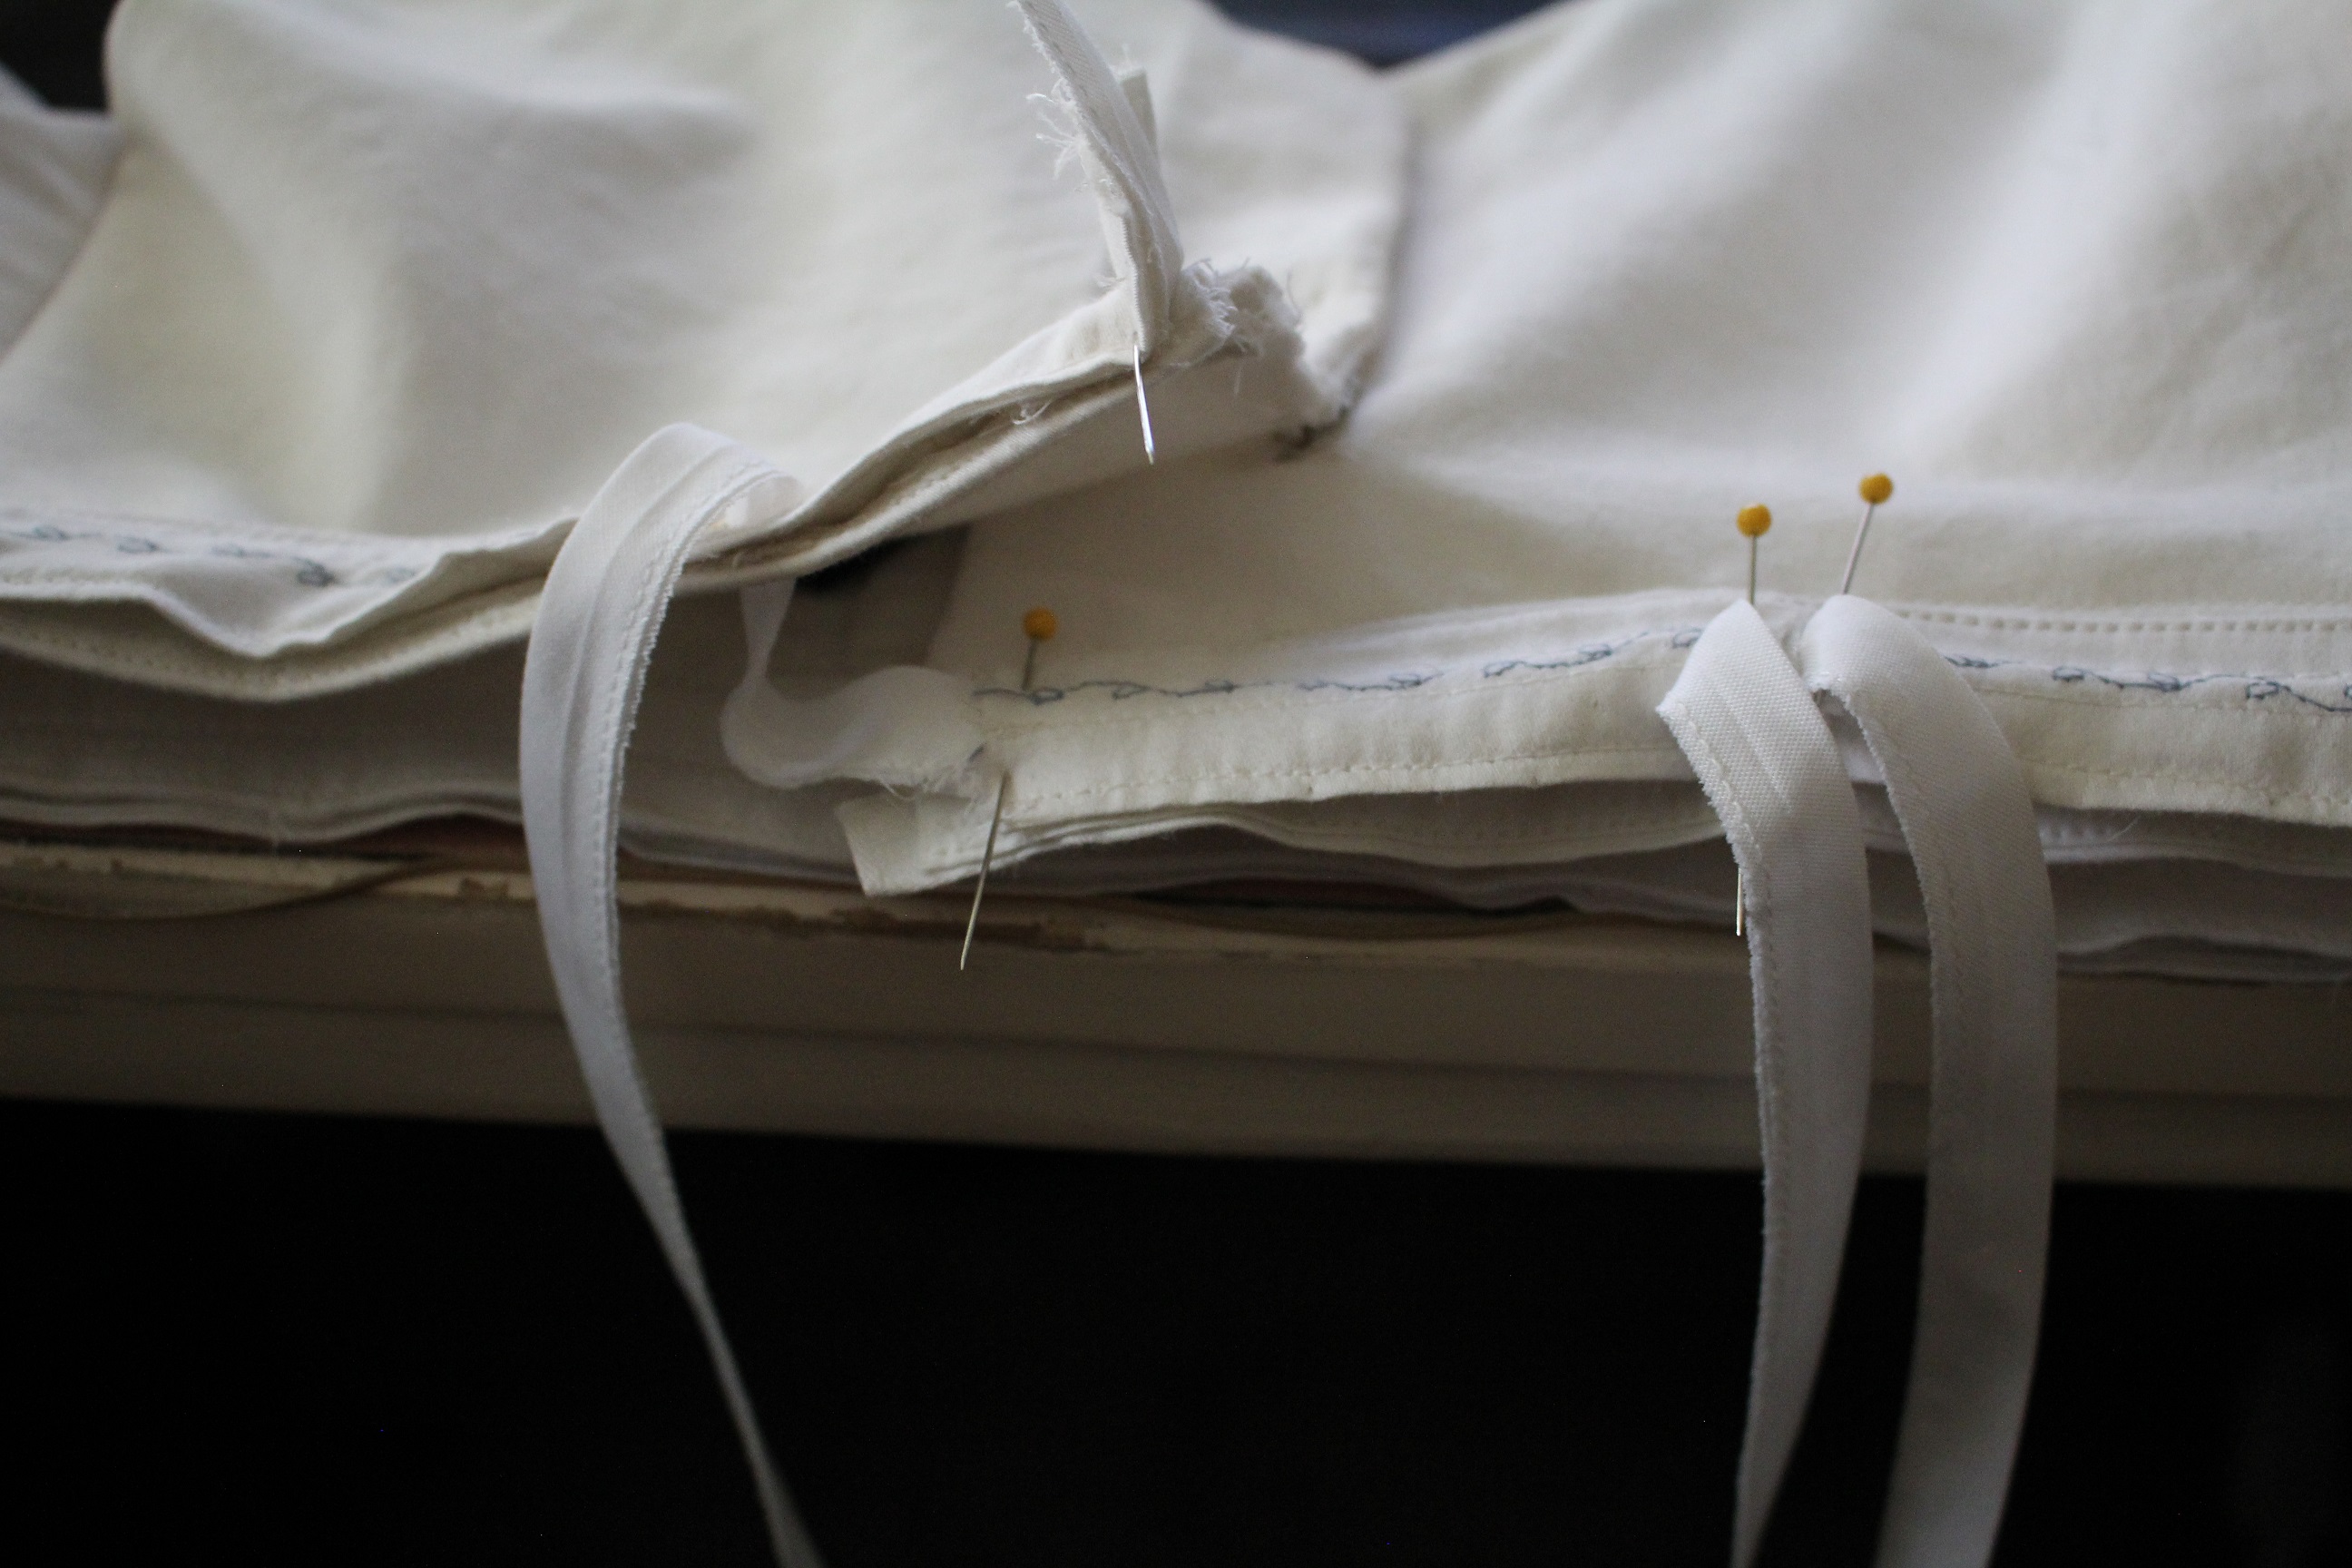 This would give it a solid, supported hold. I pinned it all in place to assure this would acheive the right fit. It did!
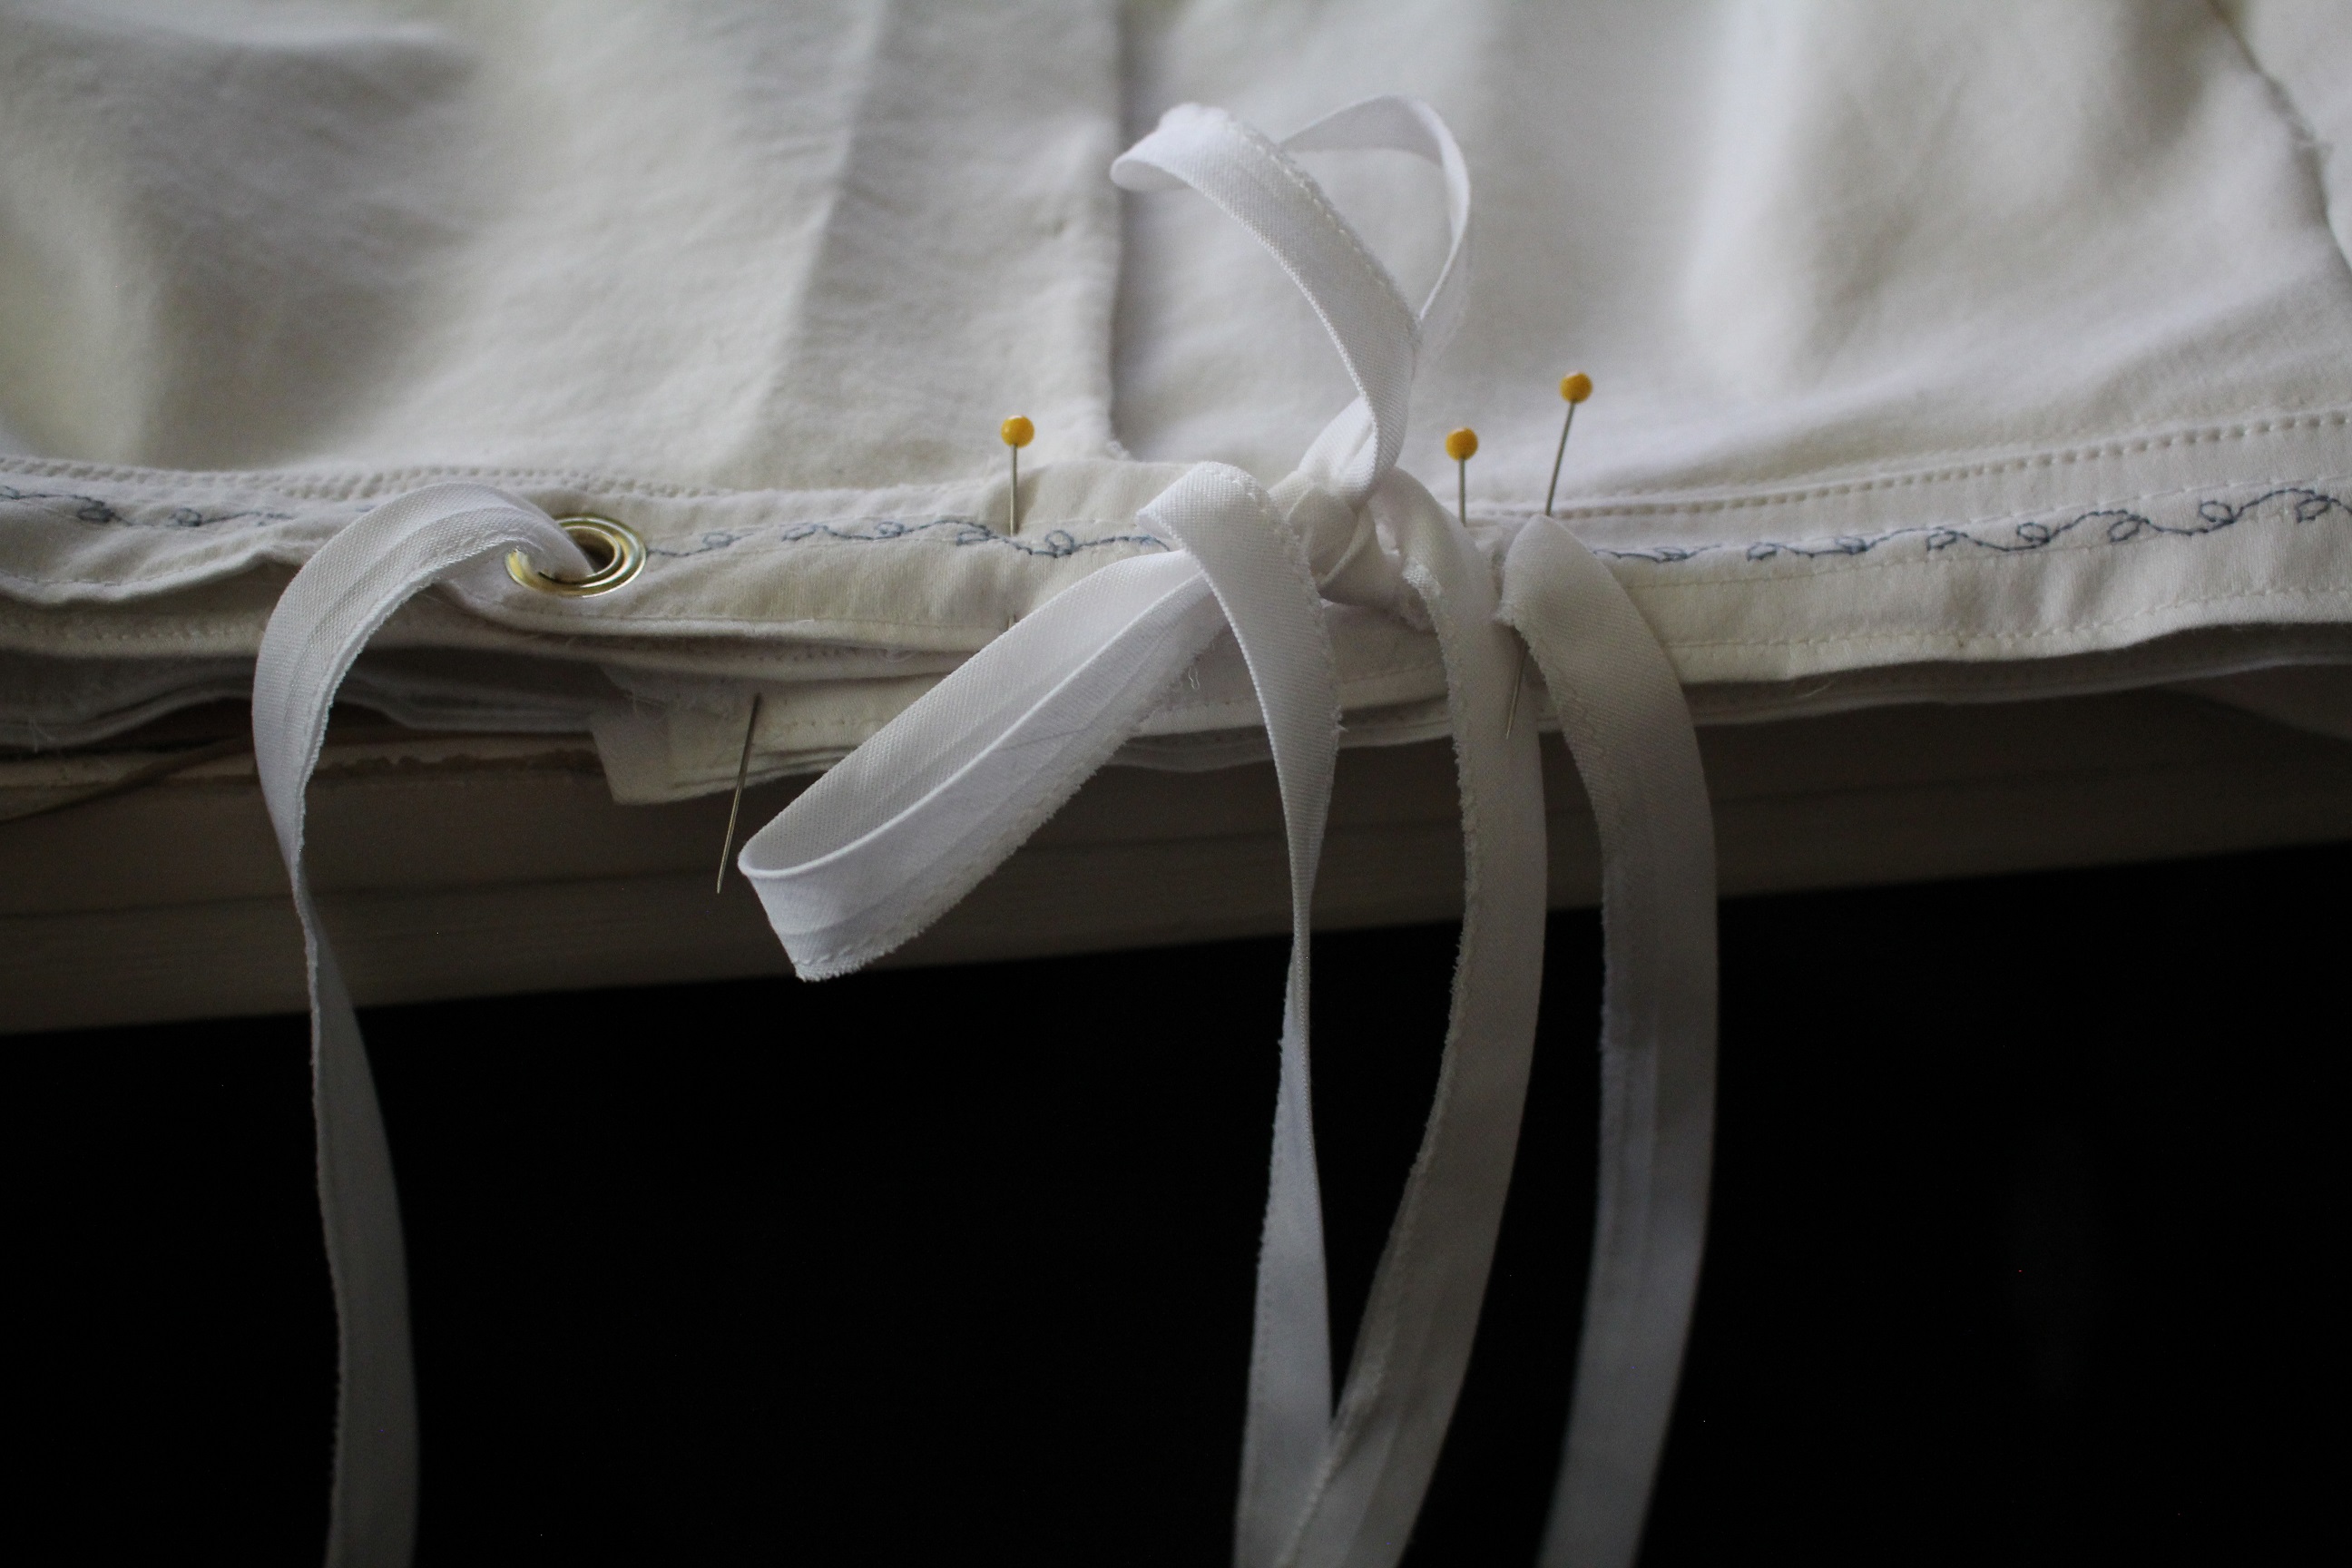
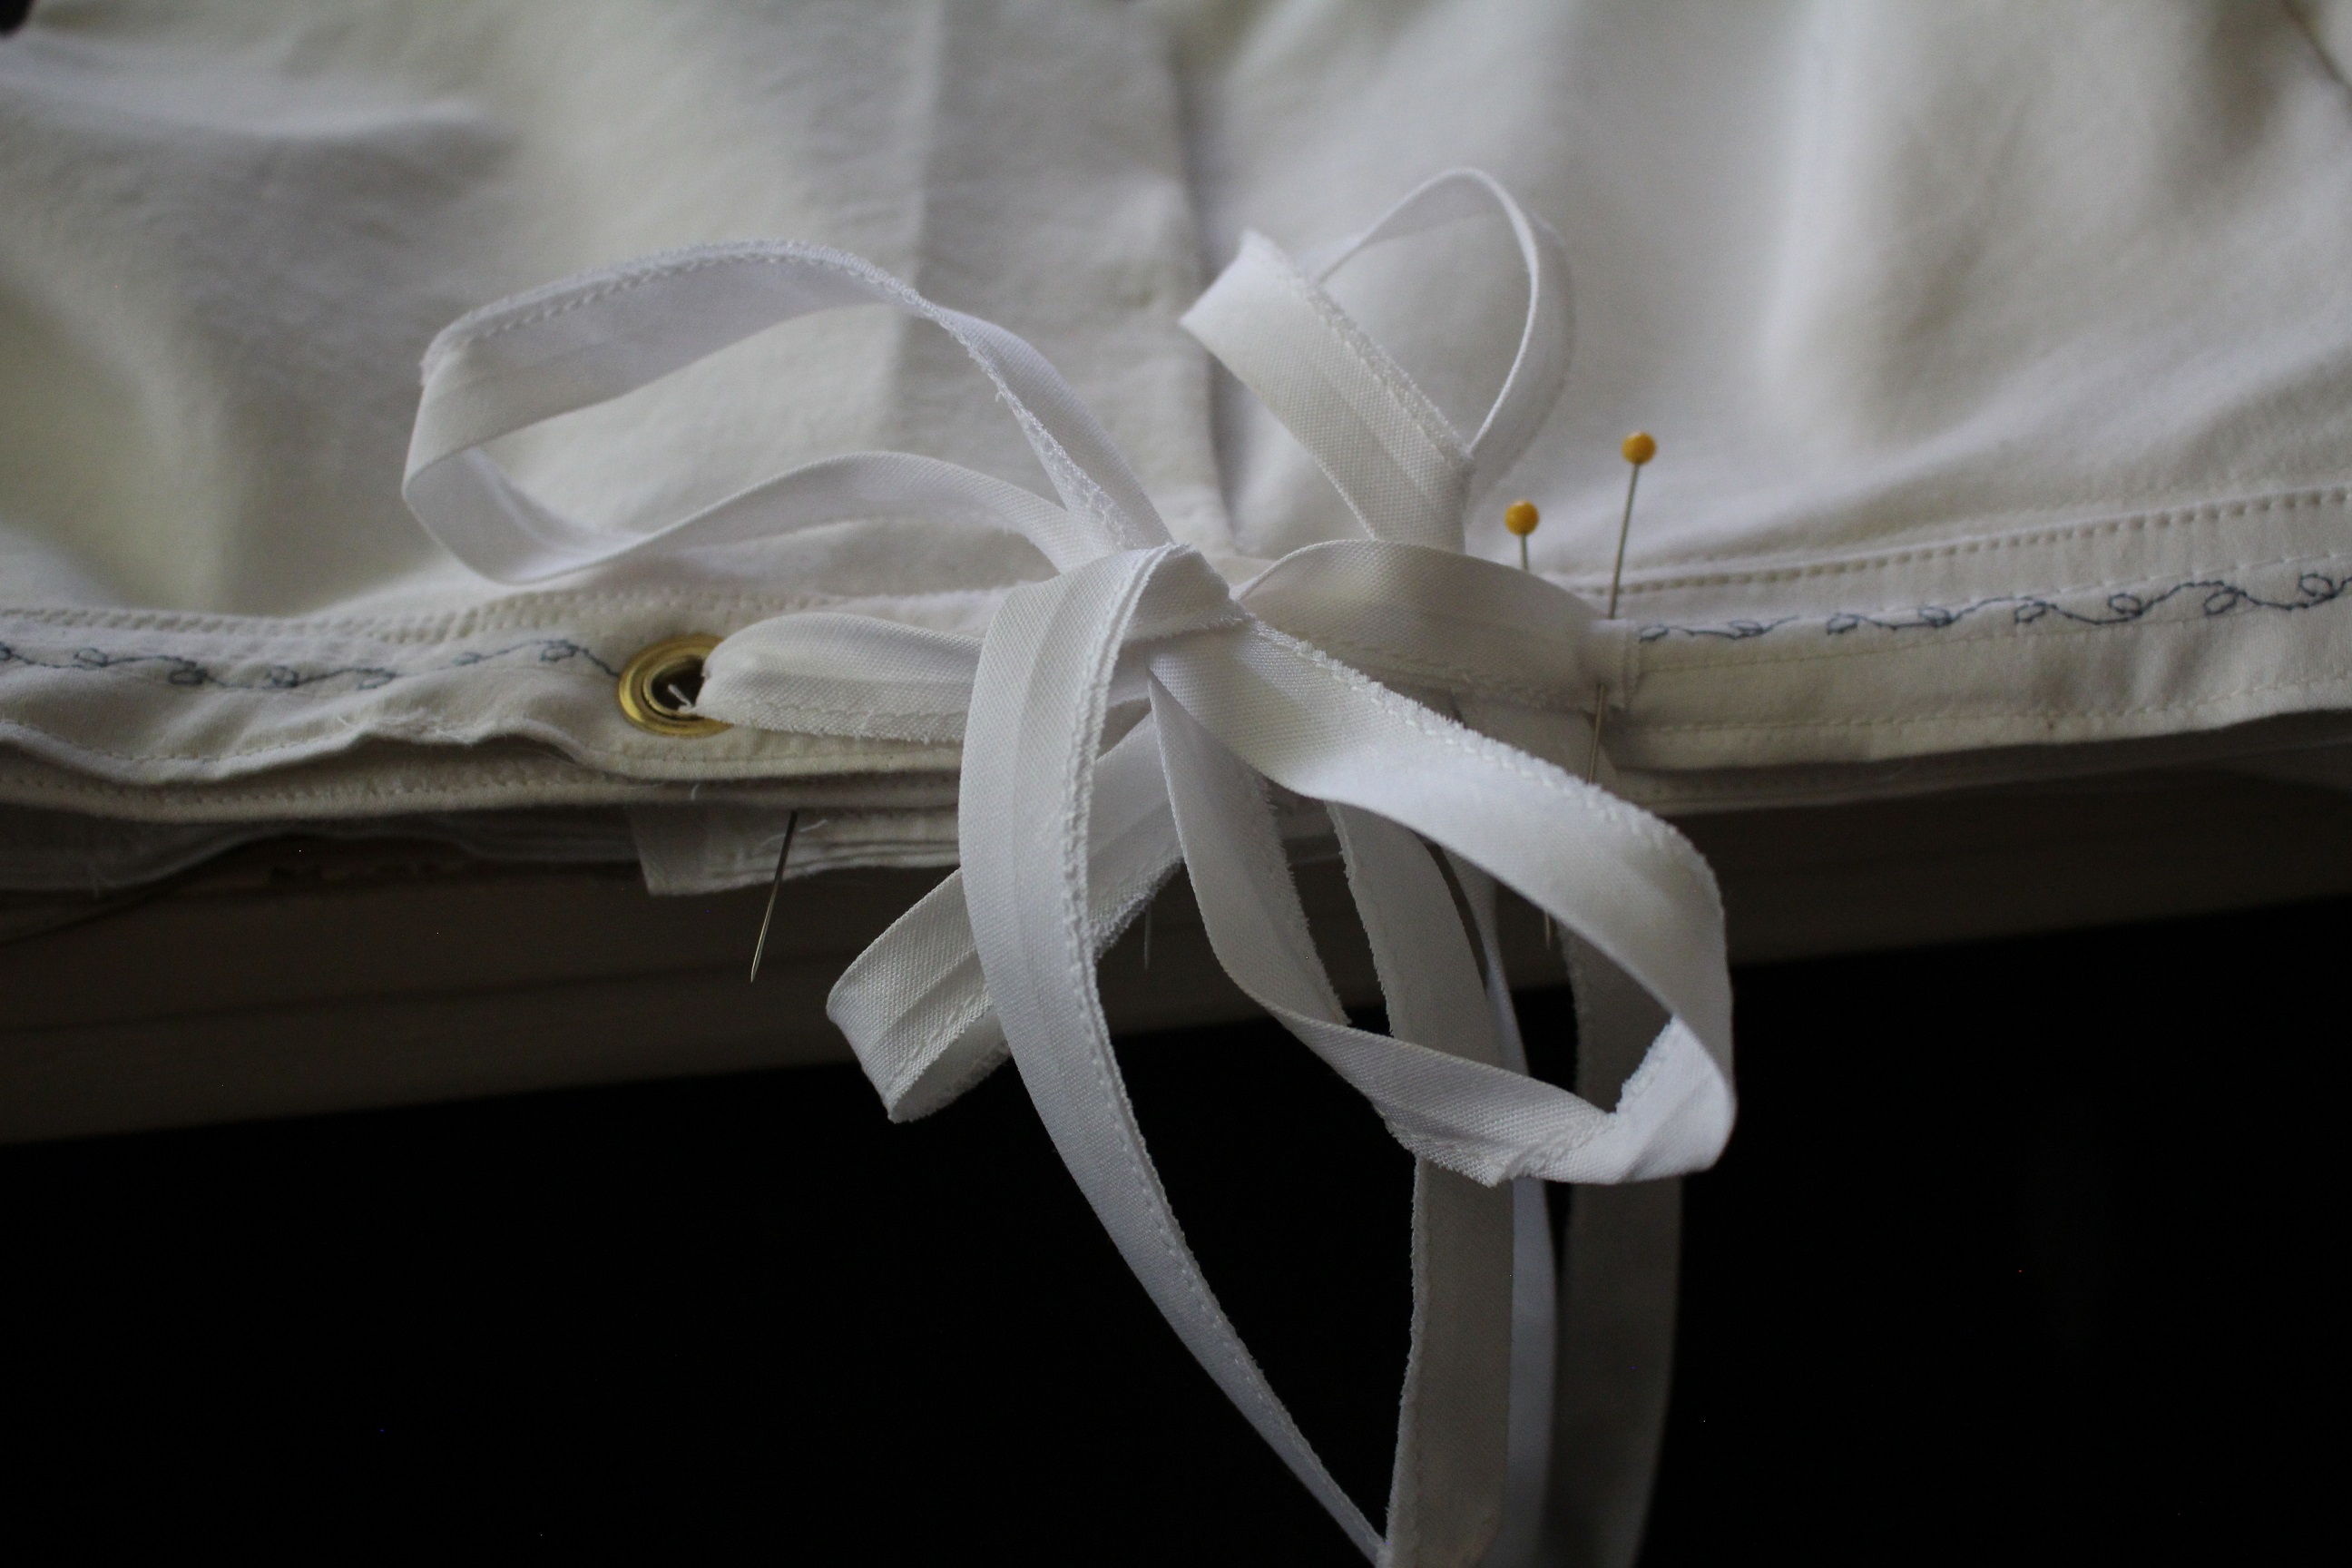 Now, it was finally on to attaching the skirt to the waistband. This means sandwiching it between the 2 layers of the waistband until I reached the very back, which would need gathering for the voluminous back.
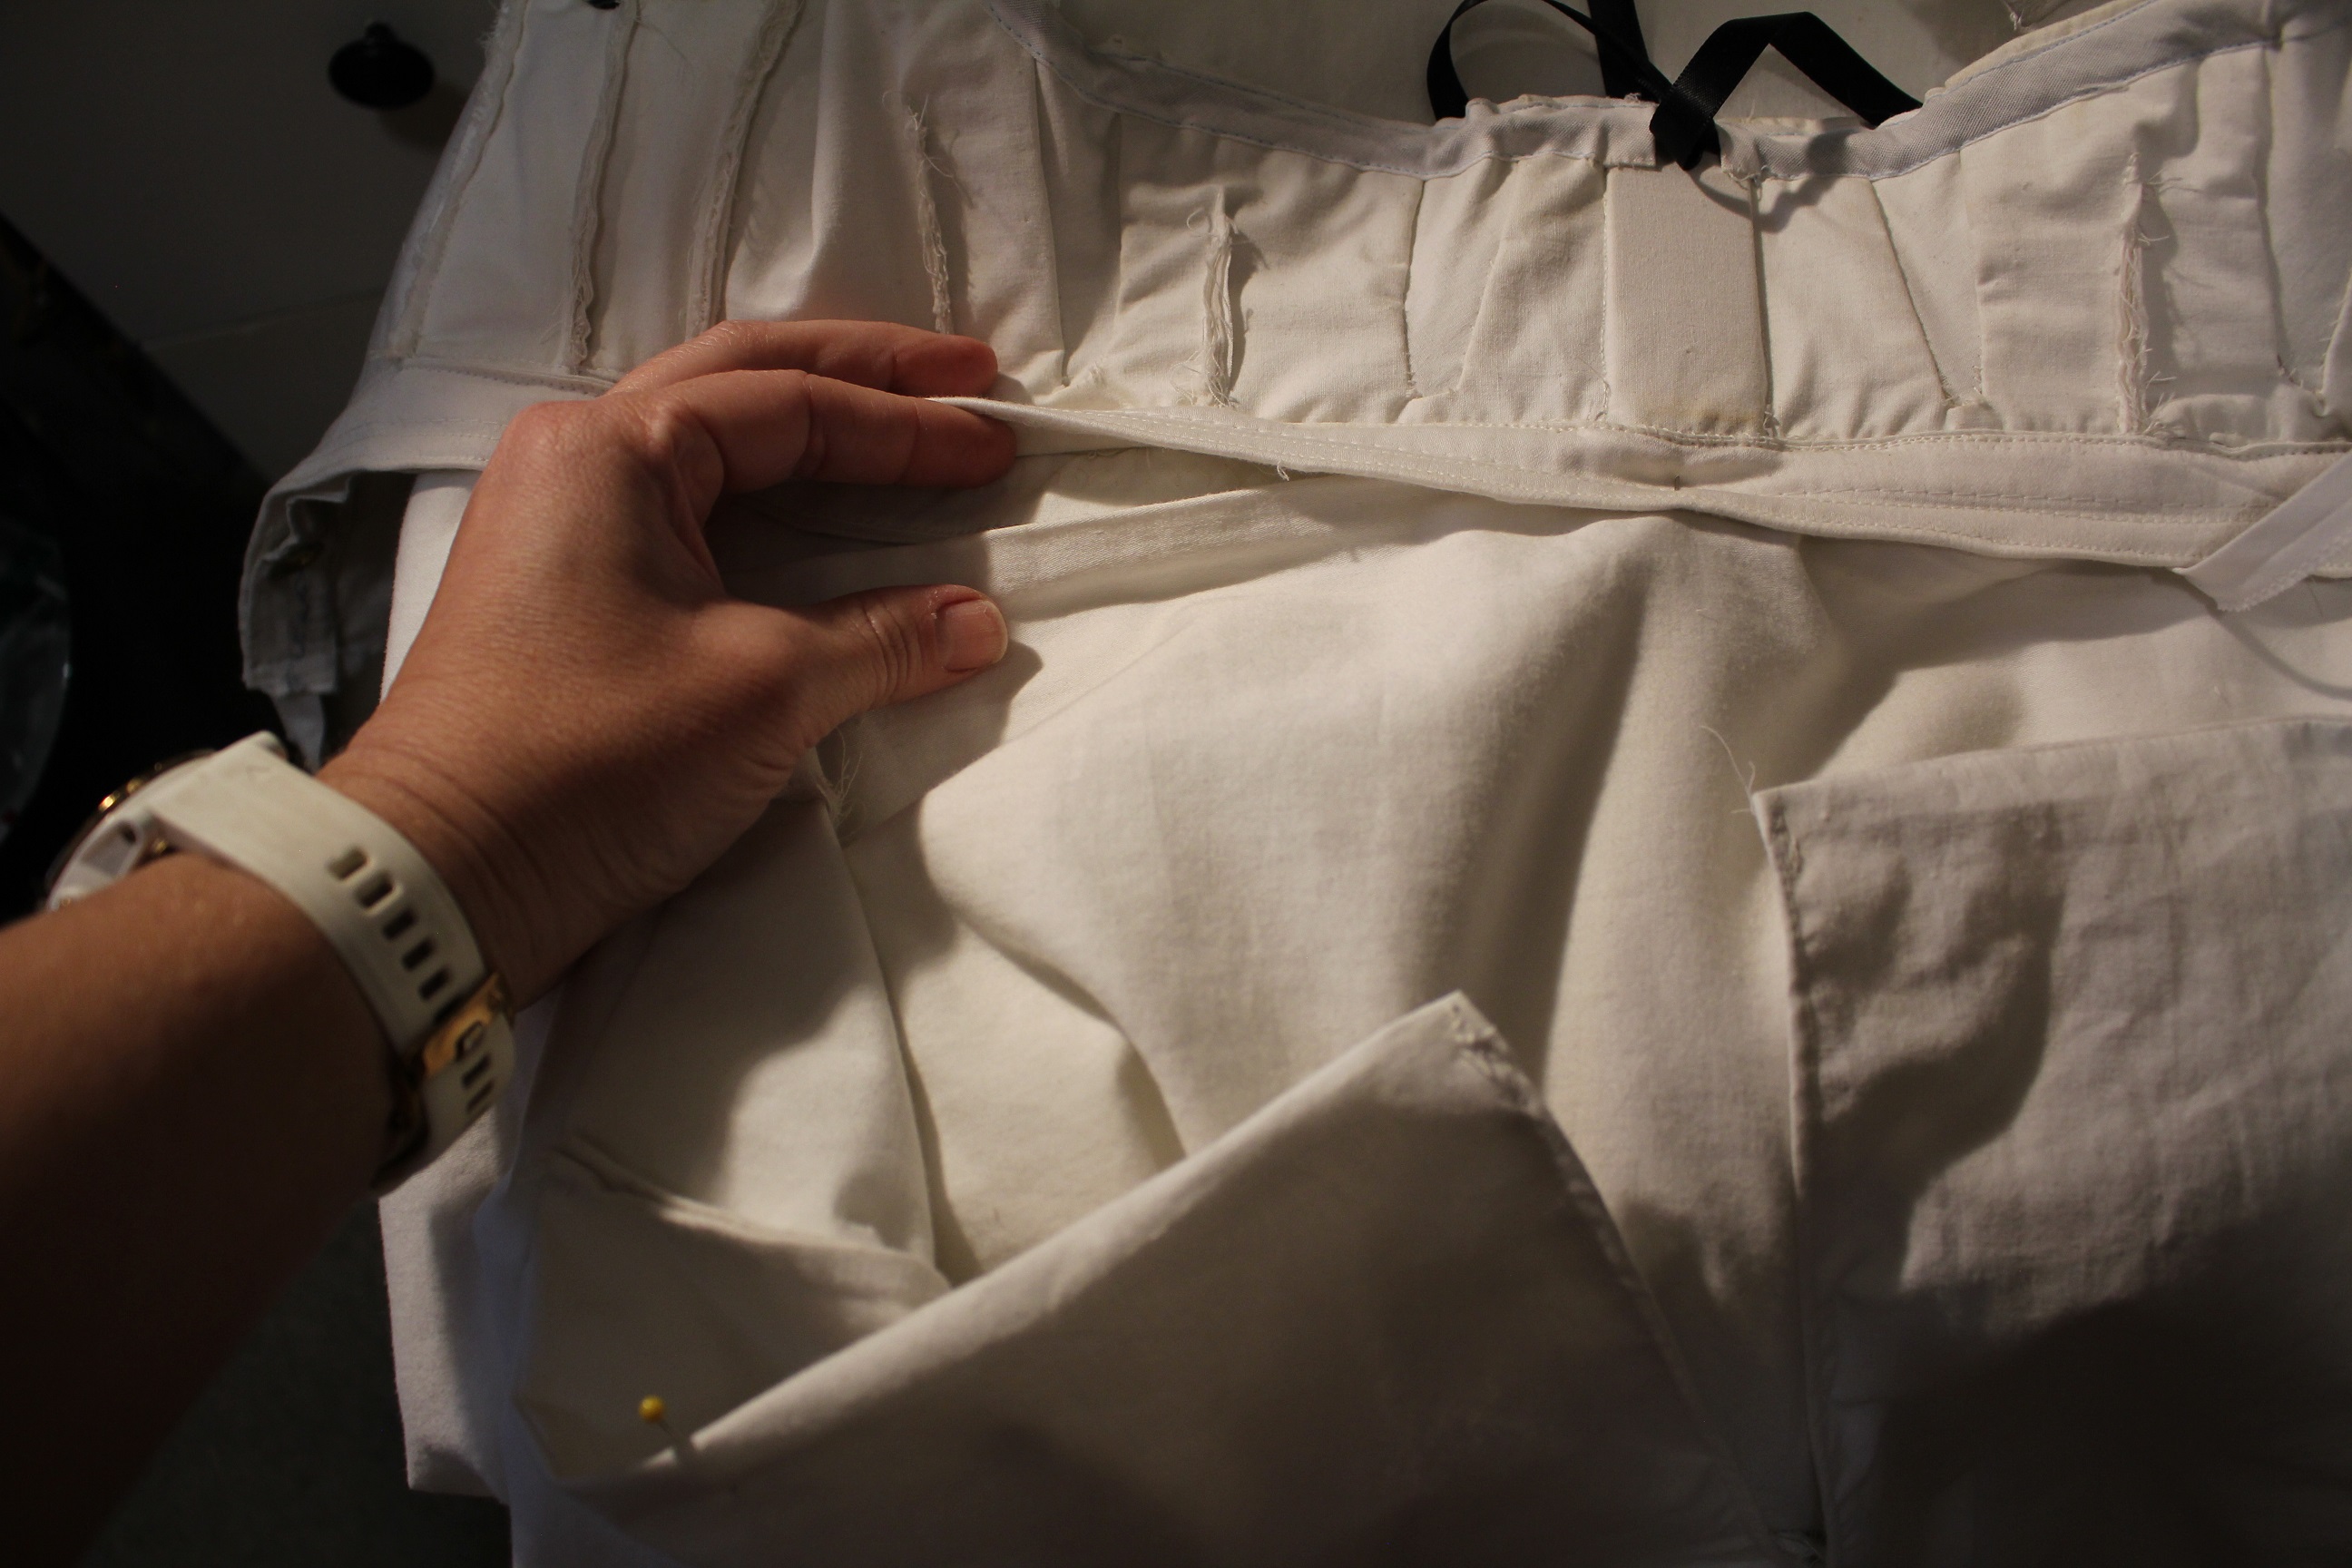
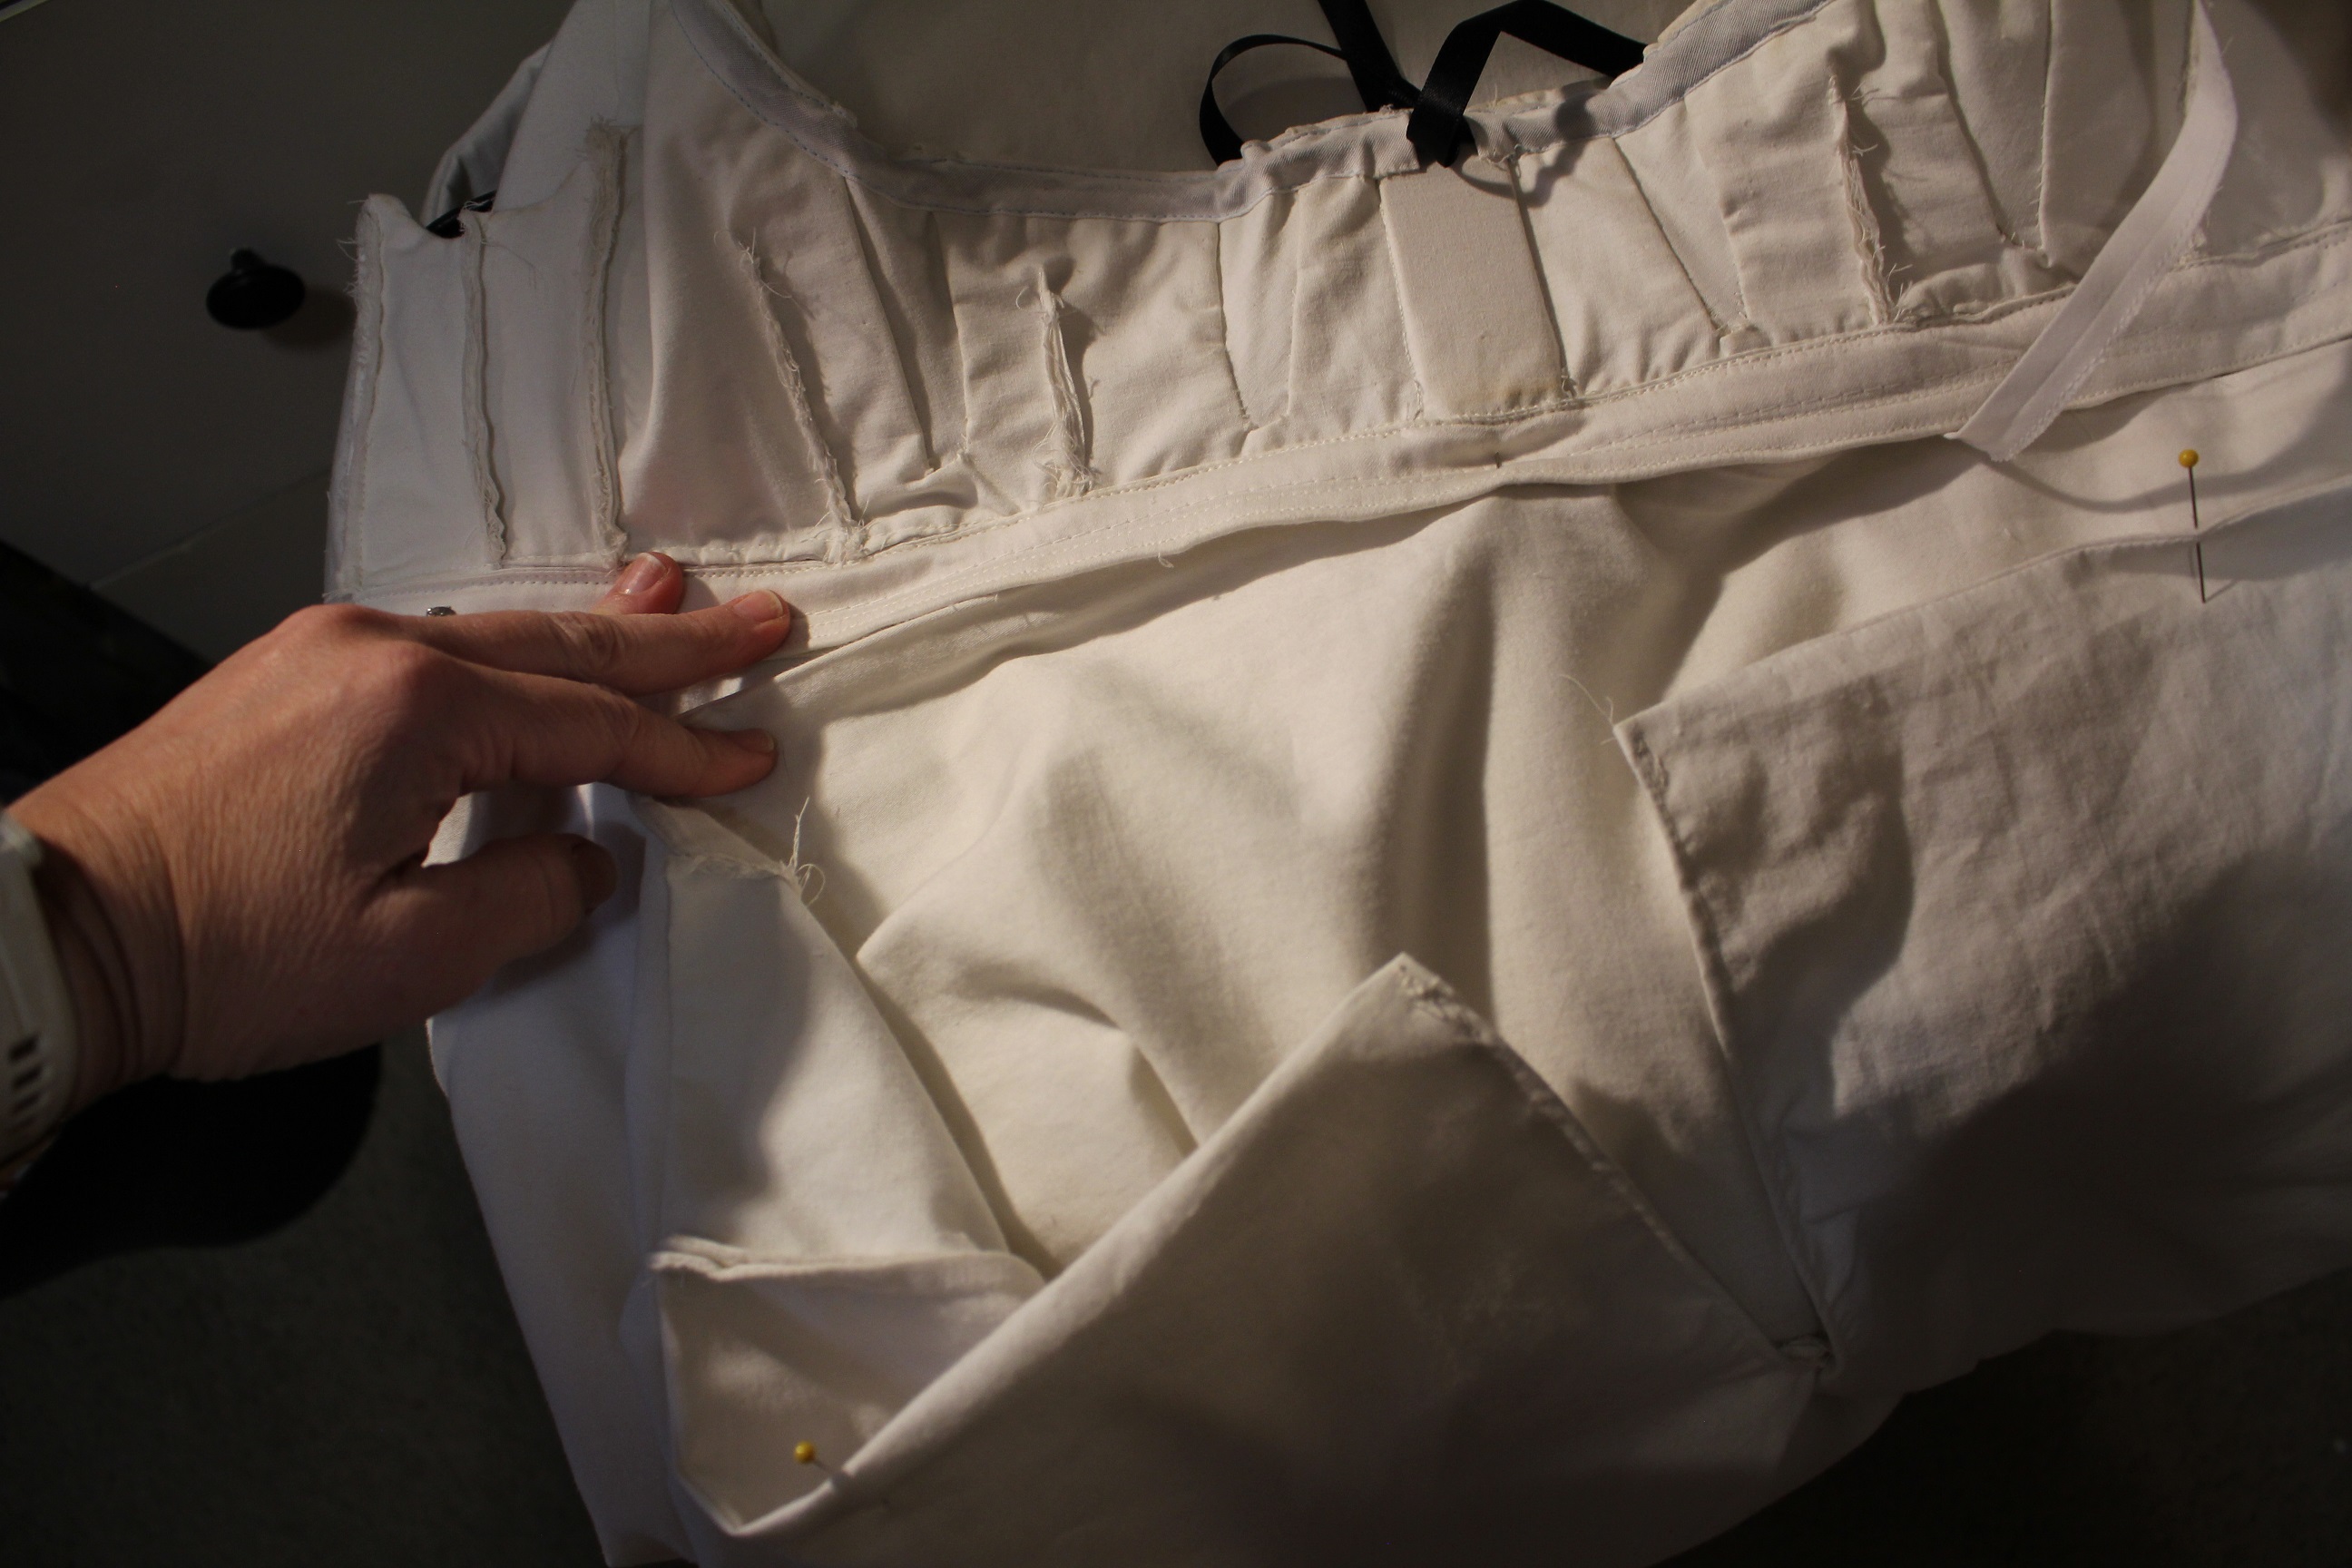 Now it was onto stitching and hoping I didn't screw this up.
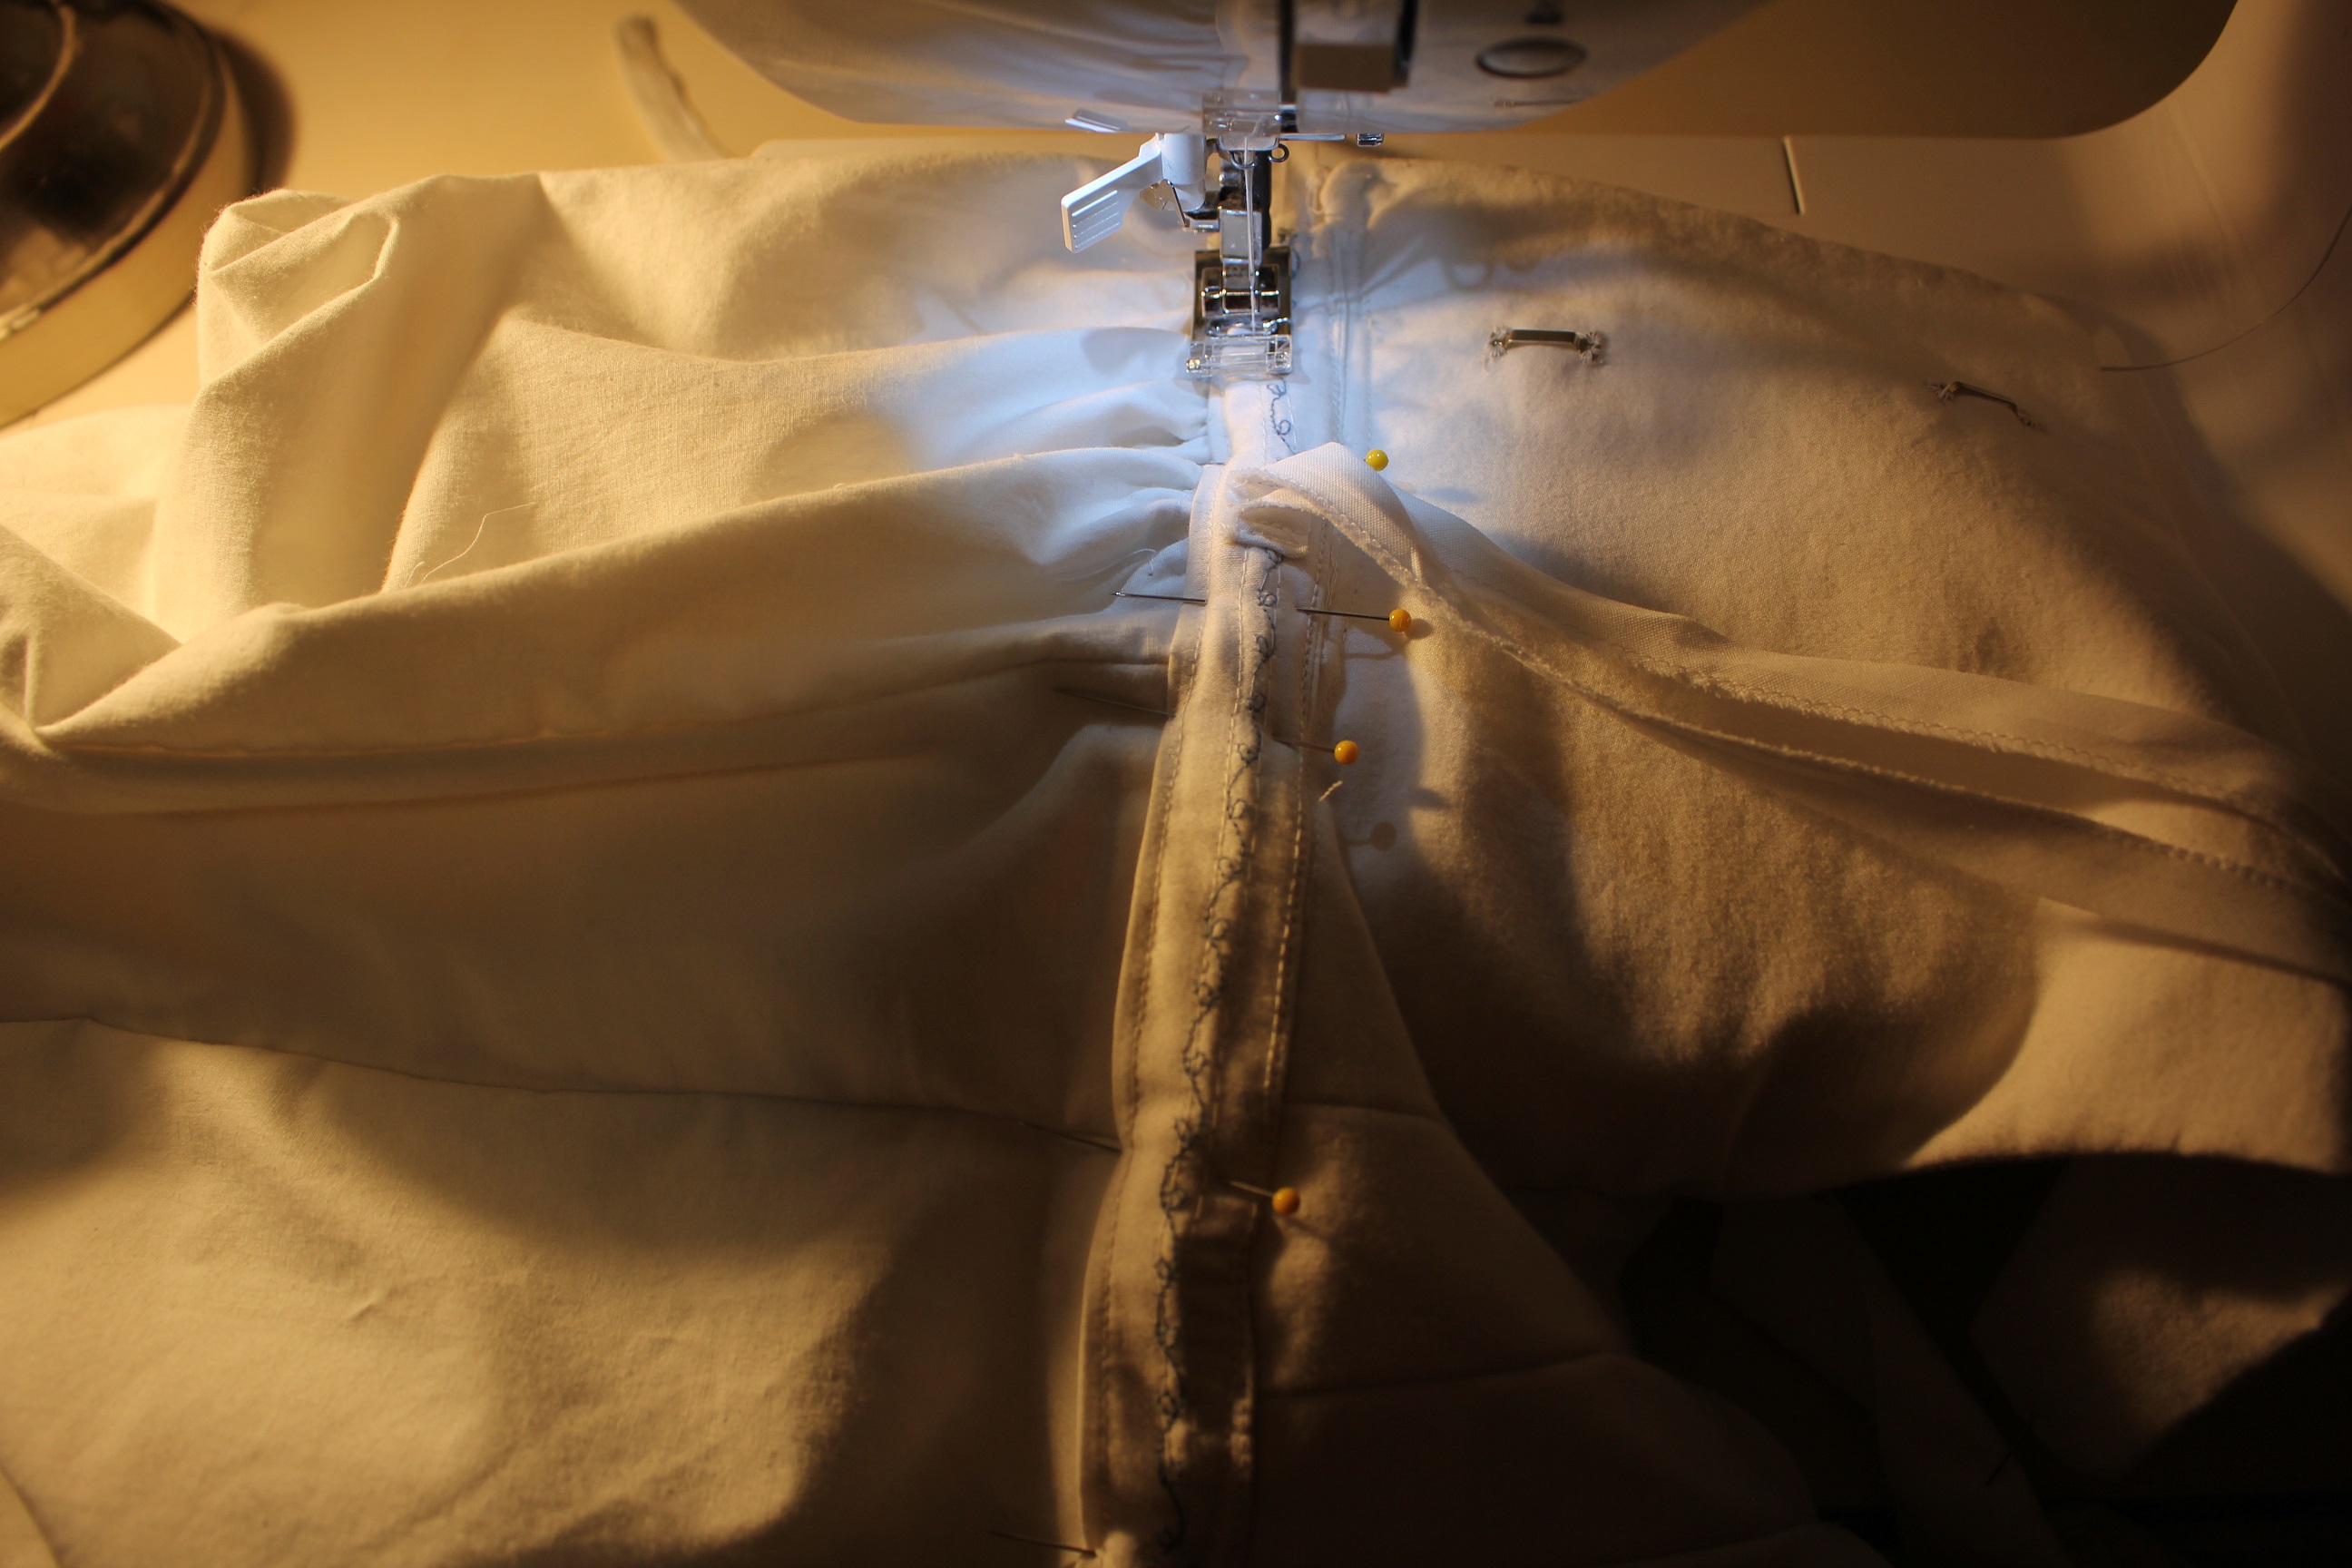
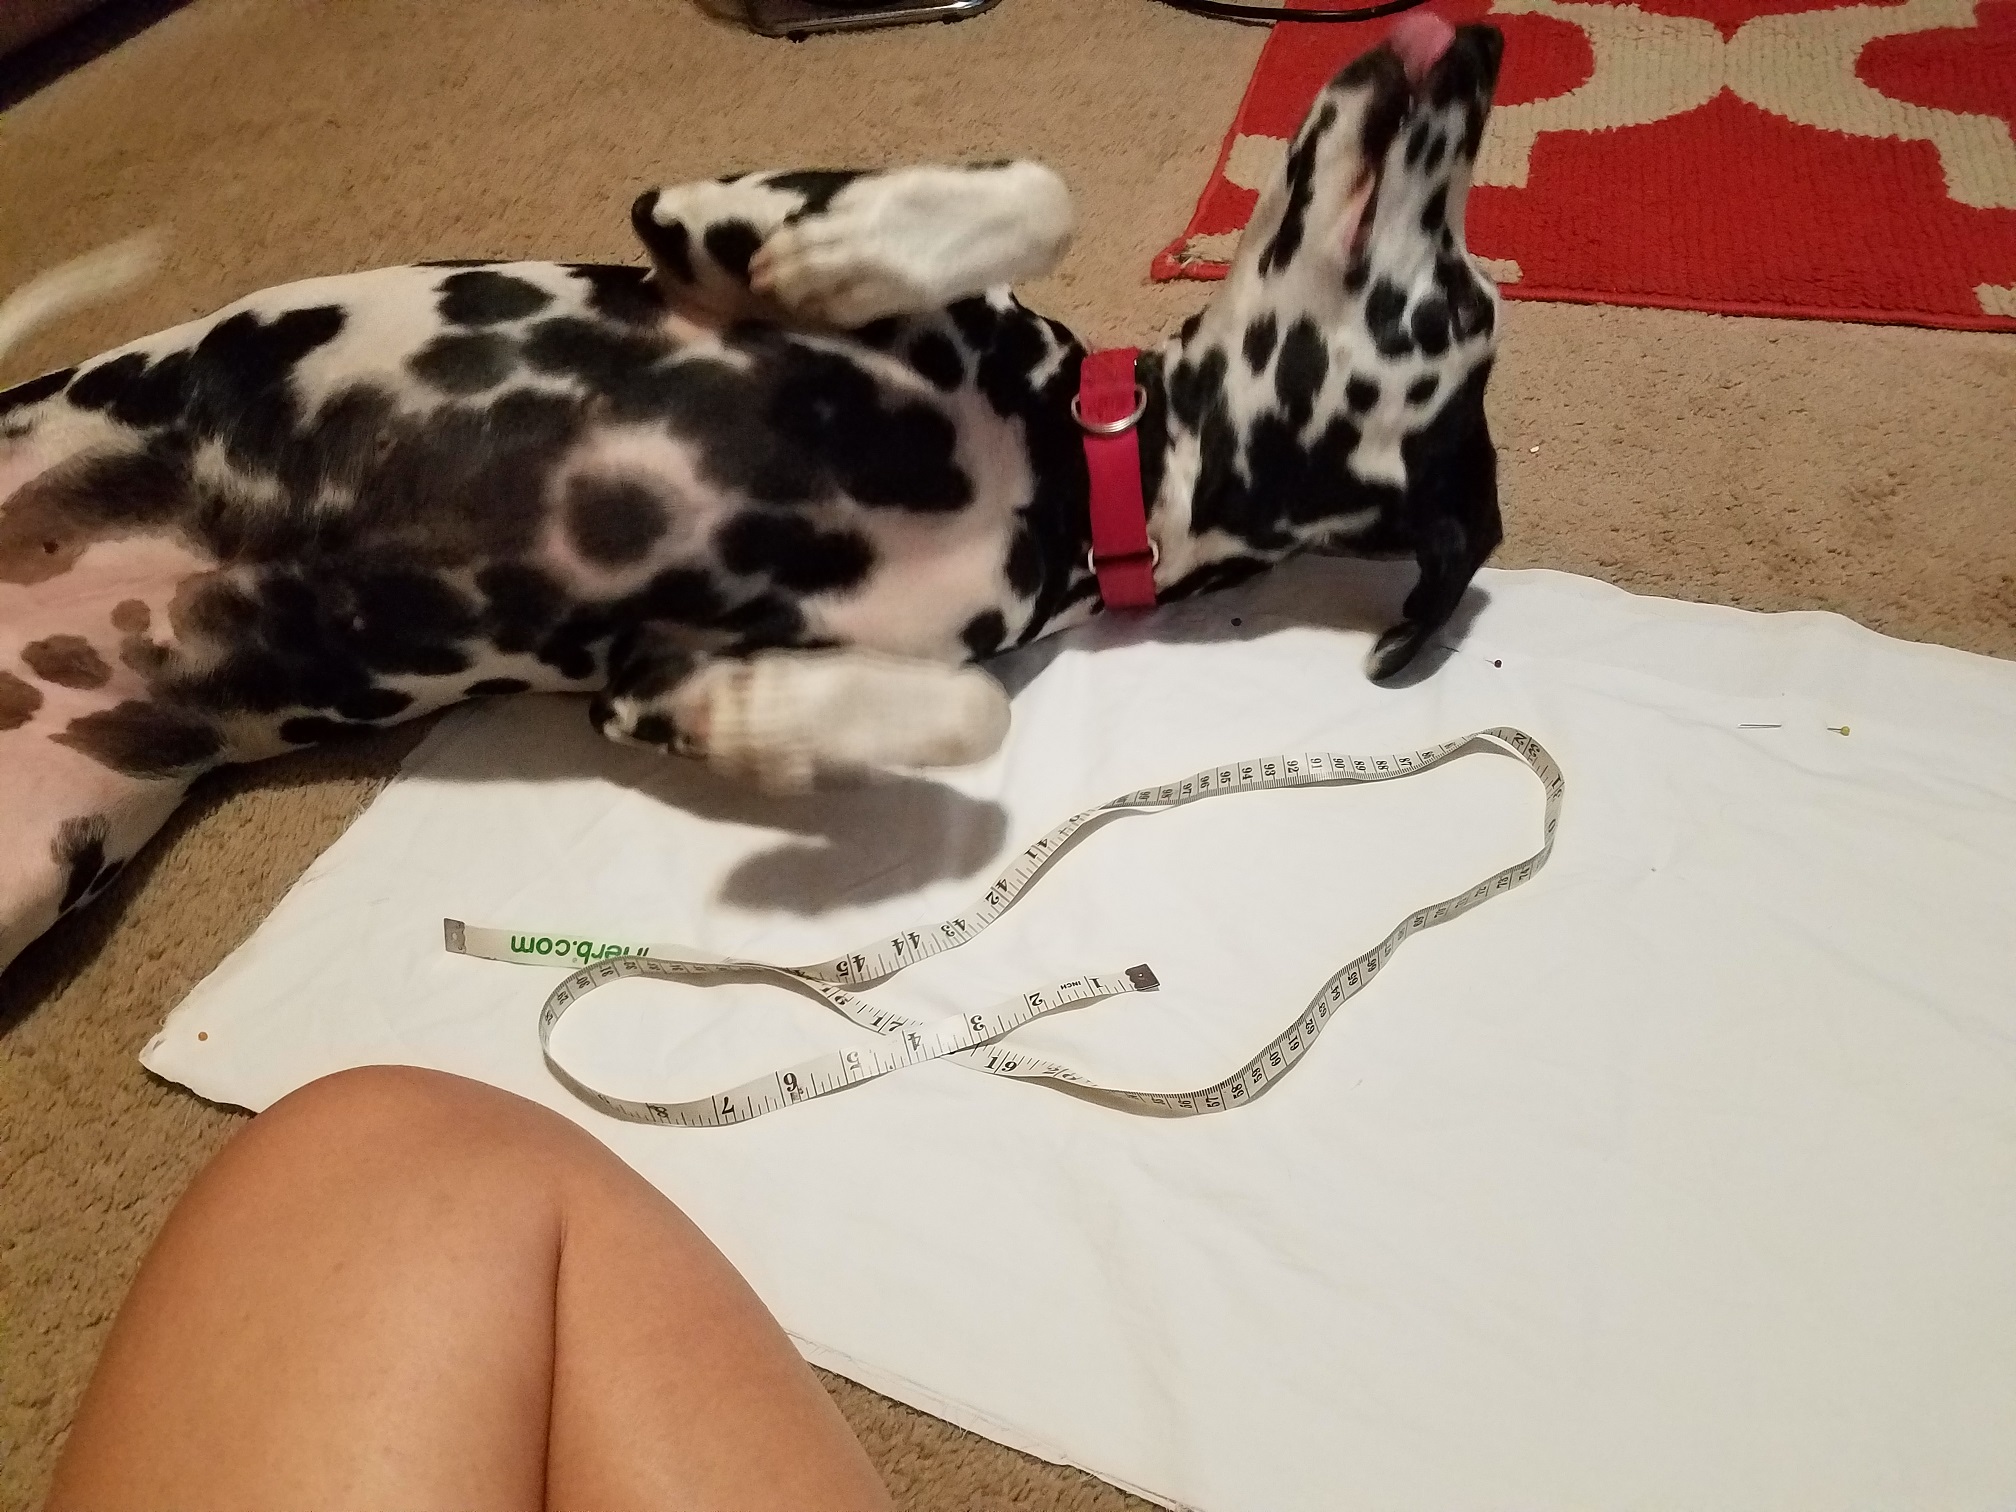
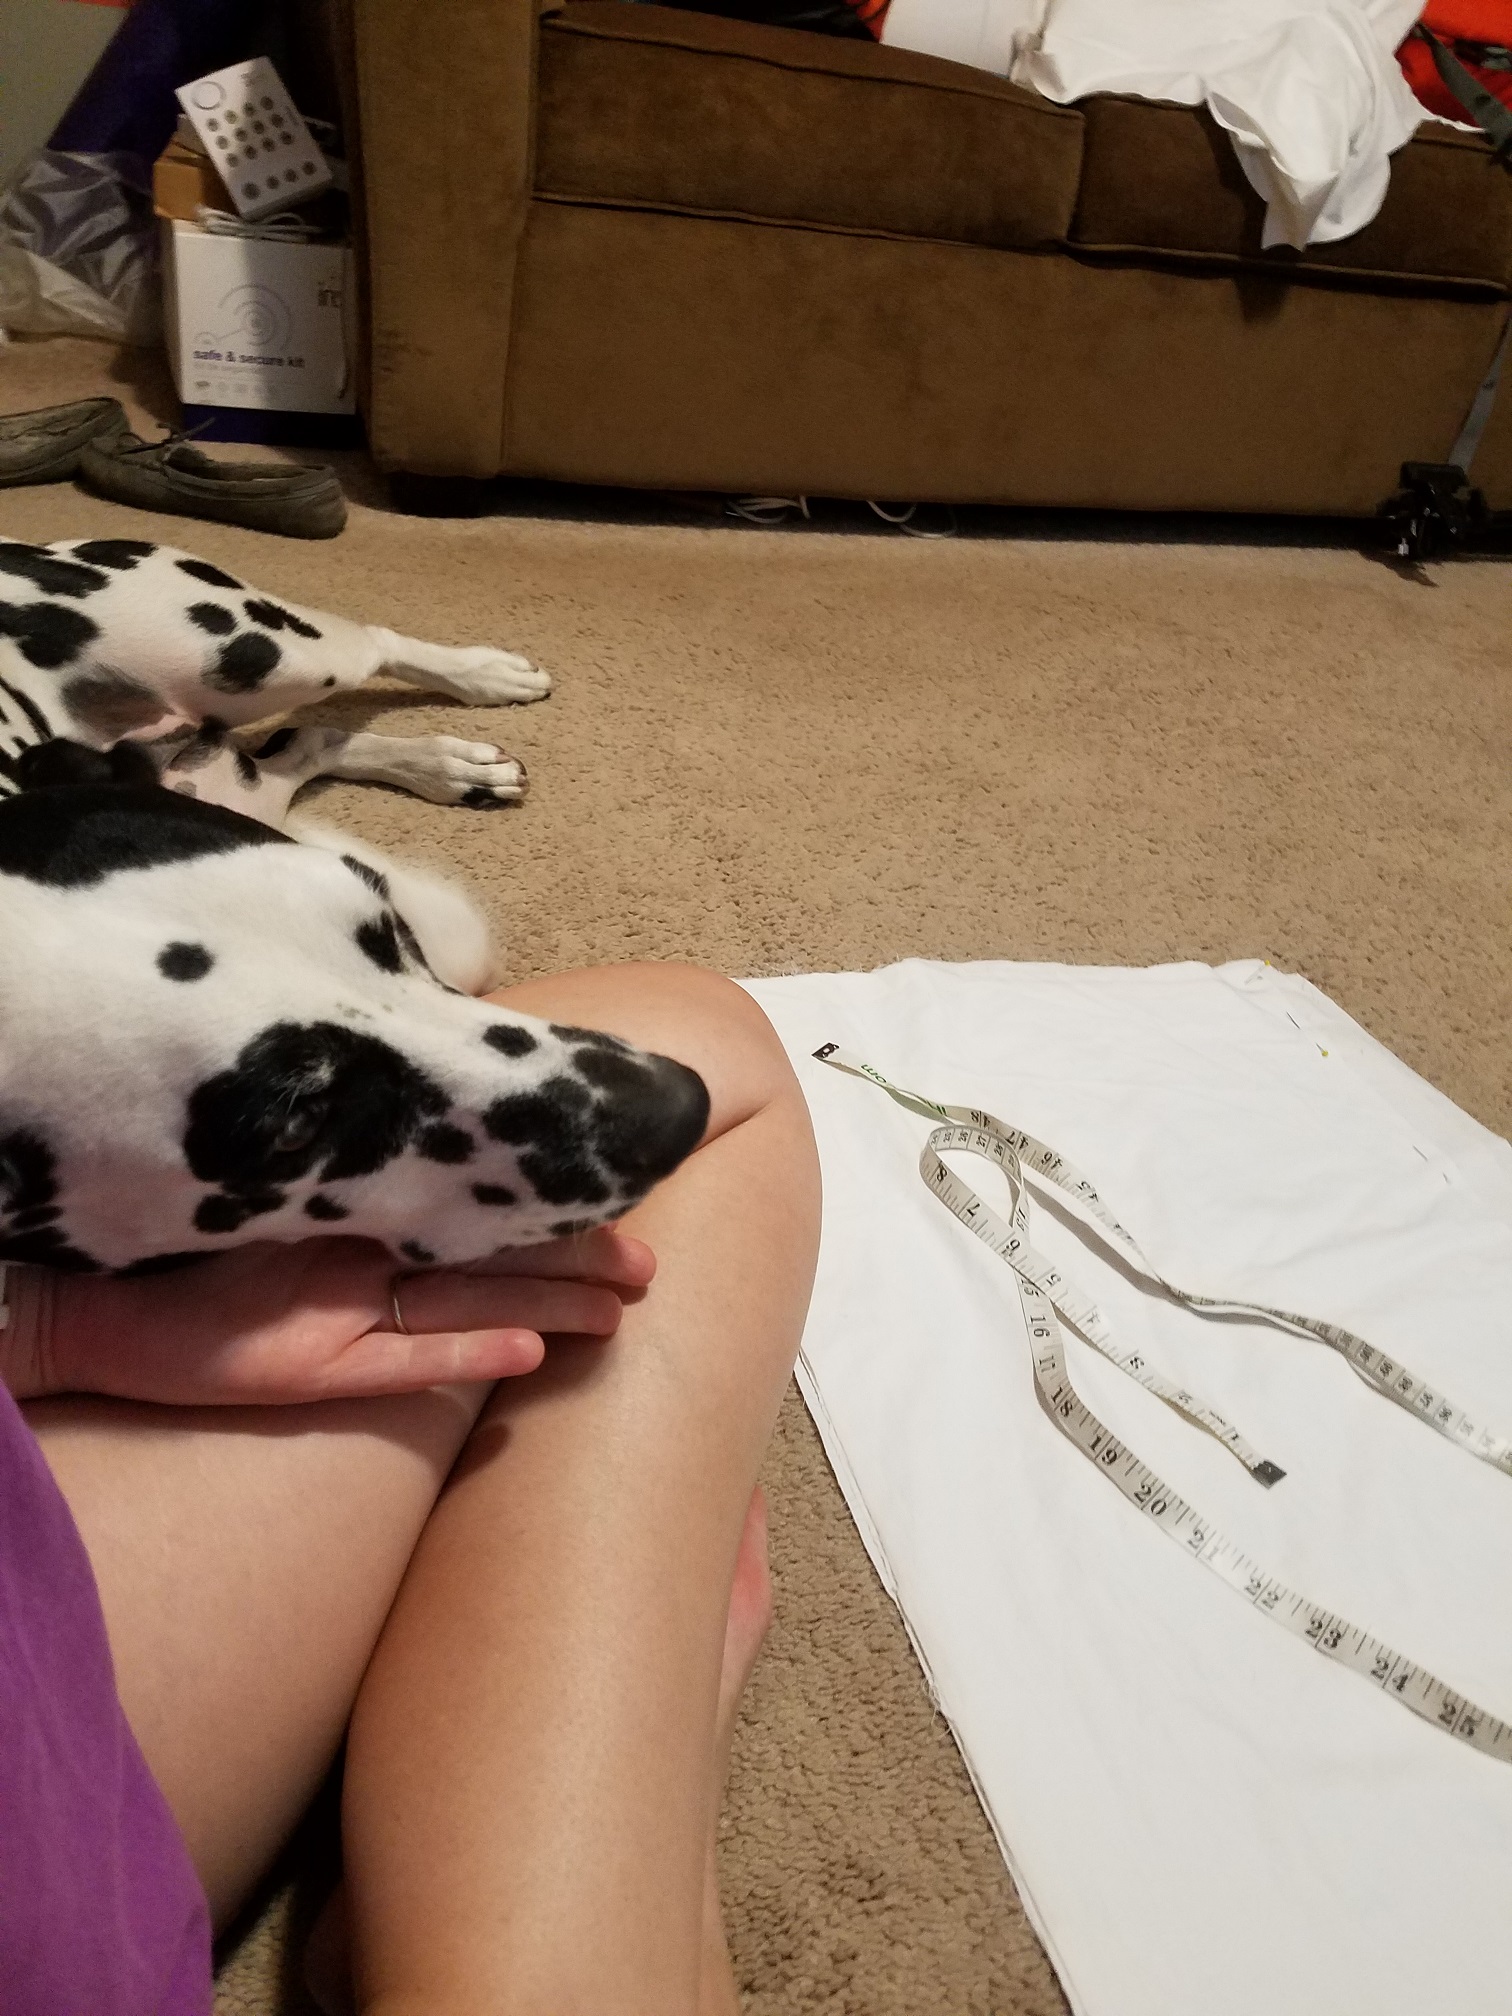
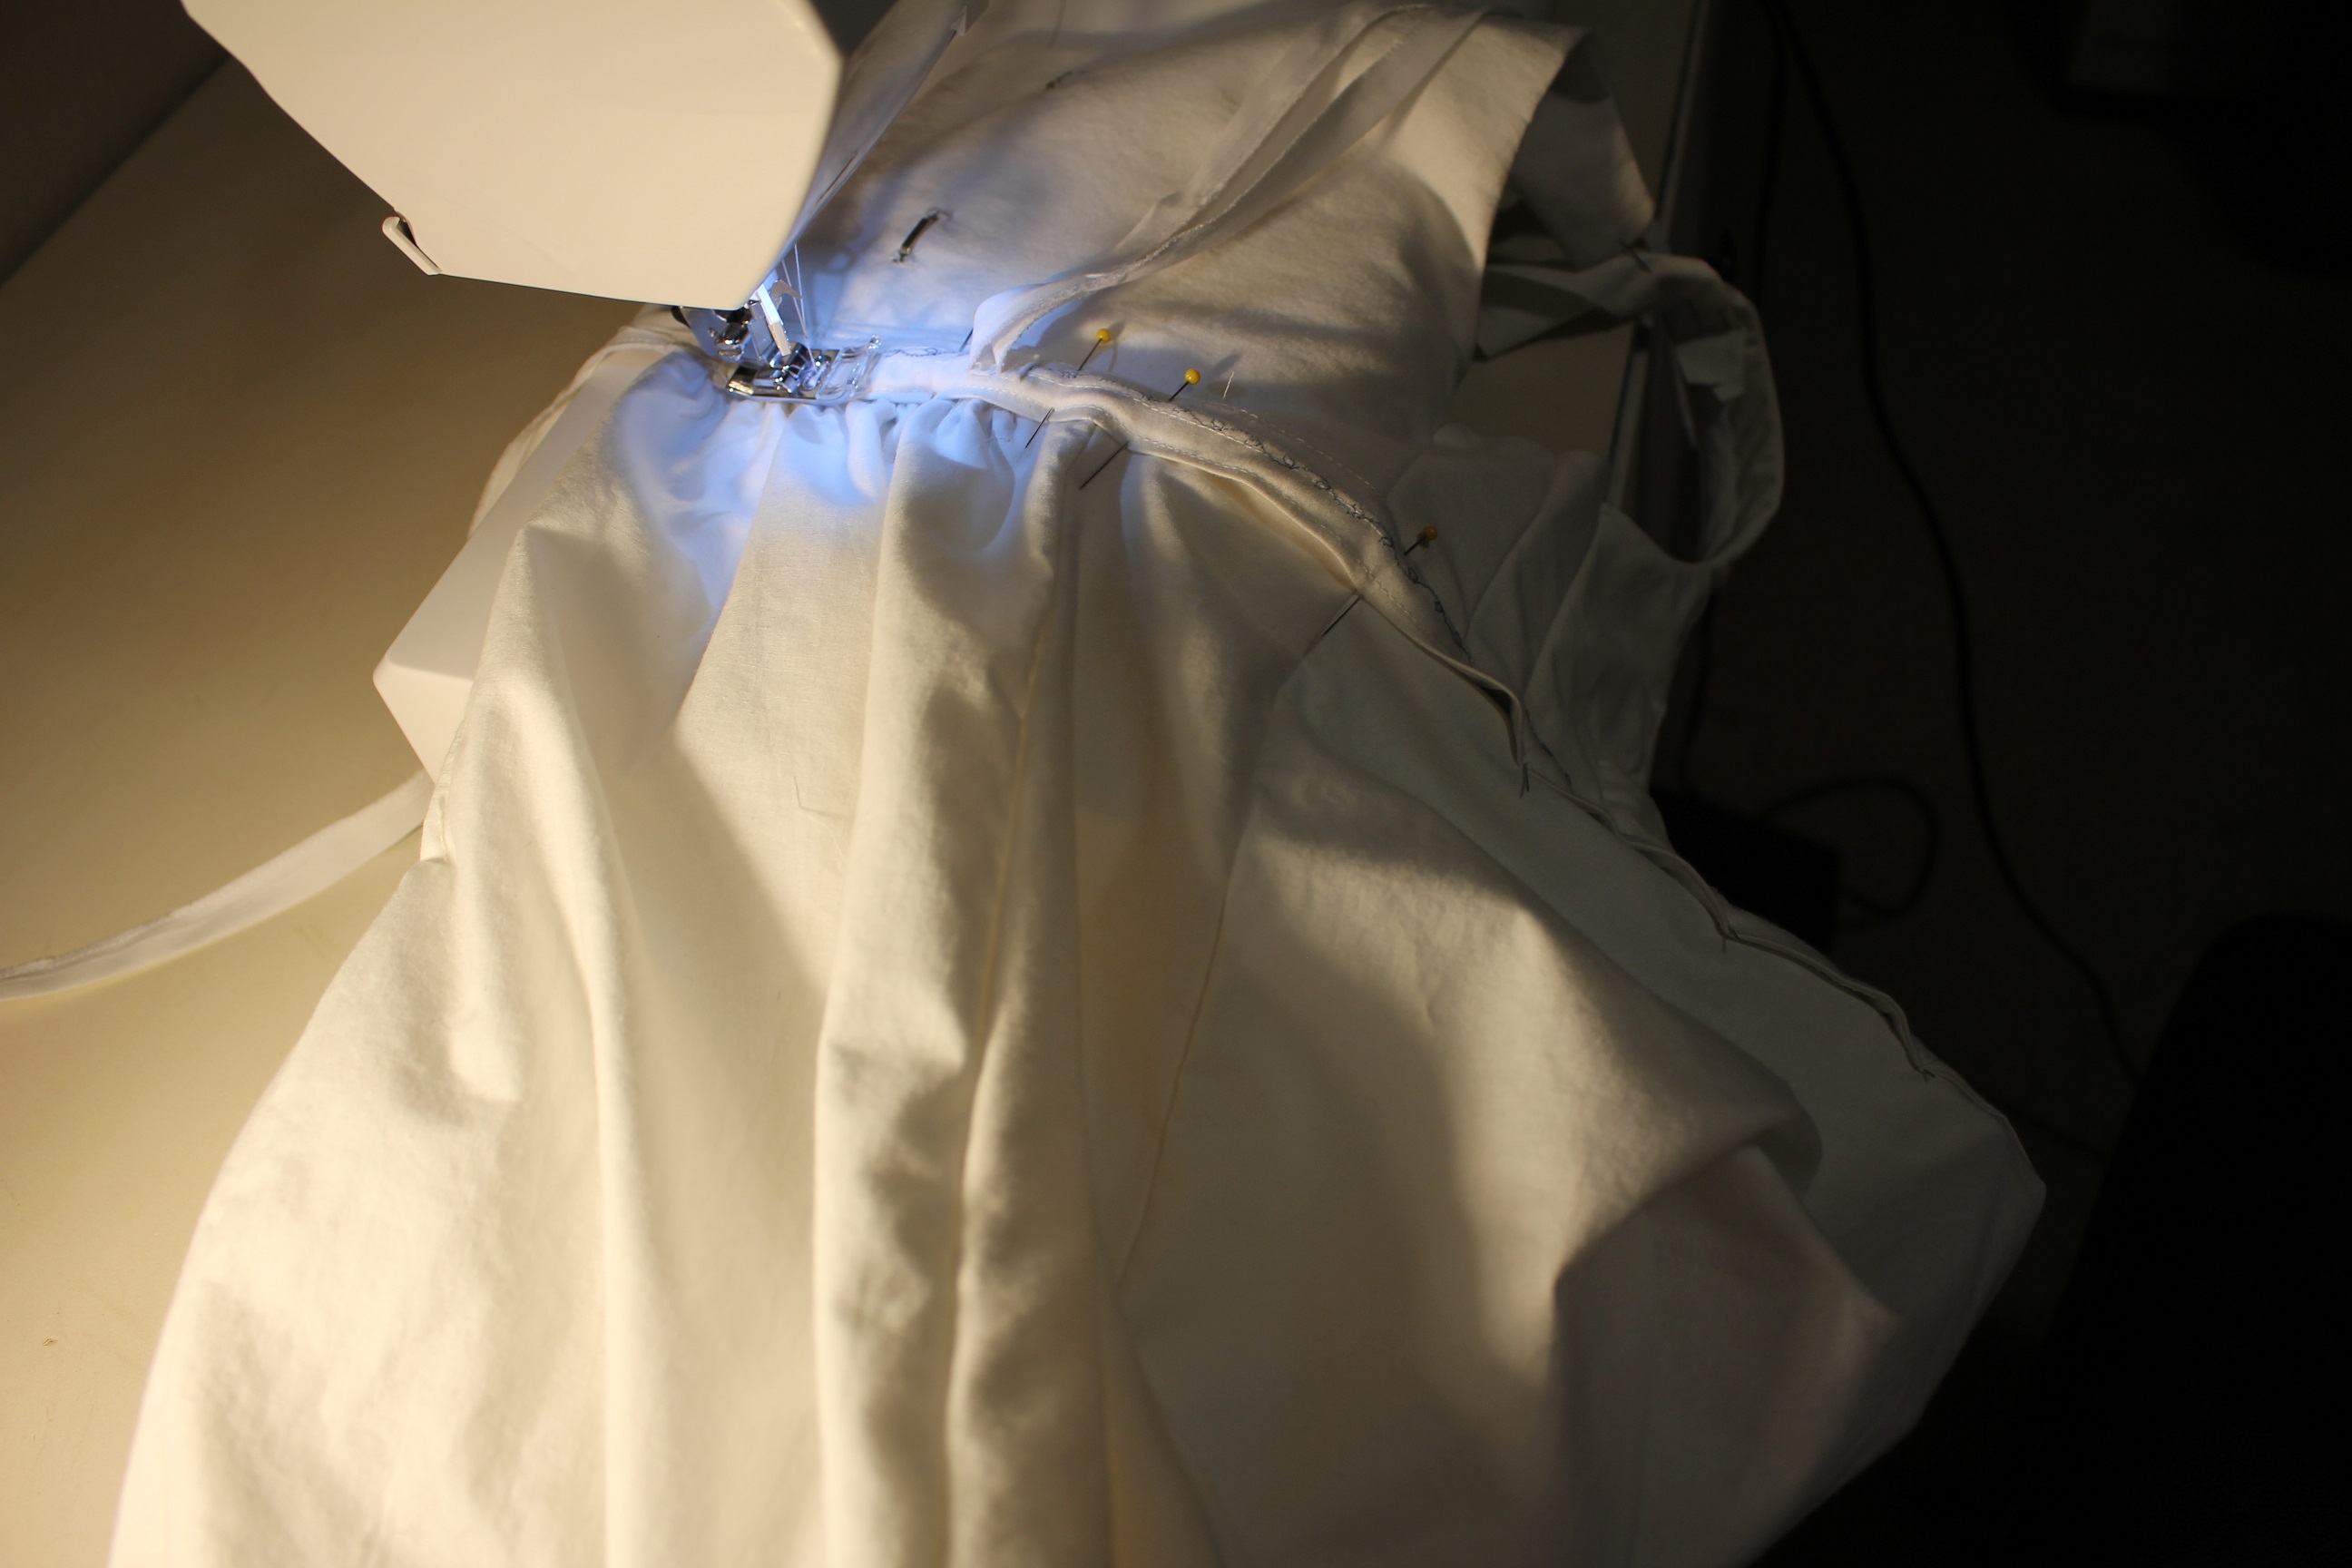 Also, you should know that Daisy was not about me sewing.
 After a solid push, it was time to try it on. Success!
 Up next, the final touches!
Sun06
Well, I have been snatching time here and there to work on the petticoat, but due to responsibilities elsewhere- silly things like work (and perhaps a side project or two) I haven't been quite as dilligent. Tis ok. That's why I started super early.
This way, just picking it up once a week or so, I might still make it in time.
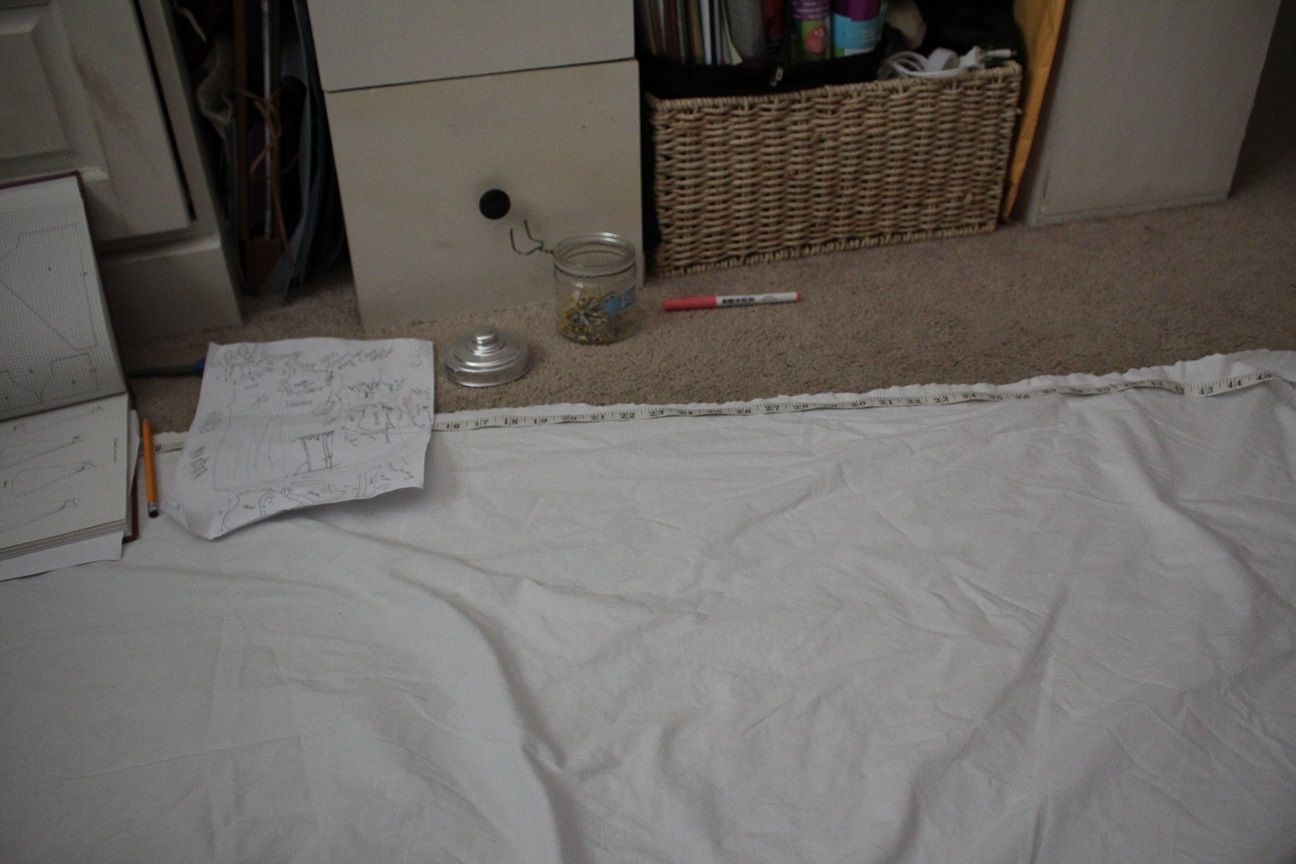
Now that the bodice was mostly done, it was time to move on to the skirt. Skirts are pretty easy, so I wasn't feeling too intimidated coming into this. I laid out my materials and stared at my resources for awhile to figure out
how to lay out the material for maximum efficiency. This resulted in an hour of me futzing with the folds and eventually getting so frustrated that I childishly cut the bottom away and threw the waste material at my couch. (yikes)
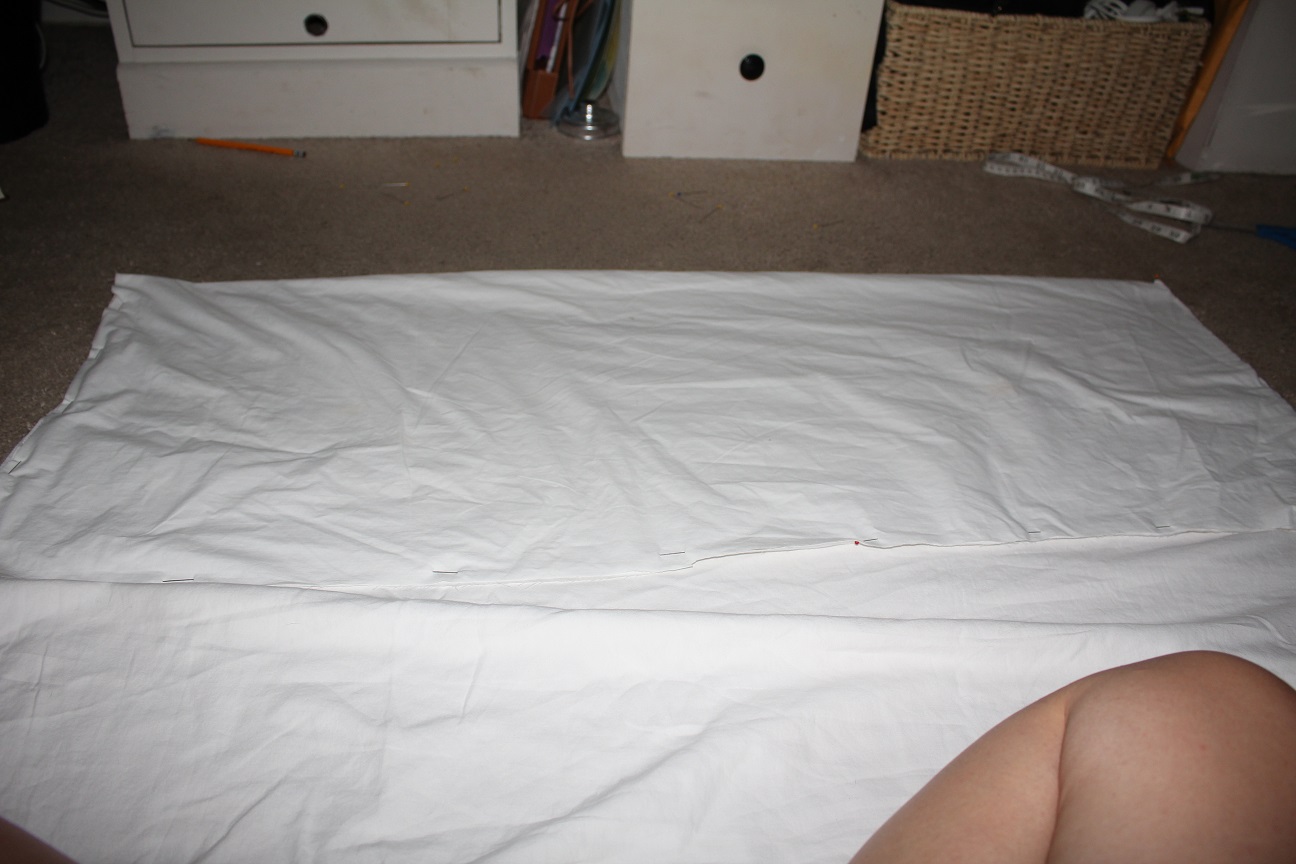 Ahem. So, it was onto tracing out some measurements and lines to cut on.
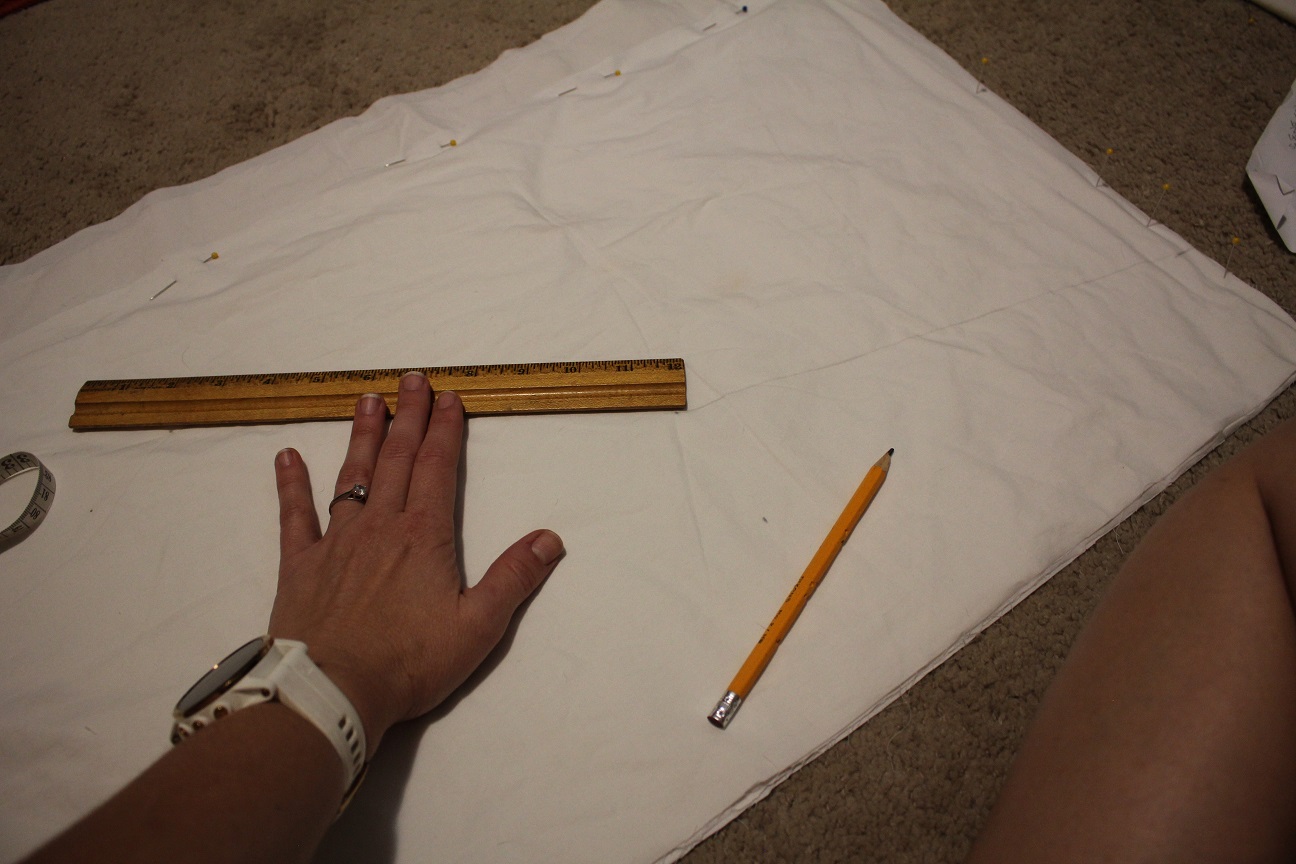 After all the pieces were cut, I had to decide which material (the skirt has 2 layers) should go to the outside. I figured it should be something that wouldn't give too much resistance or "stick" to the dress material
so I don't have to worry about the dress getting caught up on the petticoat. This meant a very scientific test of rubbing the materials together.
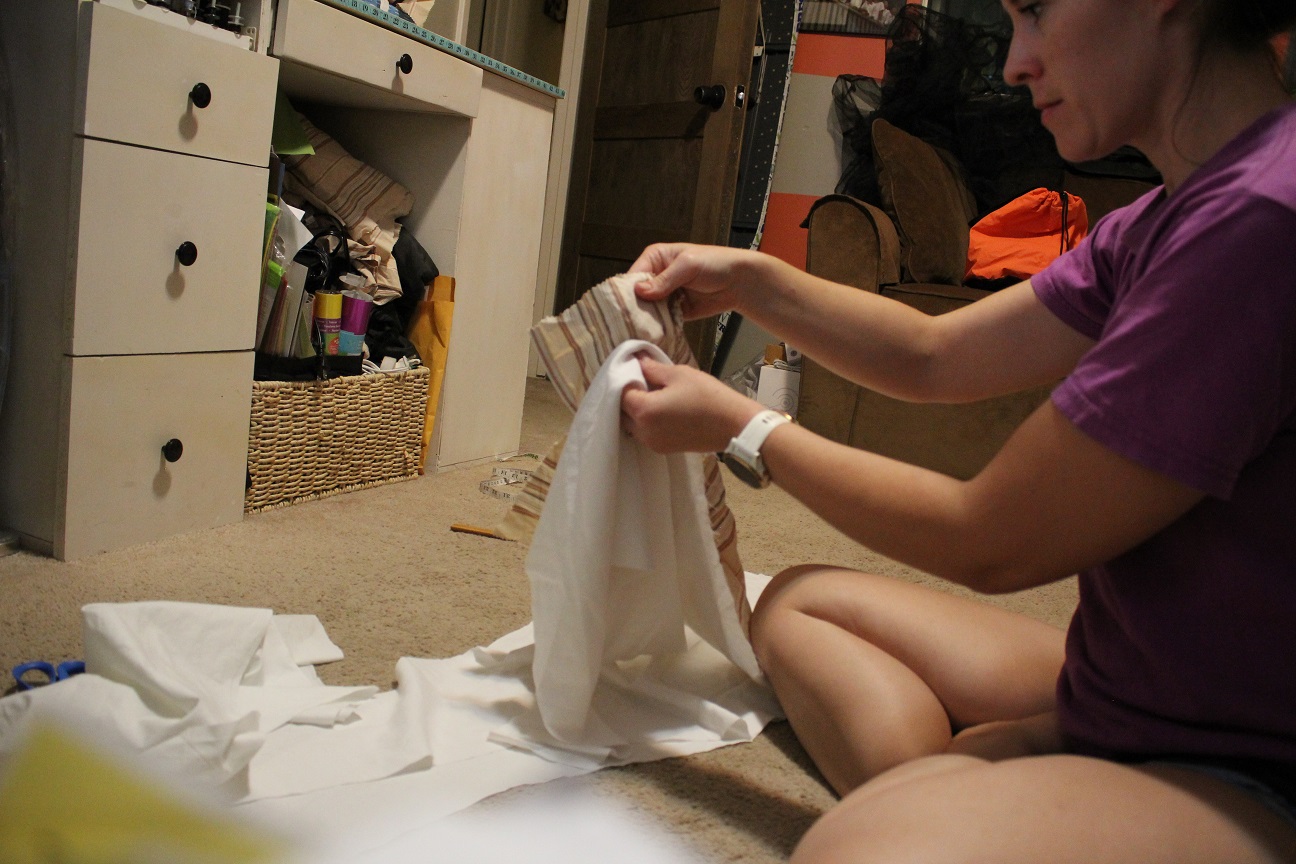 I confirmed with the scientist husband that the stiffer material should be the outside layer, and the softer one should be inside. I then sewed each panels layers together and began the most exciting part-
pinning them to the bodice to get an idea of how the finished petticoat will look!
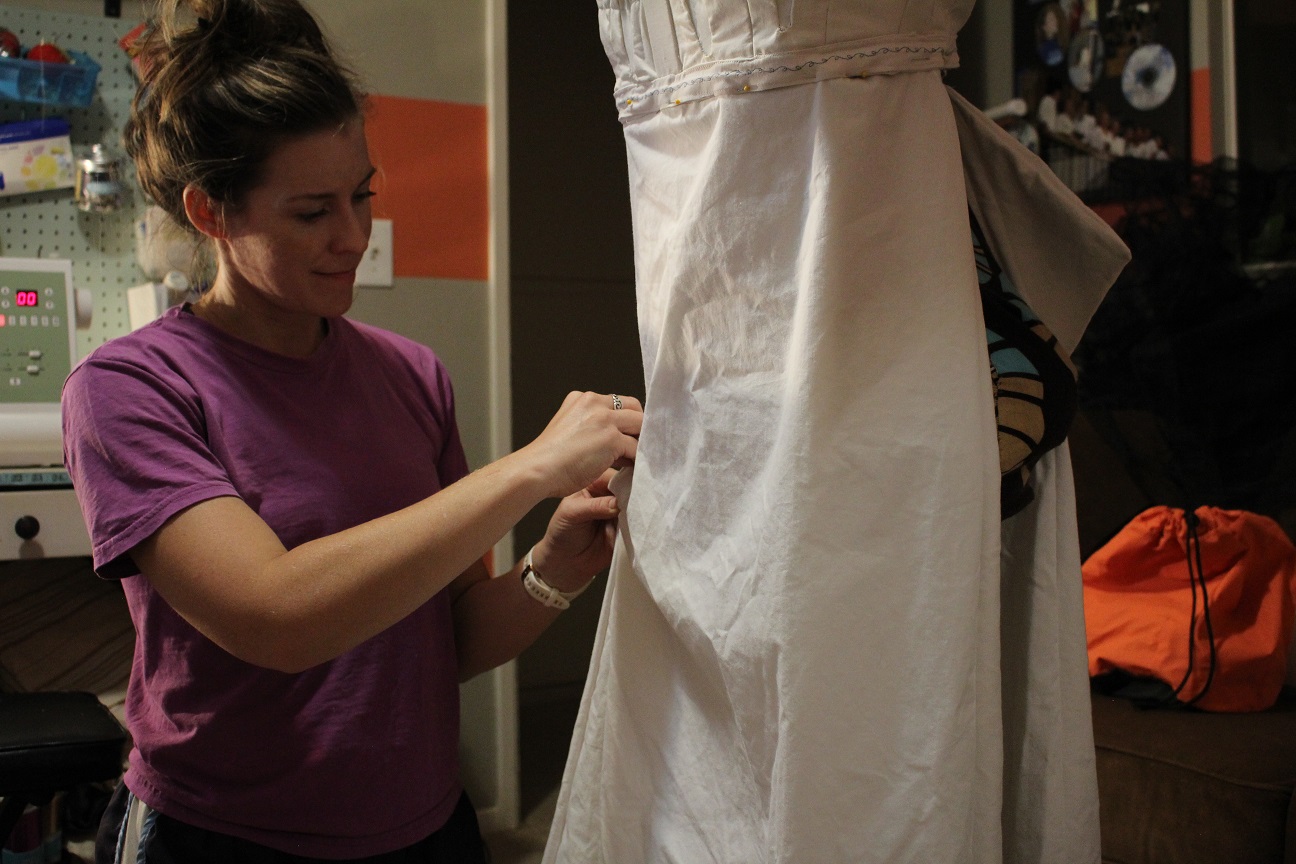 This was really the moment it became actualized for me. It was looking good, so I pinned each panel together and did a test fit before putting it away for the next step- sewing all the panels together and fitting them to
the bodice!
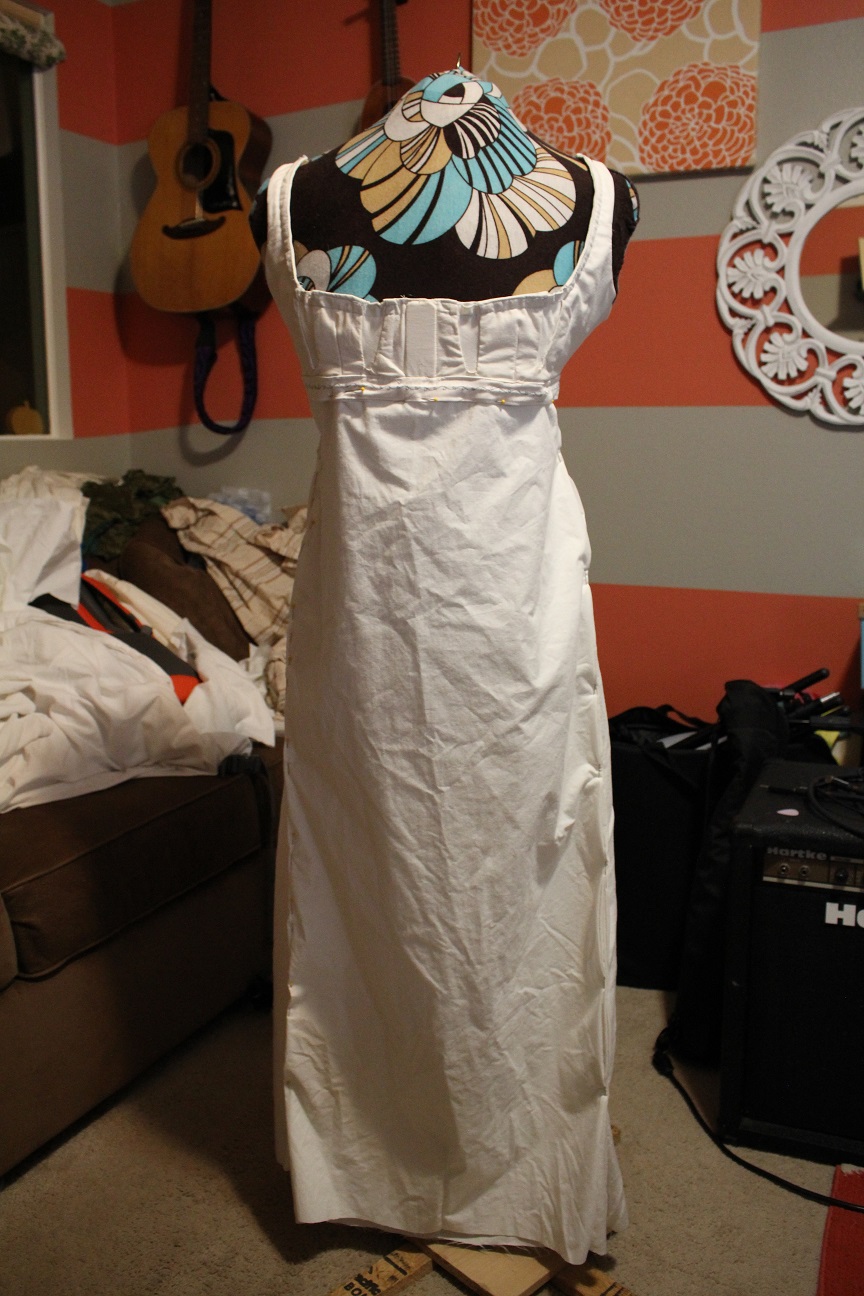
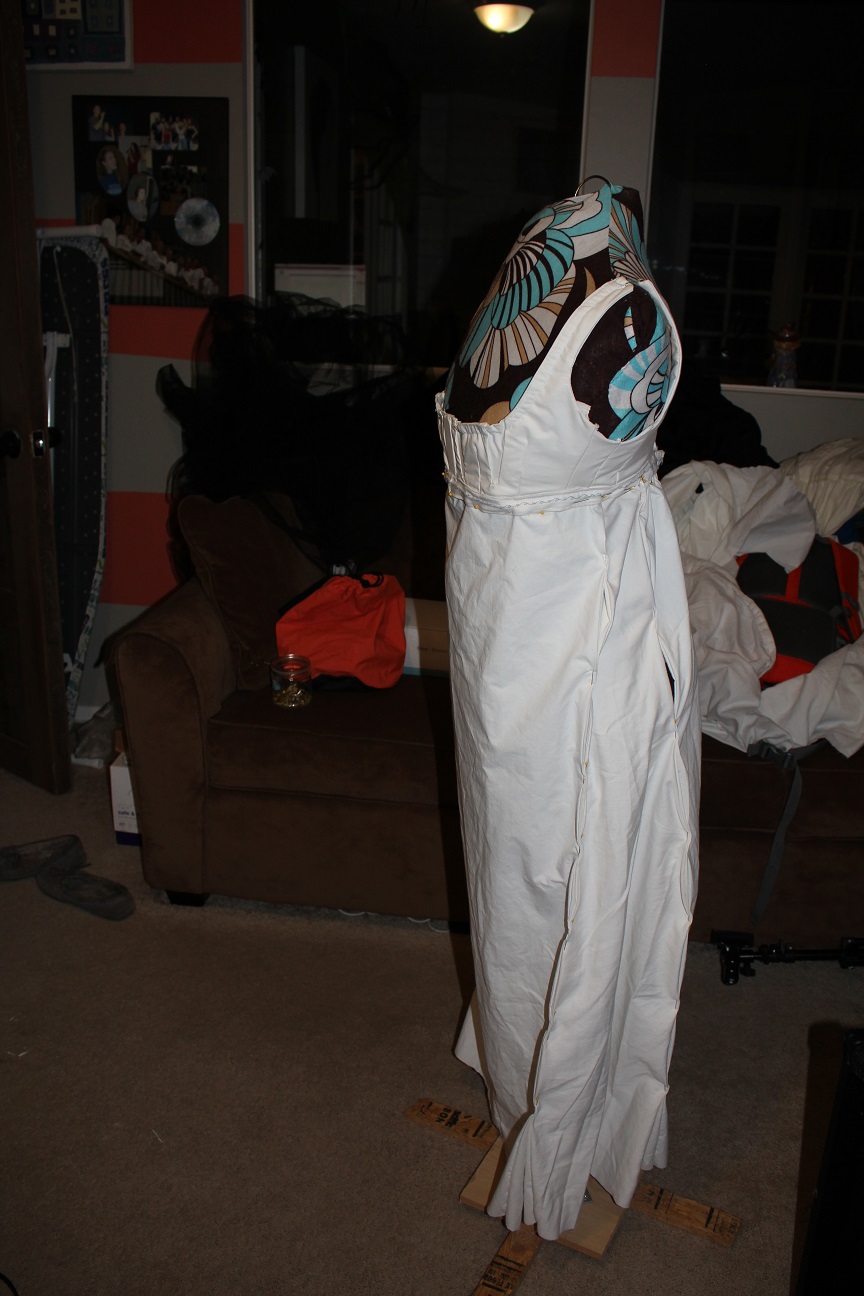
Sun22
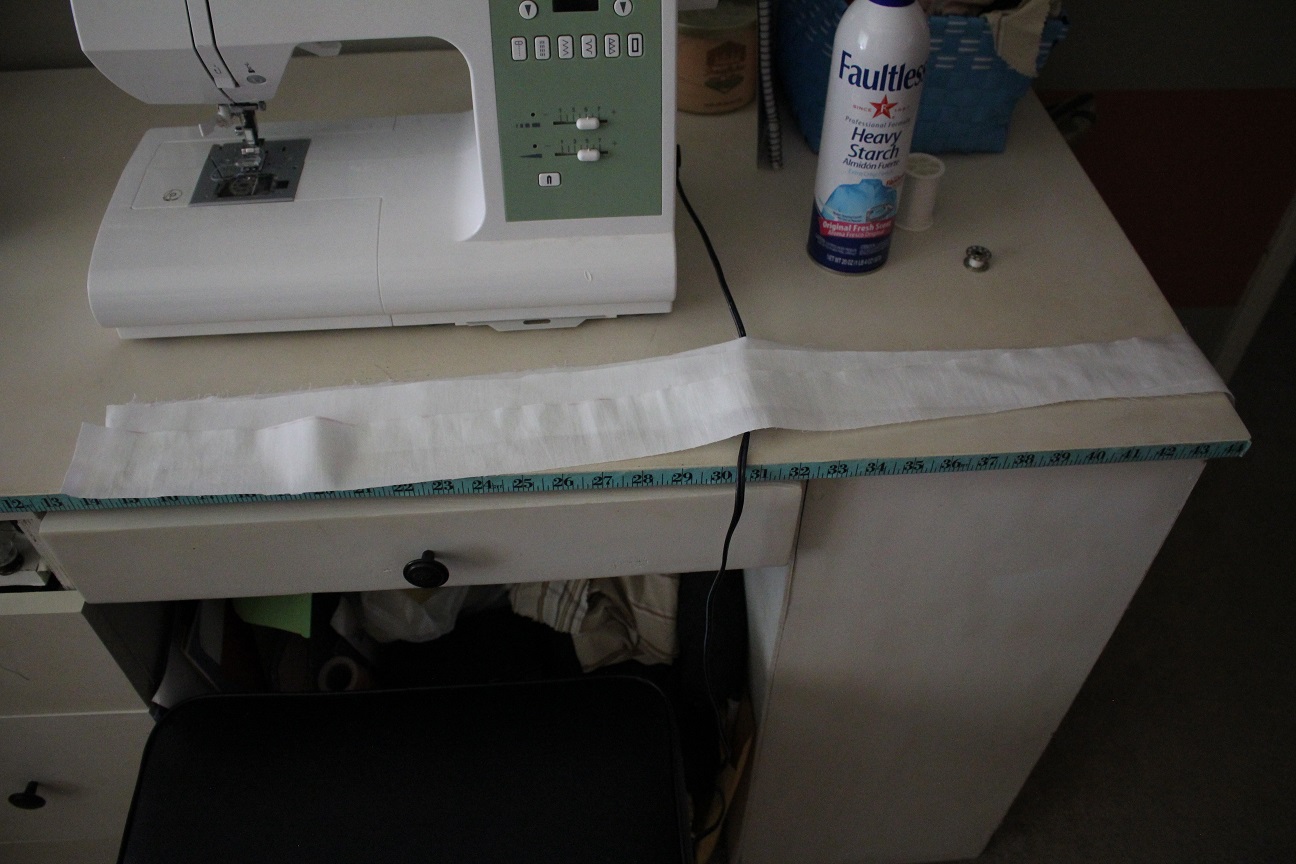
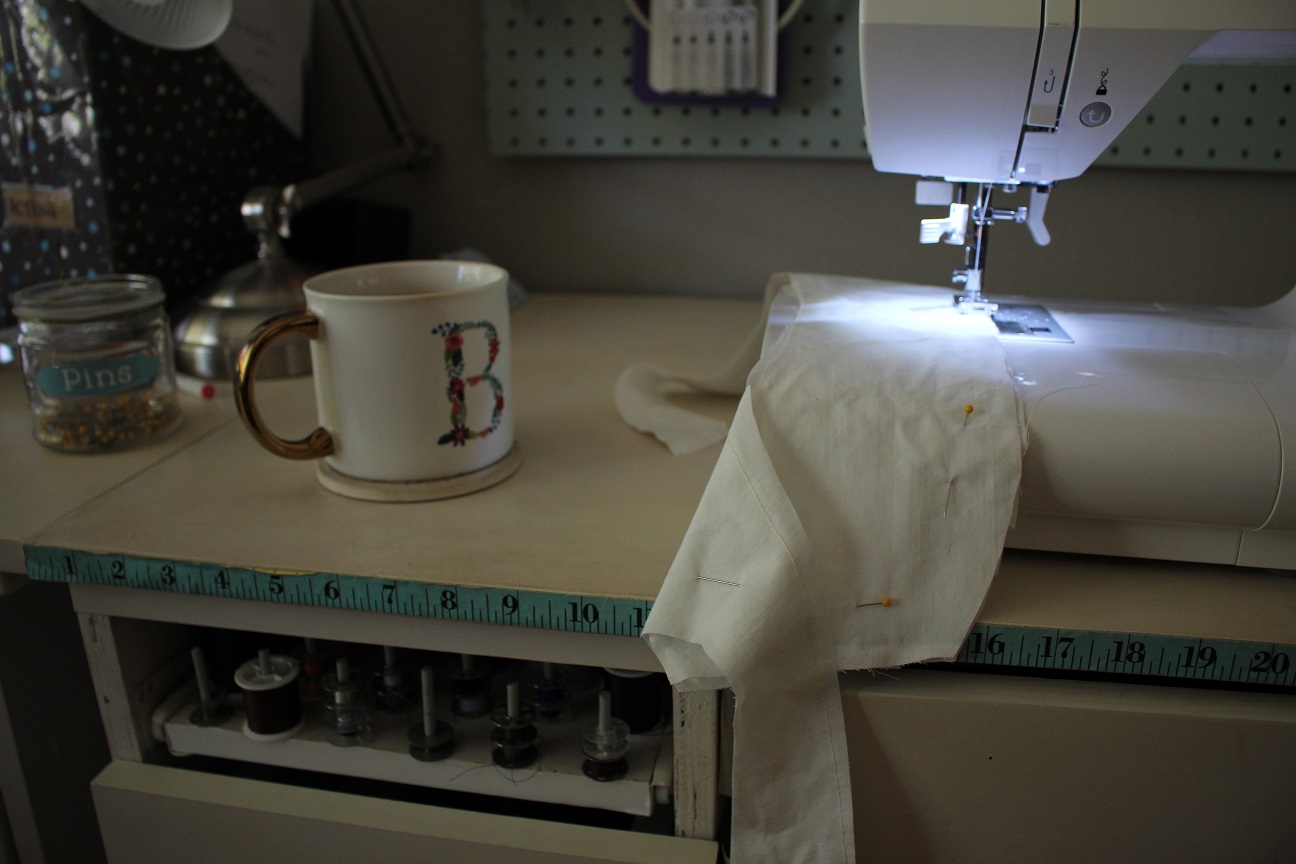
It's time for the waistband. I went with 4 layers again, to match the bodice, so there wouldn't be any difference between the 2, and also for strength. I measured under bust and added a little for hemming. My Hunniset book suggests
a 1" band, so that's the width I cut. I hemmed the top and bottom of each piece after hemming and hawing over doing it now or as one piece. The ability to sew from the inside and then turn it out decided it for me. Hem it all now.
After all 4 pieces were hemmed, I got to thinking that it would be cool to have some detail on the front waistband, and I'd need to do that now before sewing them all together. My machine is pretty kick ass and does a variety of stitches that look like embroidery,
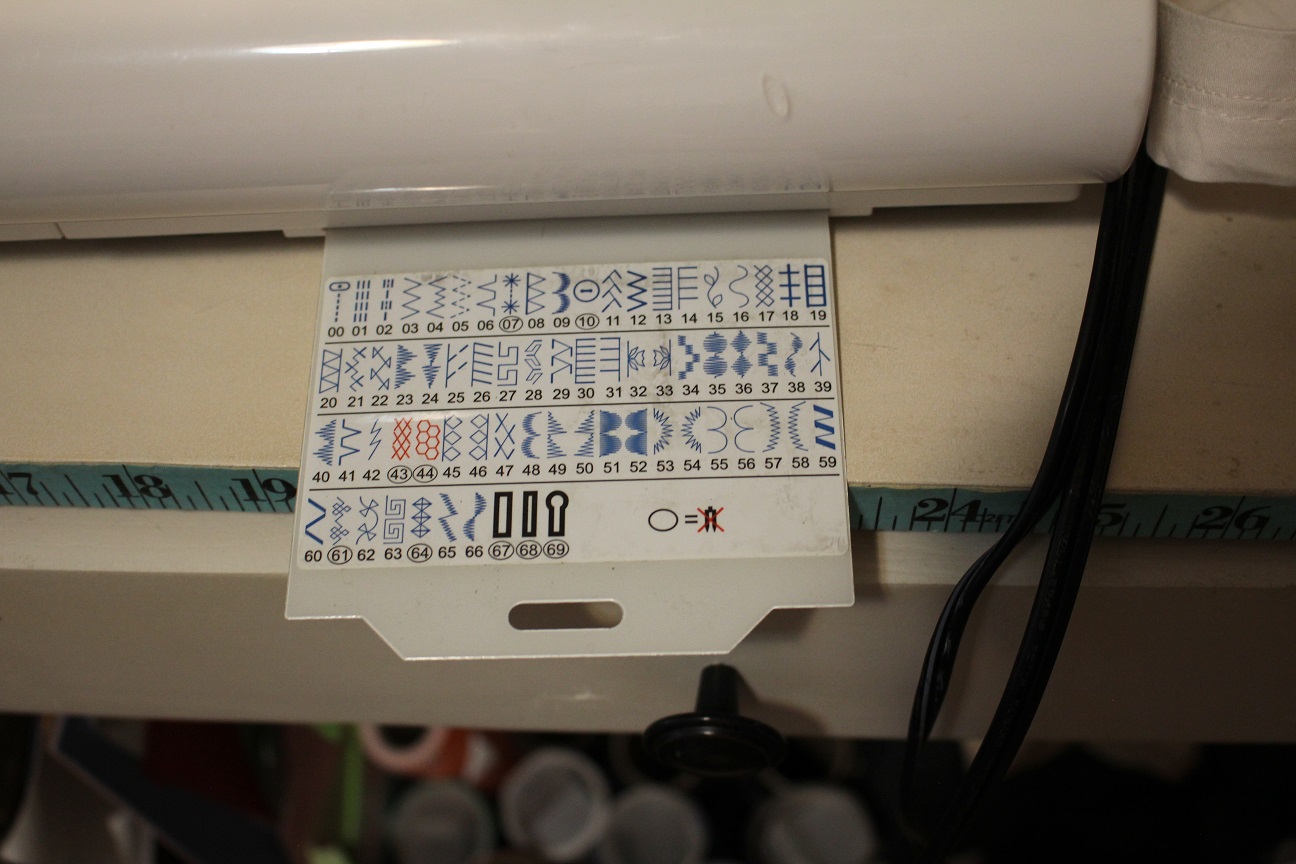 I chose the leaf one and did a test run on some scrap.
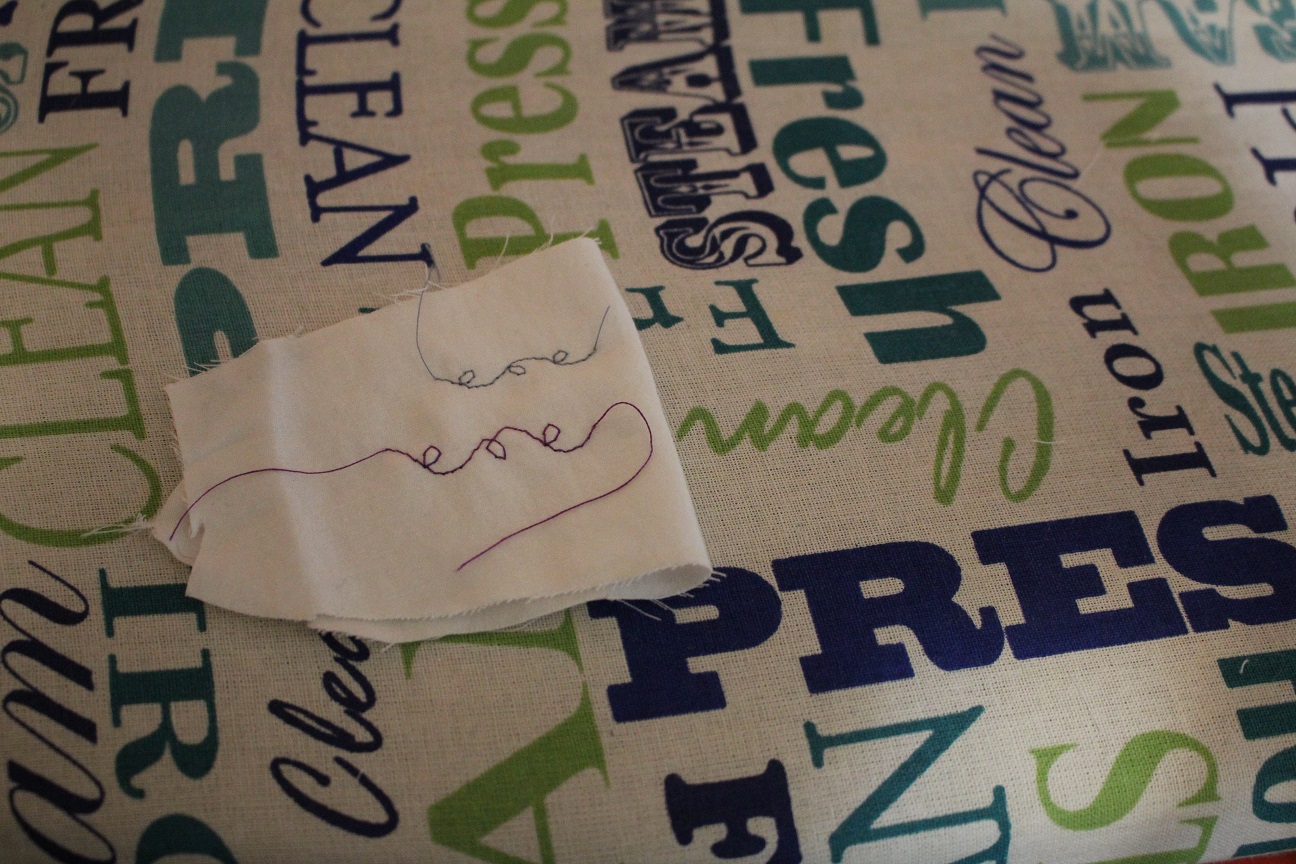 Whilst I loved the purple, holding it up under some material revealed that it was pretty strong, so in order not to preclude the petticoats' use under future dresses, I went with a blue again.
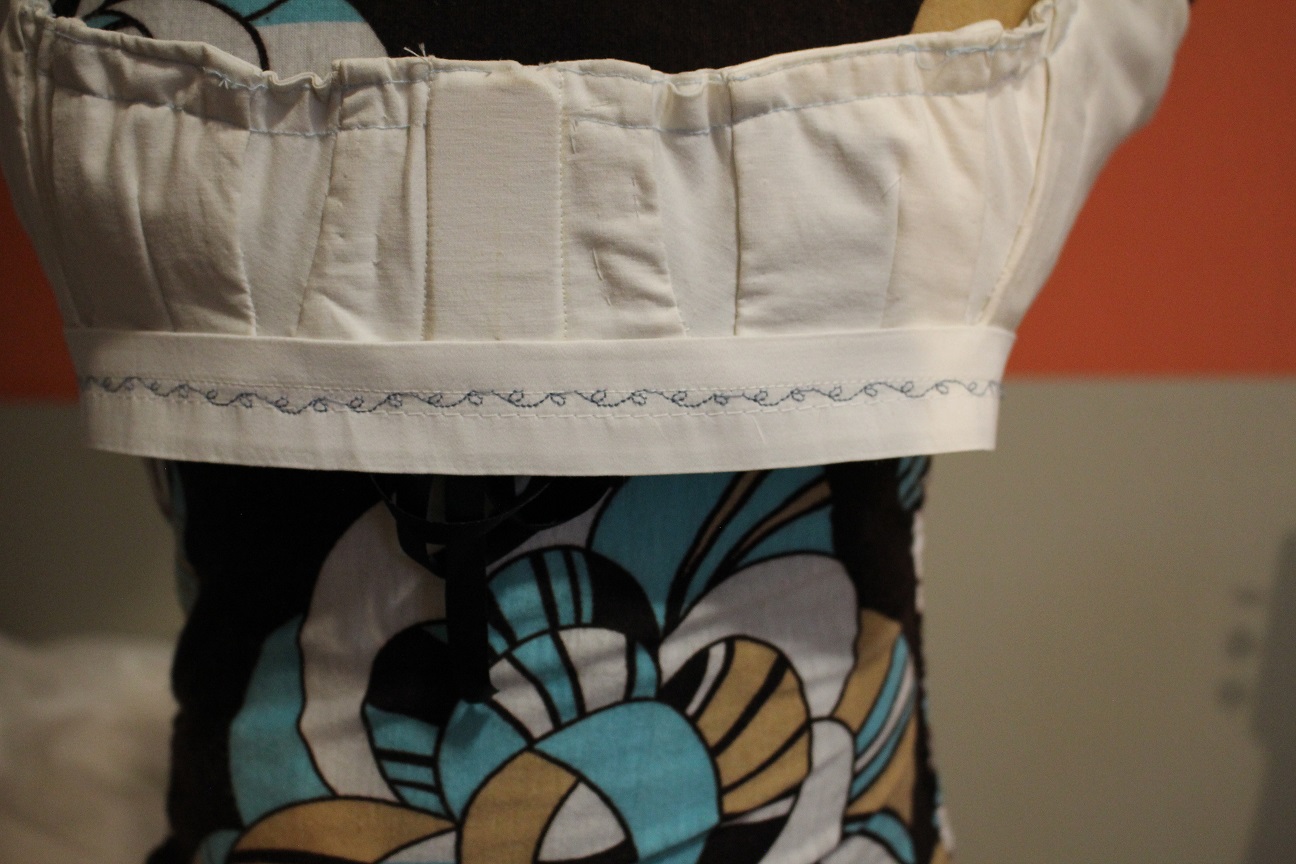 I am a complete sucker for delicate details and this waistband makes my heart patter!! Now it was time to sew them all together so that I could then turn it inside out and have nice hidden seams. Only after sewing them all up did I find that the width of the band and the thickness
of the 4 layers made it impossible to turn out. Whomp Whomp. I then removed the stitching from one side in the hopes to keep the top edge of stitching, but then front stitch the bottom edge. So I trimmed away the excess on the top edge inside to cut down on bulk.
What a genius problem solver am I! I had dinner, then came back to it only to think ahead and realize that when I go to attach it to the bodice and the skirt, I can't have one bulky layer to attach. I need to sandwich the bodice between my layers of the waistband. Sigh.
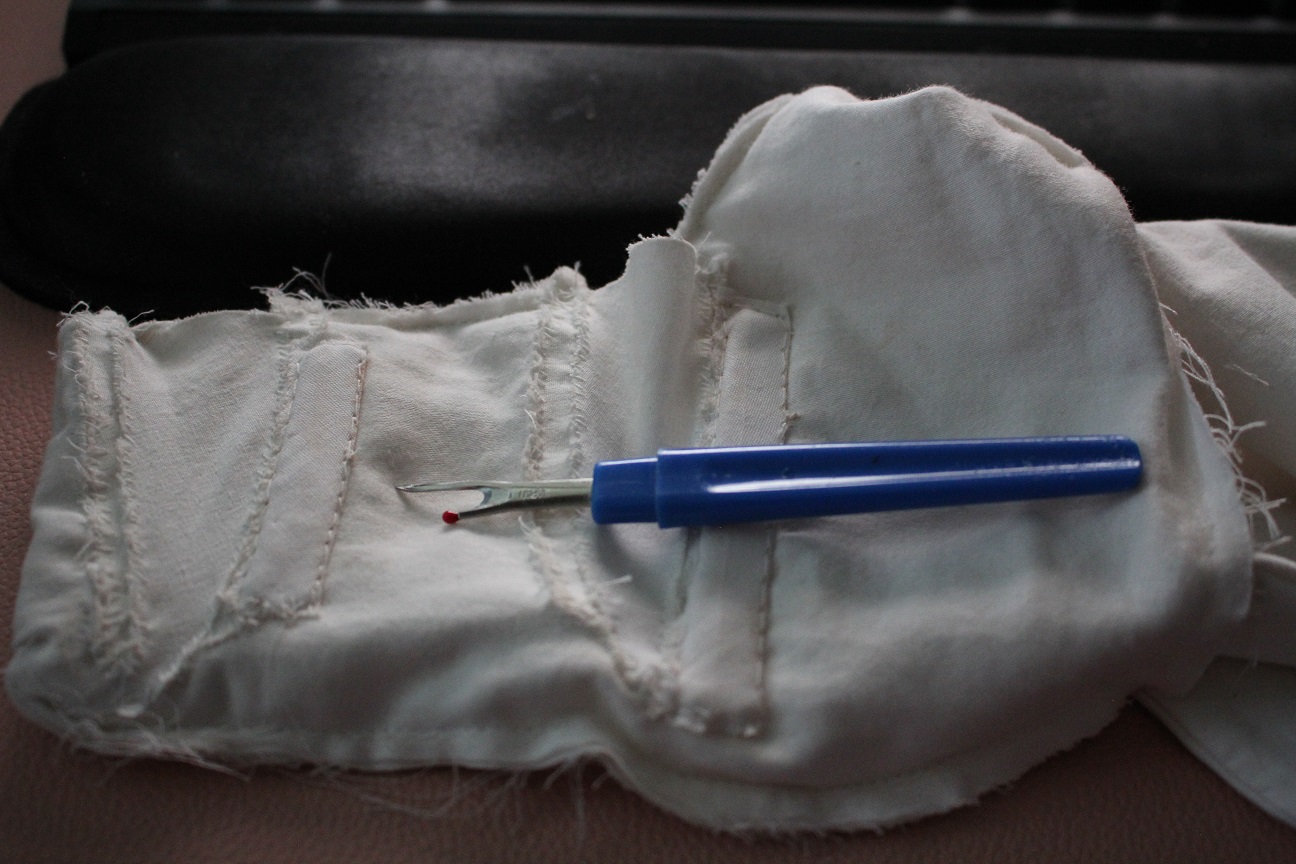
This is why the seam ripper is my most used tool :( Out the seams came, but now I had frayed edges to deal with since I cut all those nice hems away when I was trimming the inside excess. This left me with some tricky sewing maneouvering, but I think I got it. Now, we have 2 separate
waistbands. One goes to the inside, one to the outside. Bodice and skirt will be sandwiched between and stitched down. But that'll have to be another day. My problem solving brain is done!
Thurs19
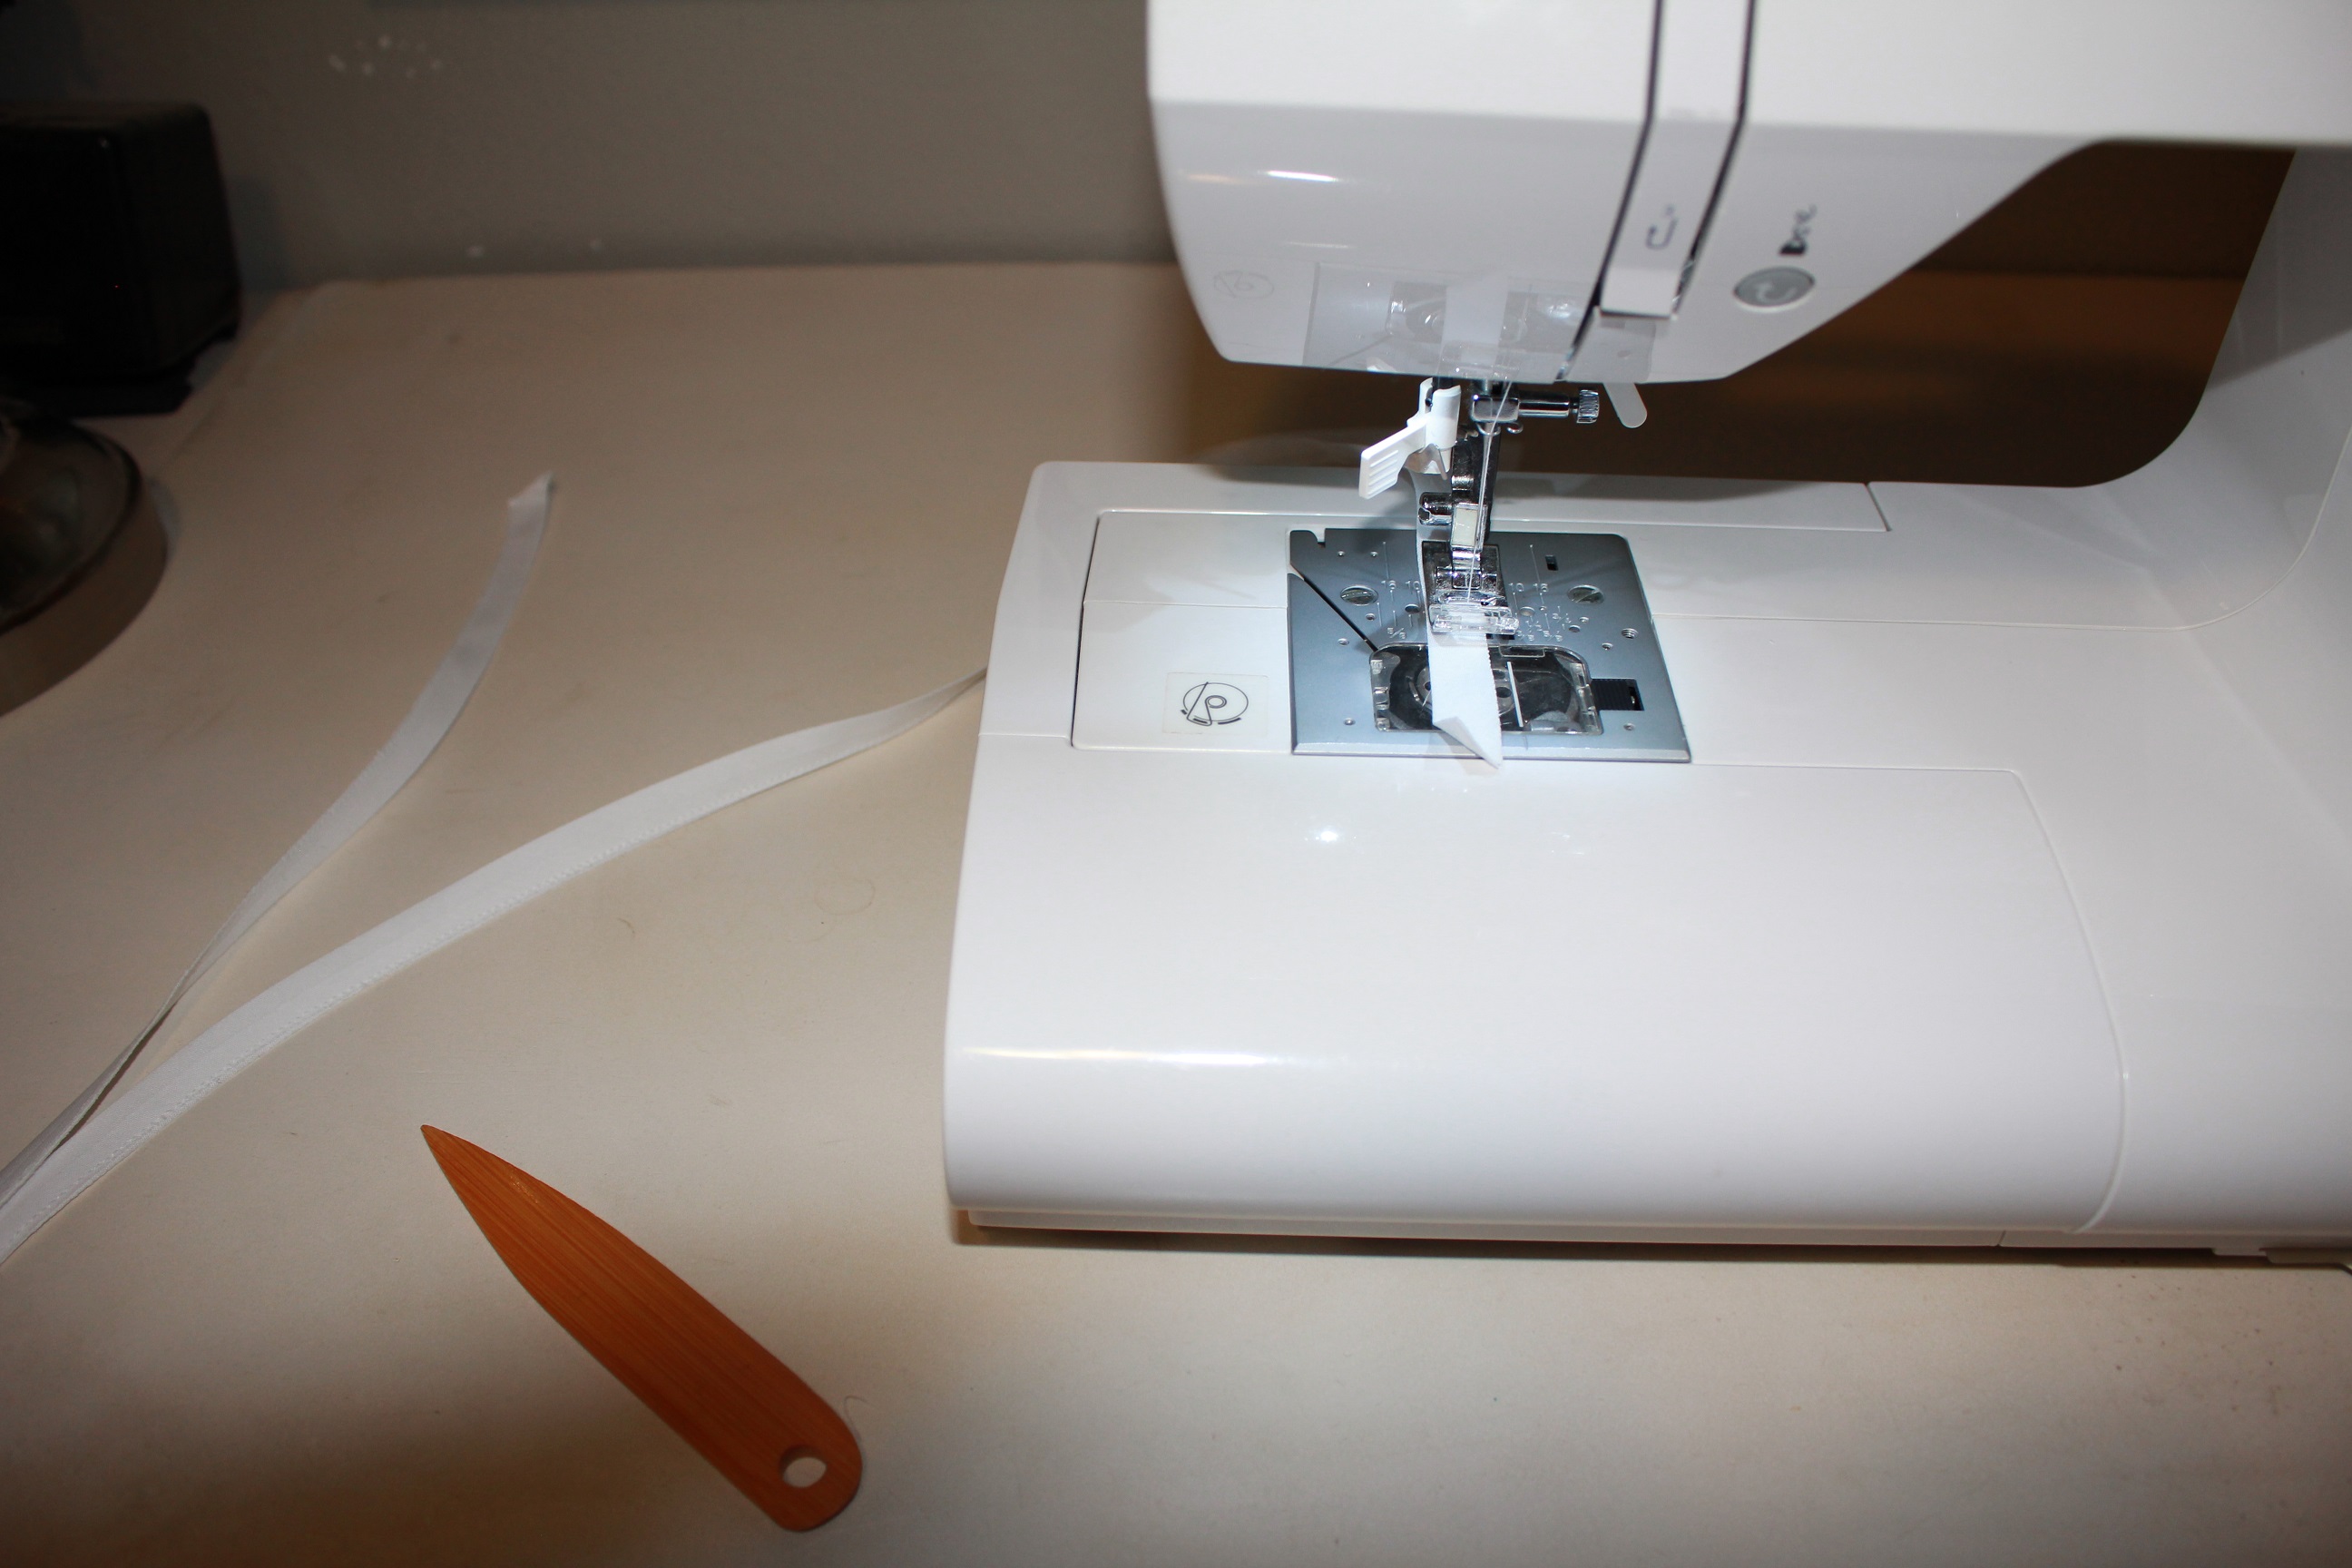
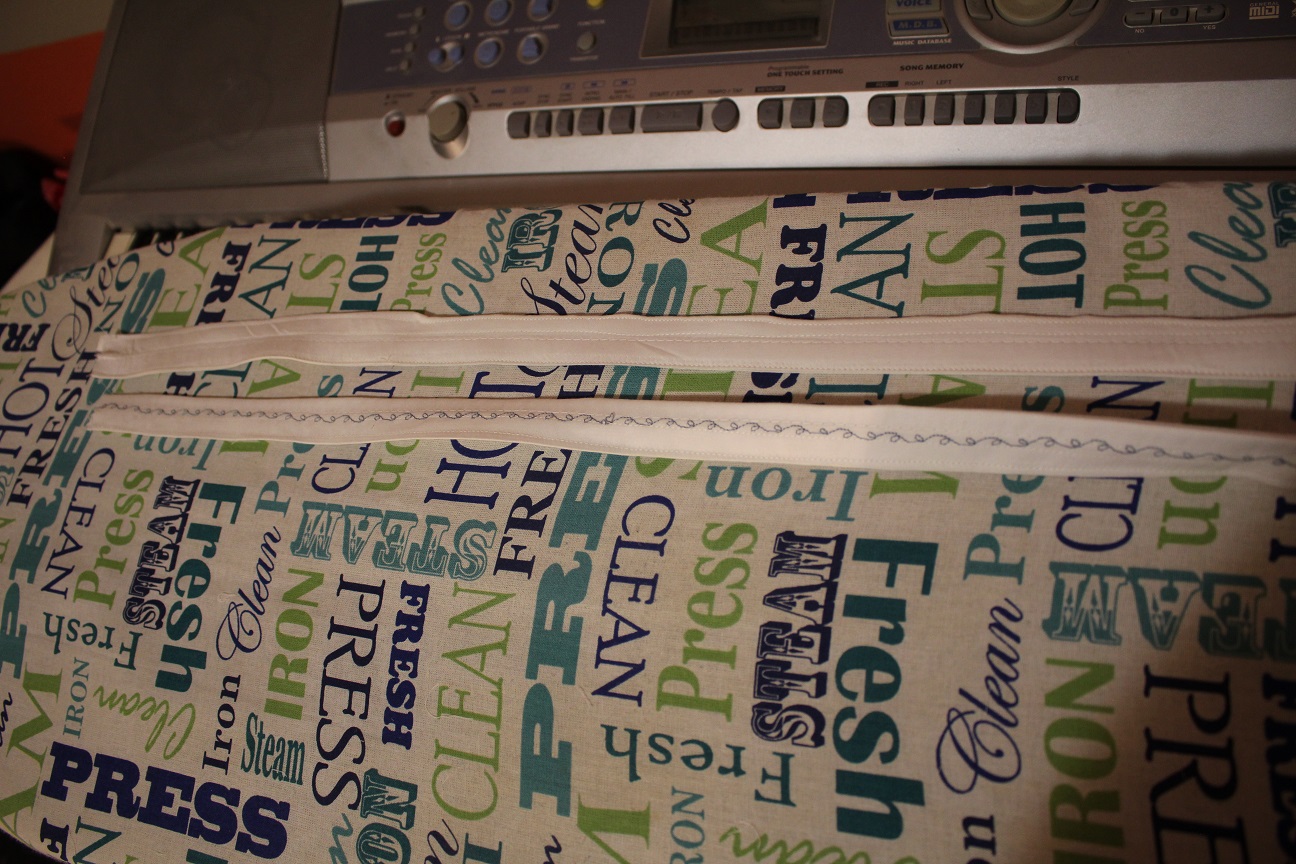
Up next was sewing in ribbon for a drawstring front. I used bias tape for this again, but I had a dilemma. Use the machine for a much quicker/sturdier casing or hand sew so that no stitches would be
visible on the bodice front? Well, after a test run, I found that hand sewing just the back 2 layers didn't allow a drawstring to fully pull the bodice front taut. #testingworks My decision was made for me. But that didn't mean
I couldn't have some fun with it. If I'm going to have to have visible stitching, it might as well be a fun color. I chose blue.
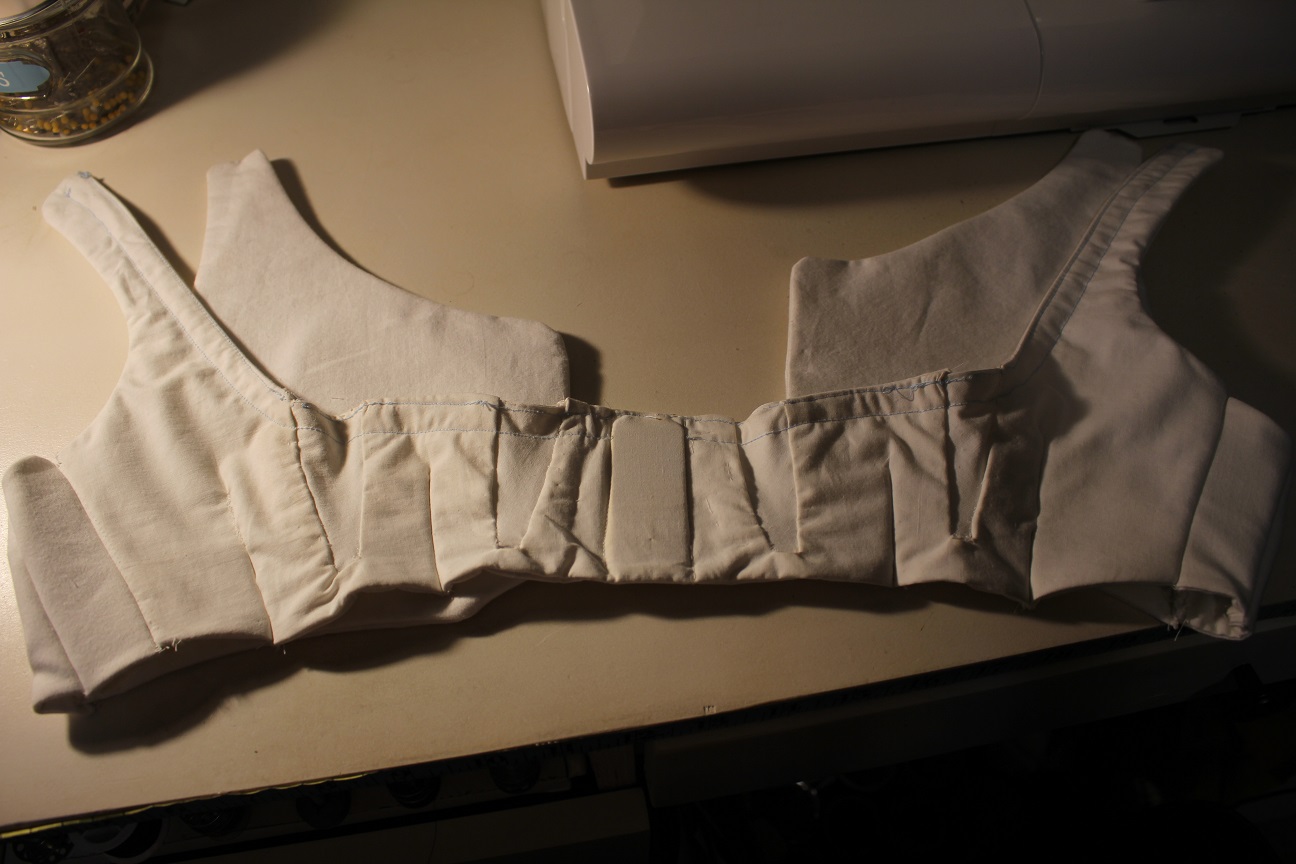 I also broke 2 needles doing this because the material was too thick. I had to hand turn the wheel for the thickest parts and have some wonky stitches becuase of it, but there you have it. Now I ran the ribbon through.
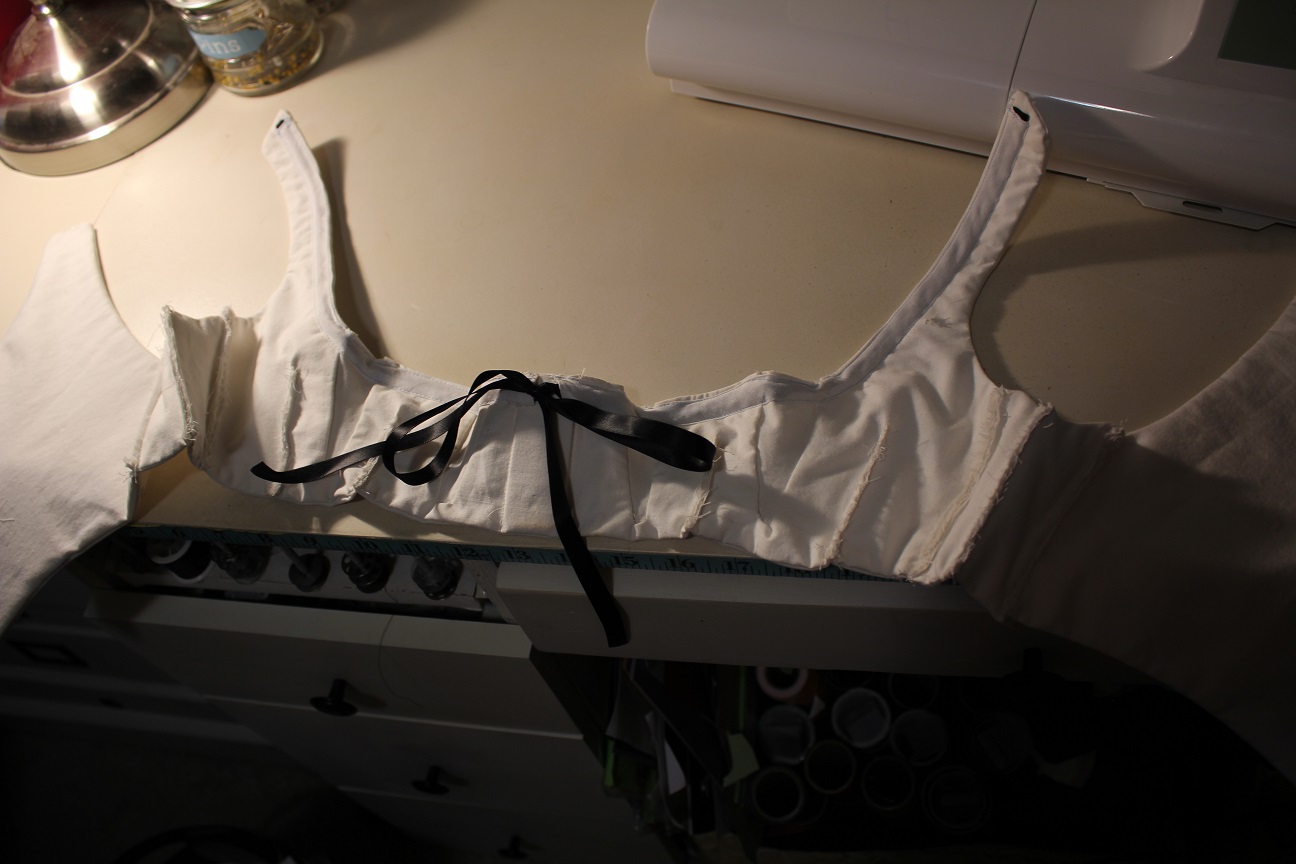 Why black? Because I'm that sassy. It's also the only longish ribbon I had on hand...And I'm sassy. It ties to the inside of the bodice, so I don't have to worry about it being seen on a dress. Now to try it on!
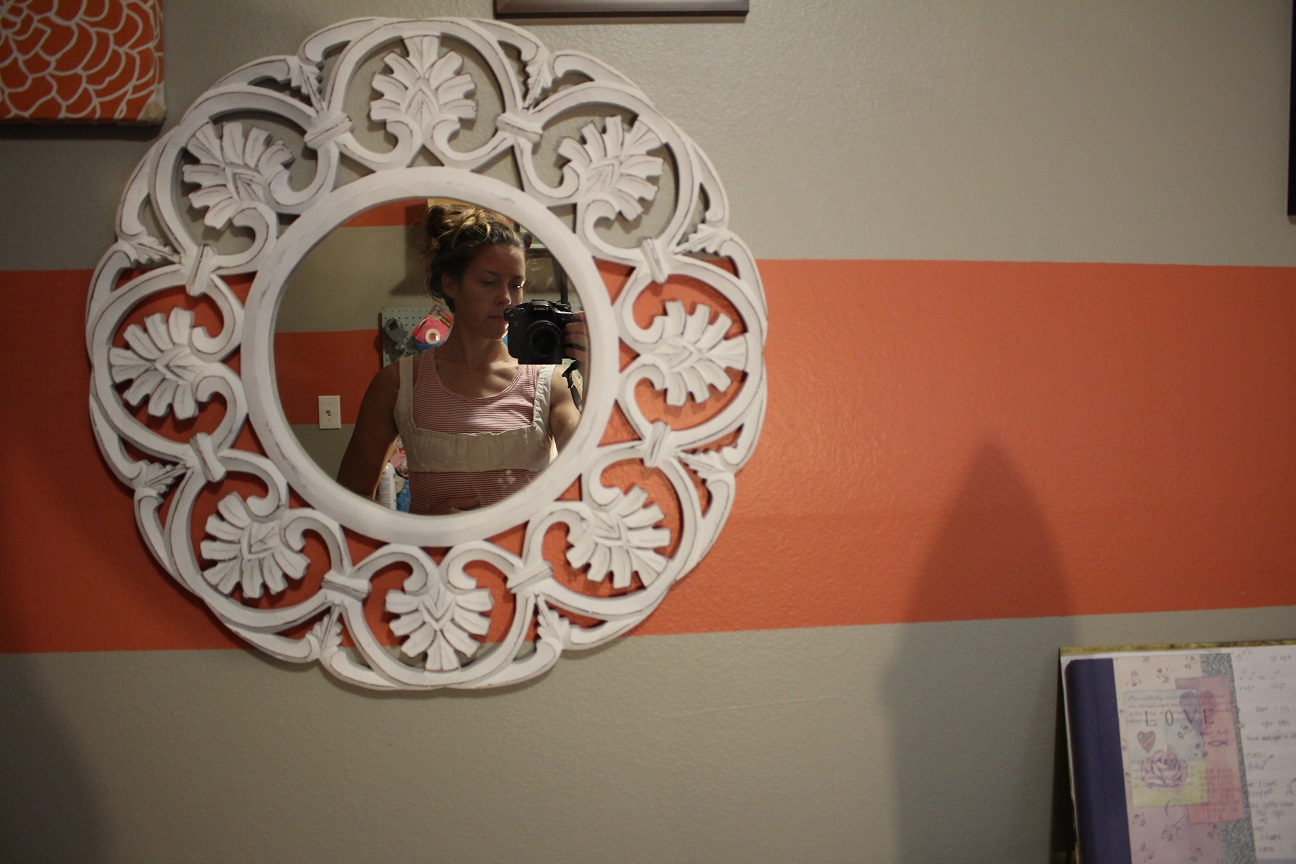
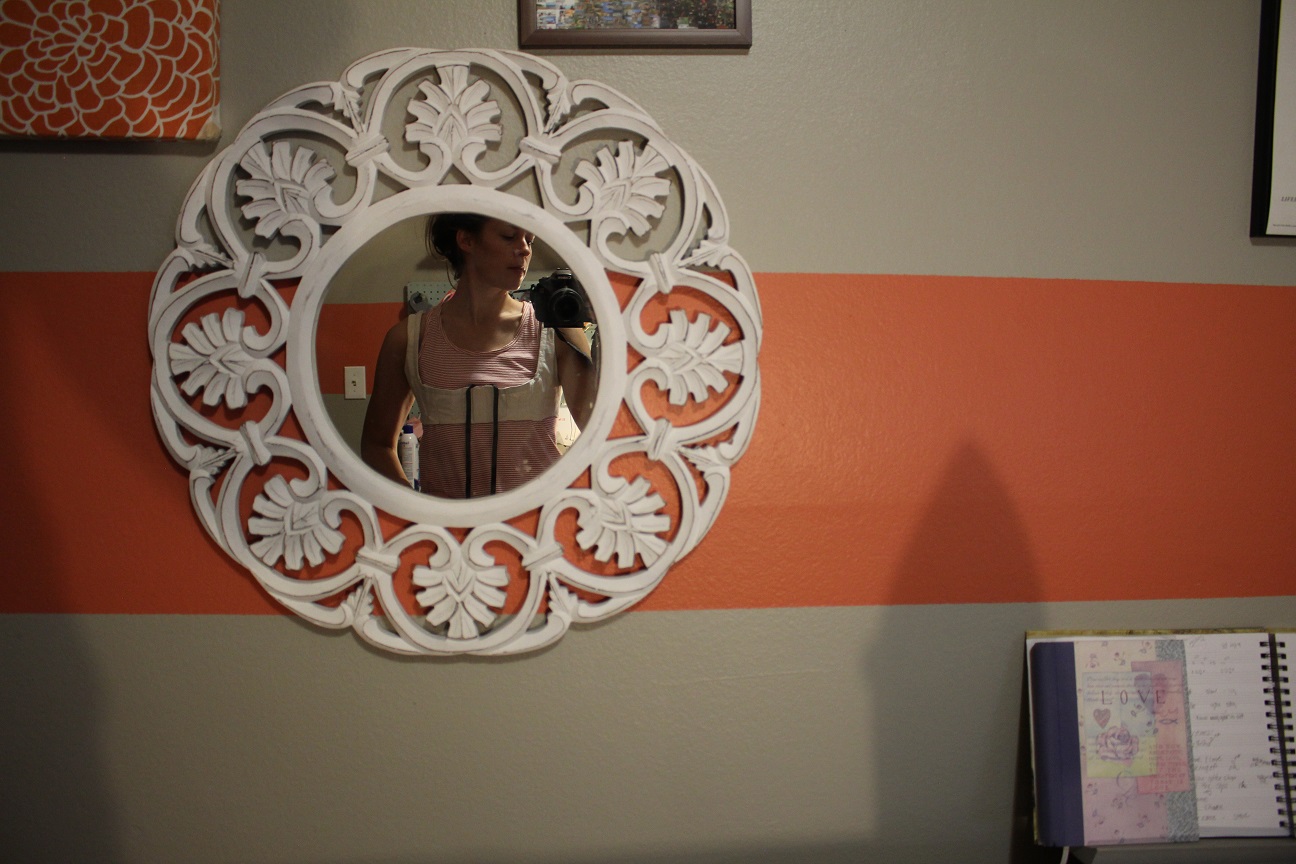 Yes! Now we're talking.
Sun15
Now that I'm nearing the end of my petticoat bodice, I'm seeing some light. What's needed now is some problem solving and tweaks to get this to fit right. Working without a pattern will inevitably give you trouble fitting, but I take comfort in knowing that even with
a pattern, I have trouble fitting wardrobe. First thing I noticed was that I'd need some side panels for a better fit.
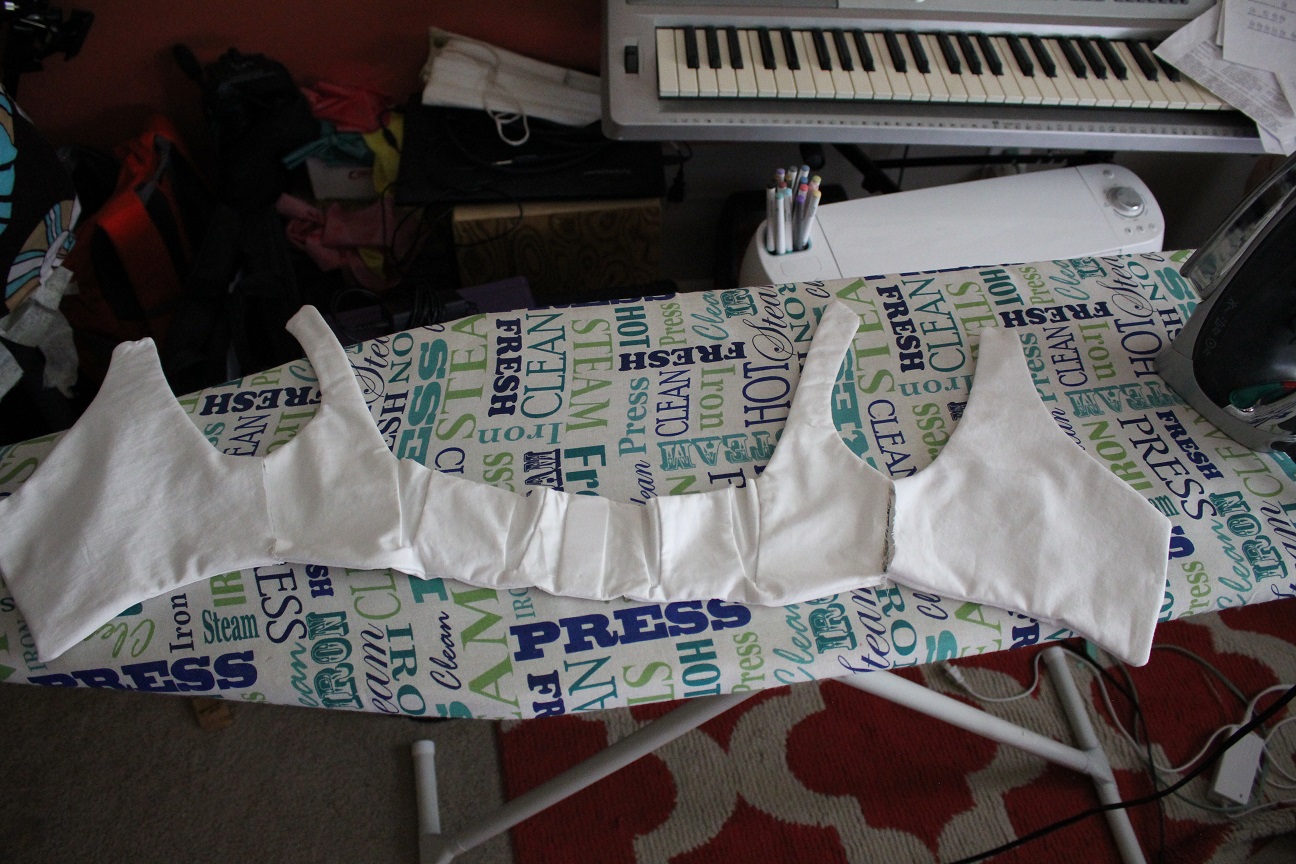 Once I measured these out and sewed them in, it was too baggy now. Back to the drawing board.
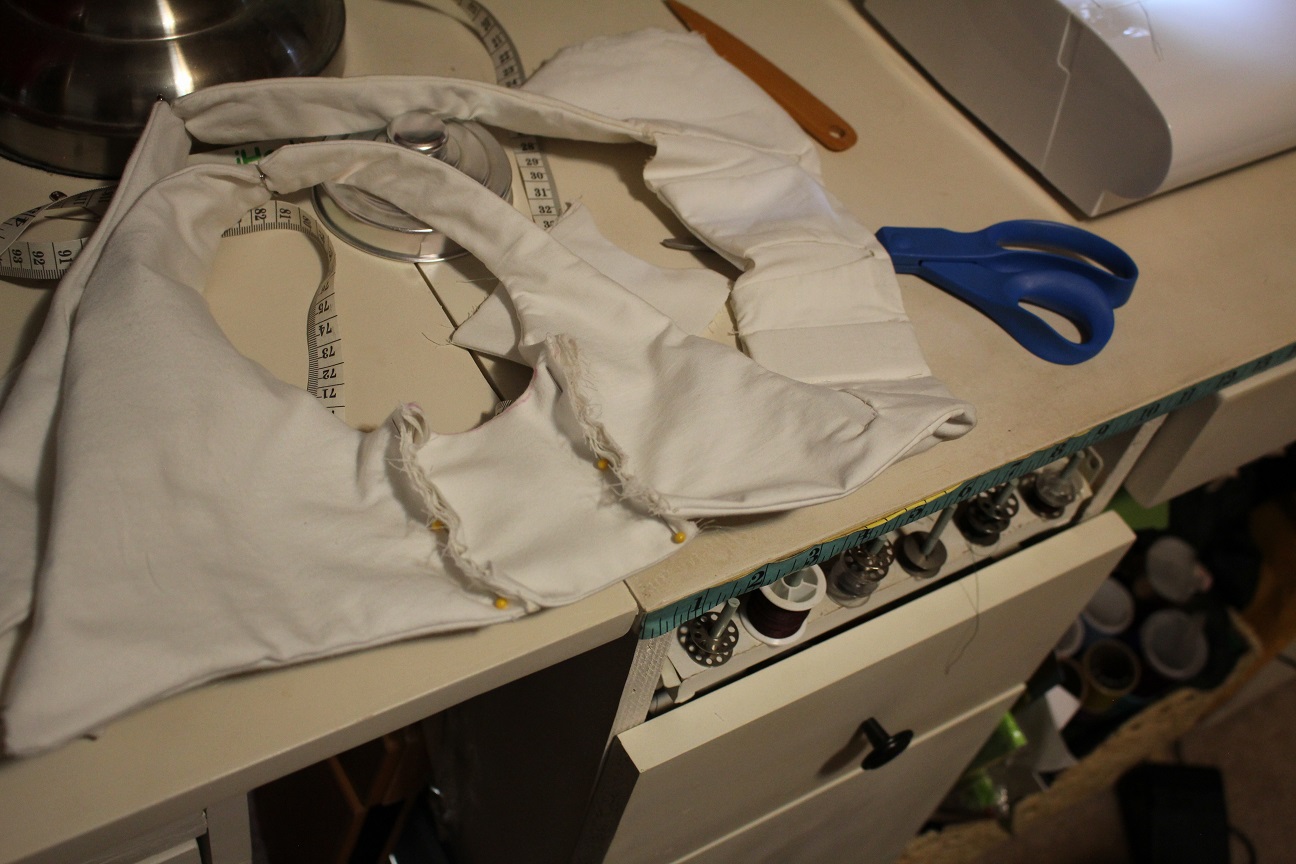
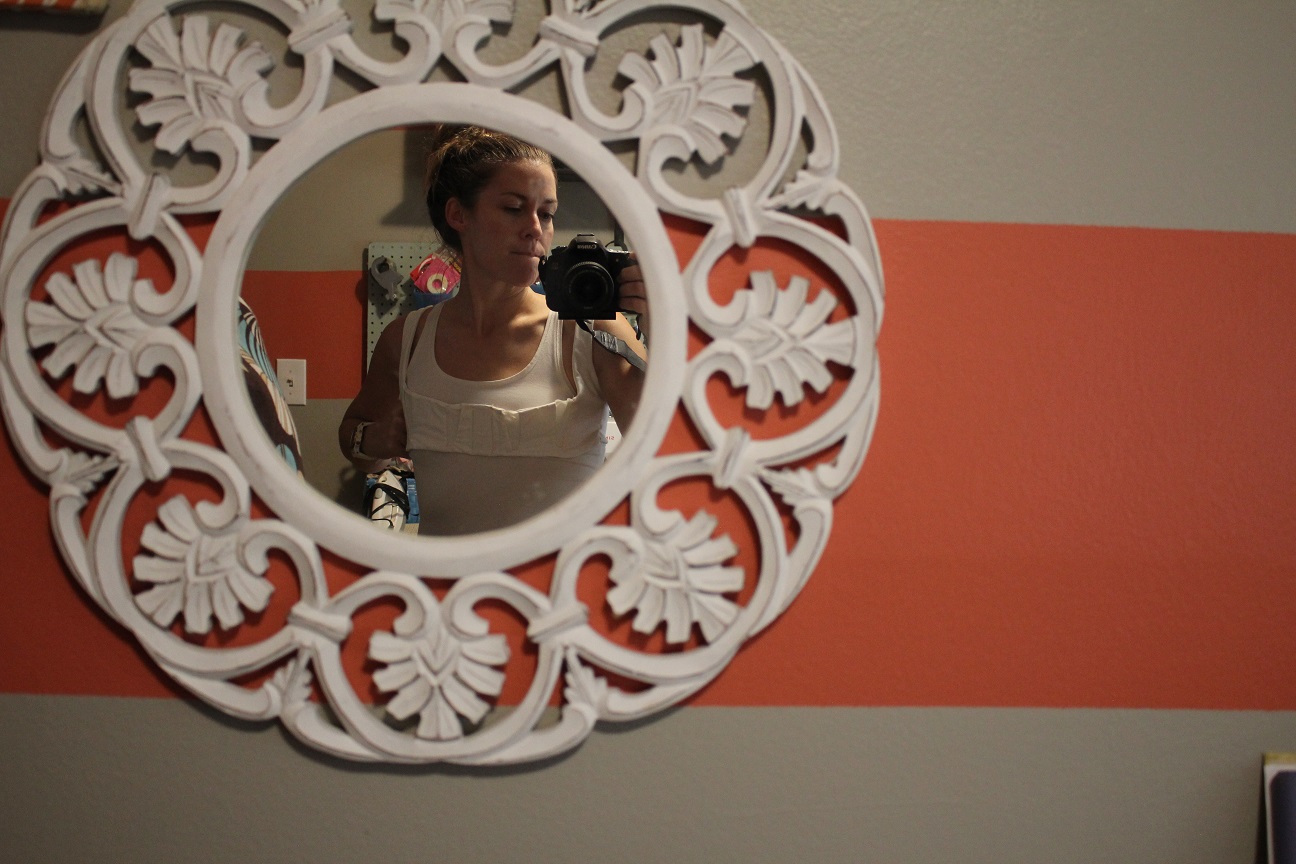 I cut slits in the middle of the gussets, to the outside of them, and the side panels to form a sort of dart that wouldn't add bulk.
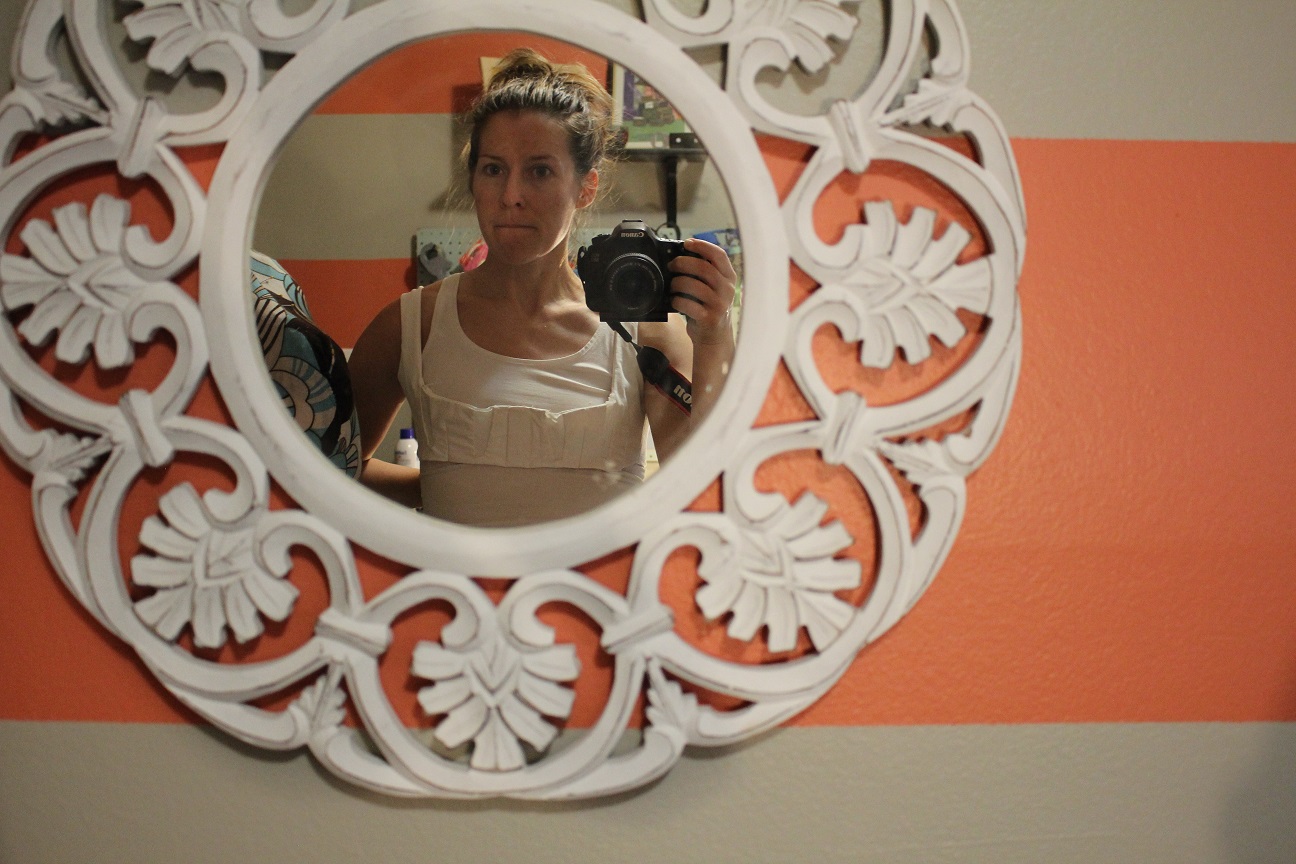
 There. Better fit. With a waistband and a drawstring up top, I think this bodice will finally fit correctly!
Sat14
It's been a whirlwind 2 weeks, but I have managed little pockets of sewing here and there. The next step for me was the busk and the boning. In Regency dresses, undergarment bodices contained a piece of wood that was inserted in a pocket that sits between the ladies.
The point of this is to separate, rather than flatten, as in Elizabethan corsets. From many an online reading, I got the idea to use a Home Depot paint stick.
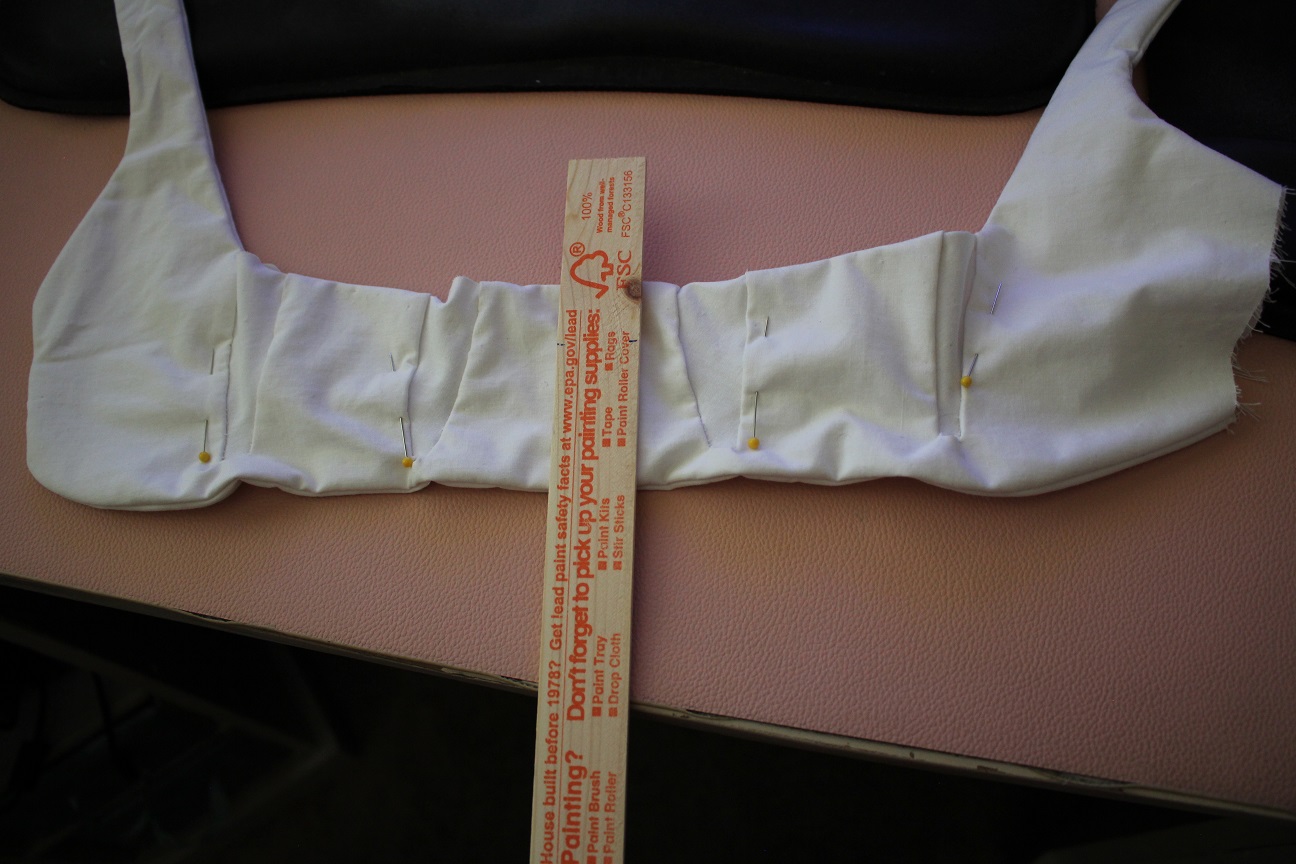 I first sewed a pocket into the center of the bodice, and then cut the stick to size, rounding the edges with sandpaper.
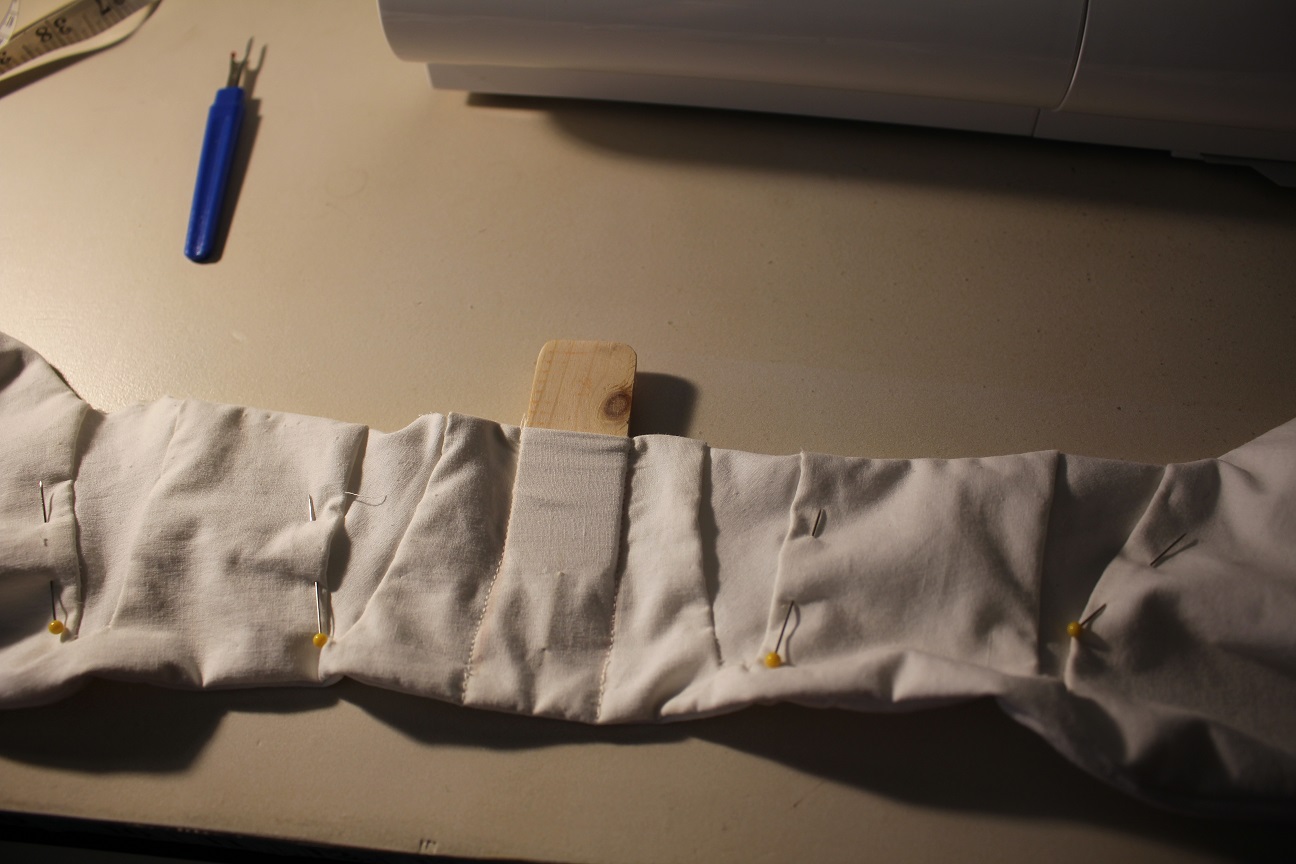 Once this was inserted, a began to tackle the boning. This was also something I was yearning to try after reading about the ingenious alternative some
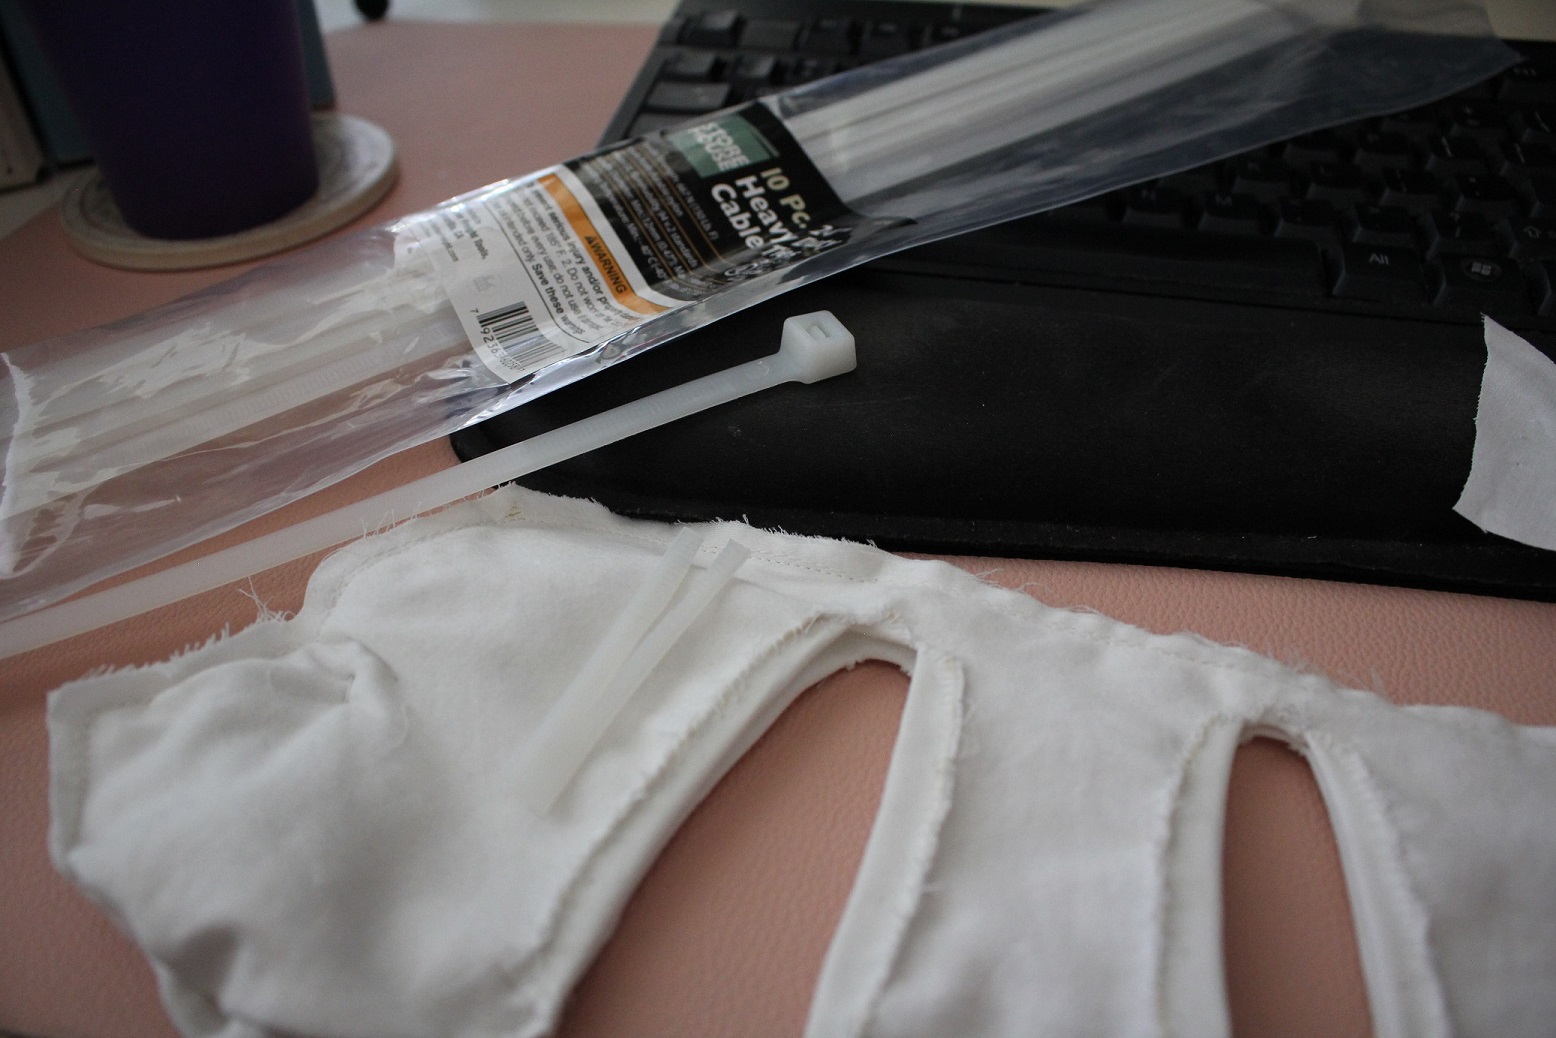
costumers have been using- zip ties! Typically, corsets or boned bodices used whale bone to give the top structure. While that's mostly out of use, you can nowadays special order spiral steel boning or synthetic whale bone or rigilene, a polyester alternative. Some brilliant sewers had
the idea of using heavy duty zip ties instead. Harbor Freight to the rescue! I grabbed the much cheaper than online boning from my fave tool store, and popped over to JoAnn's for bias tape, also something I've never used.
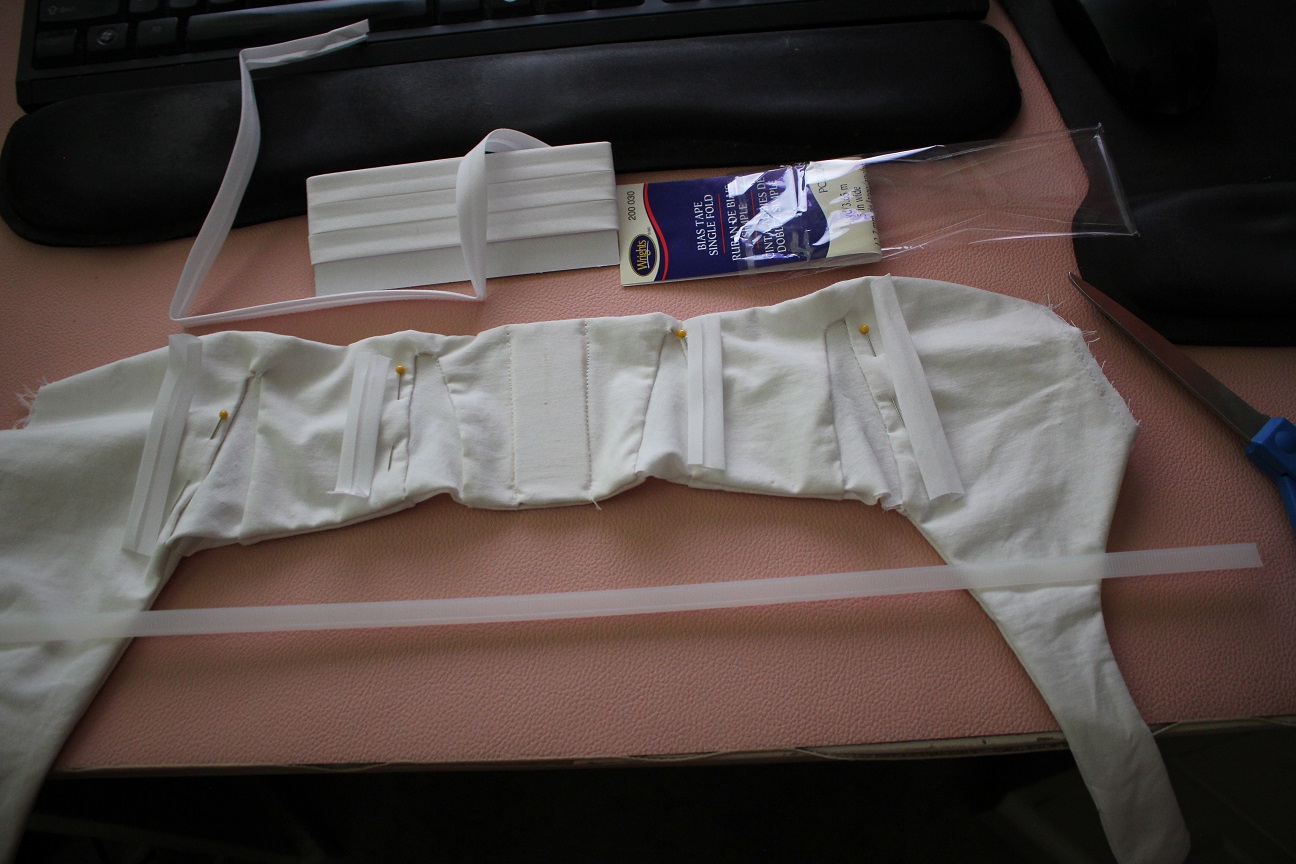 I used the bias tape for the casing, what the zip ties will sit in. Also had to hand sew these in since I didn't want seams on the front of the bodice.
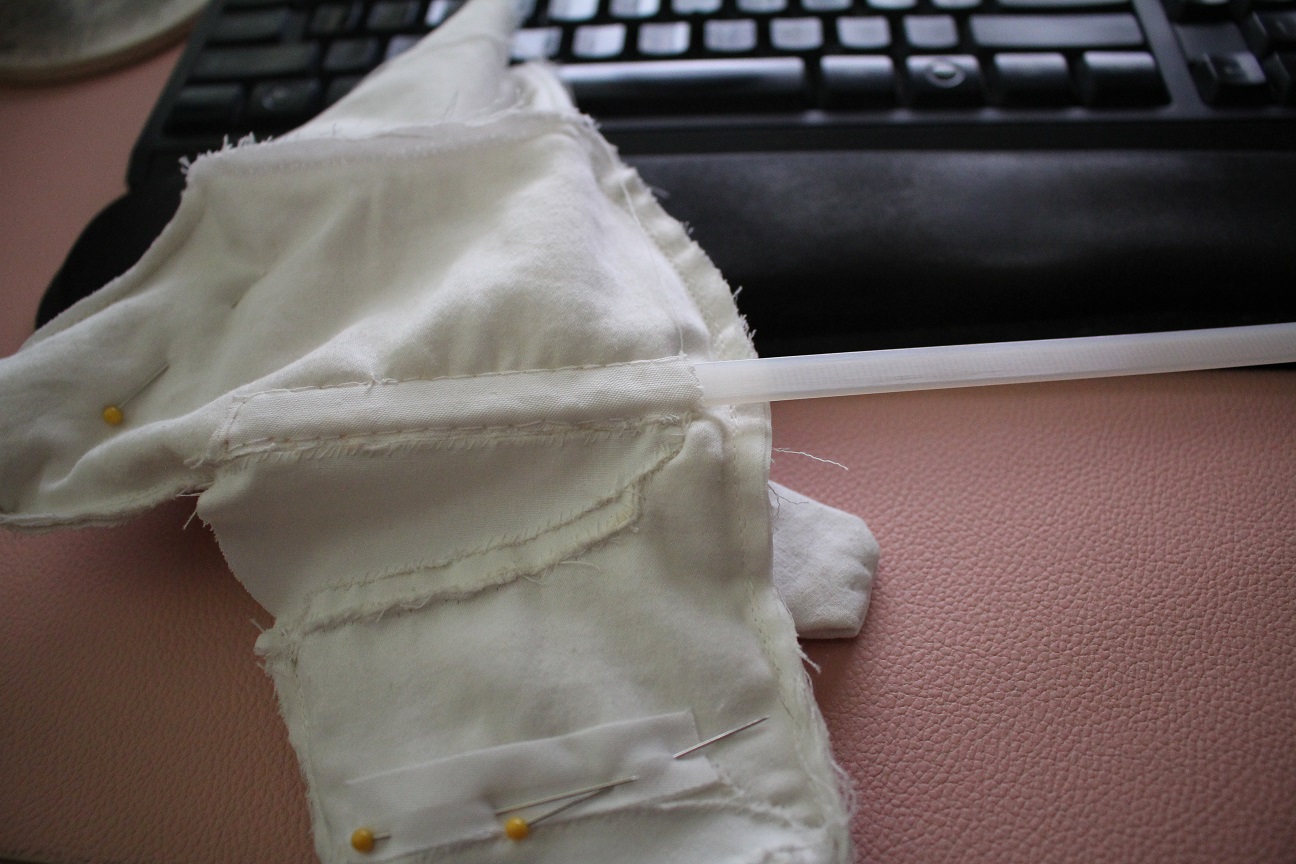 I measured the zip tie, cut it, then rounded and smoothed the edges on sandpaper.
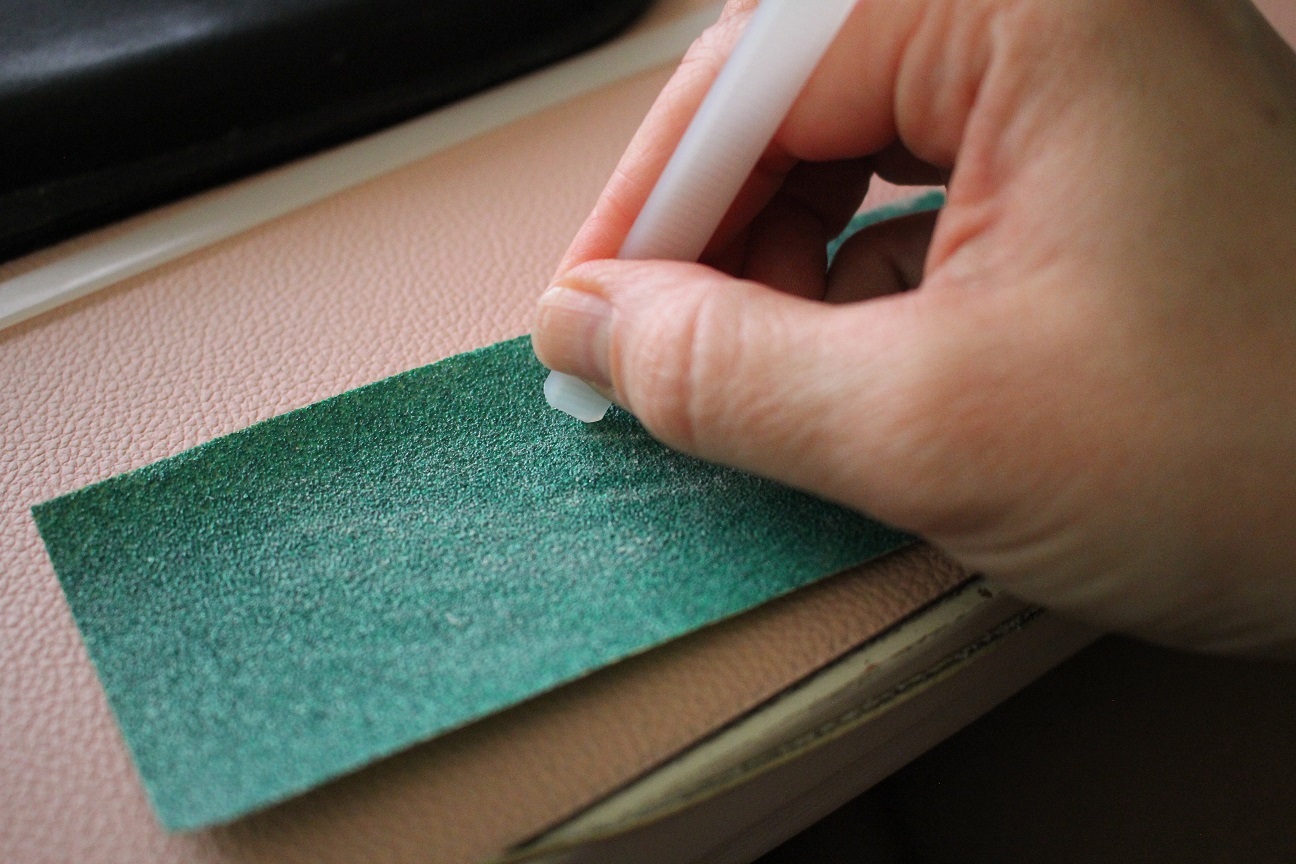 From here it was just repeating on either side of the gusset. Oh, and figuring out I sewed it on the inside of the gusset instead of the outside, forcing me to
take out the seams and start over. Sigh.
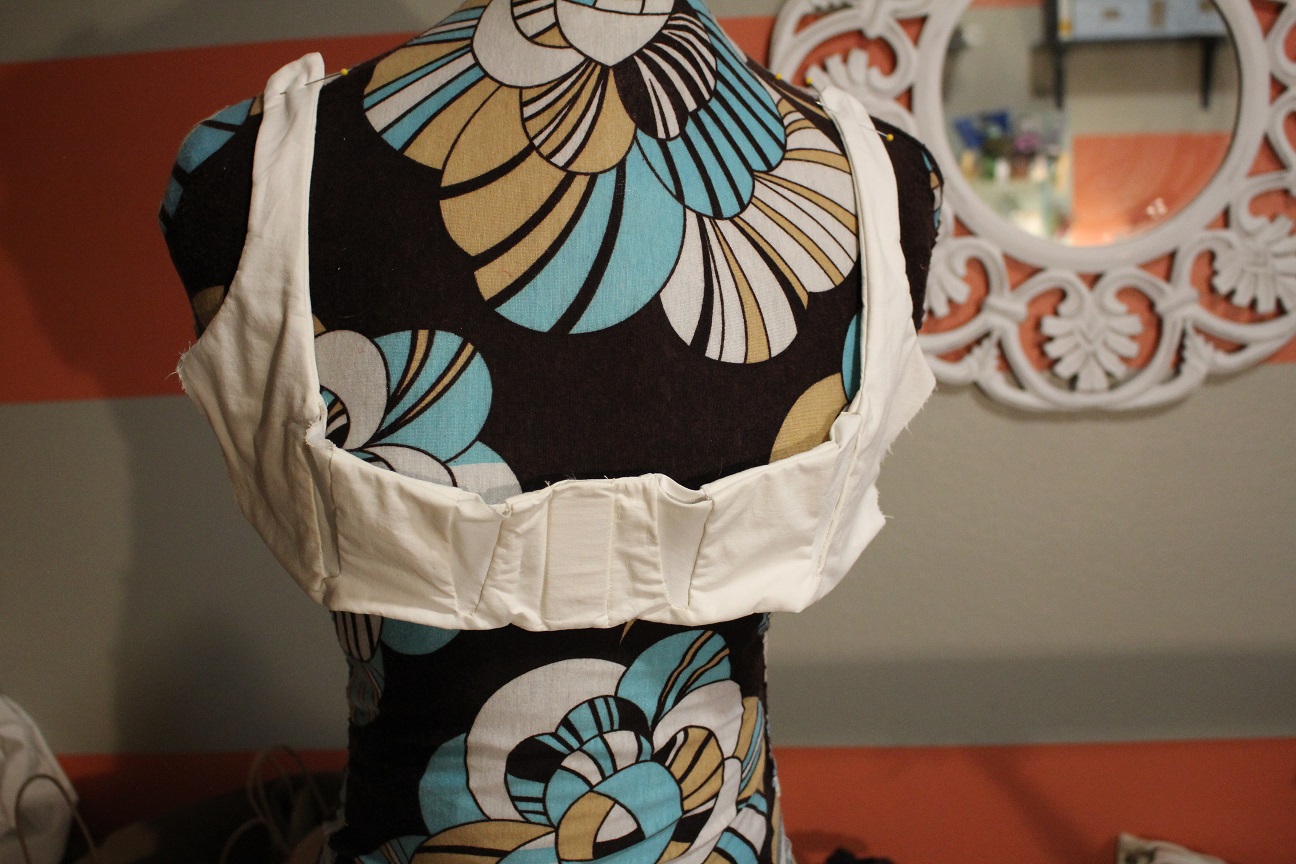
 Now it looks...still weird, but once again I'm hoping that with some messing around with the top and bottom it'll start to look right. It is starting to take shape and acheiving the right form, it's just...unattractive.
Sat31
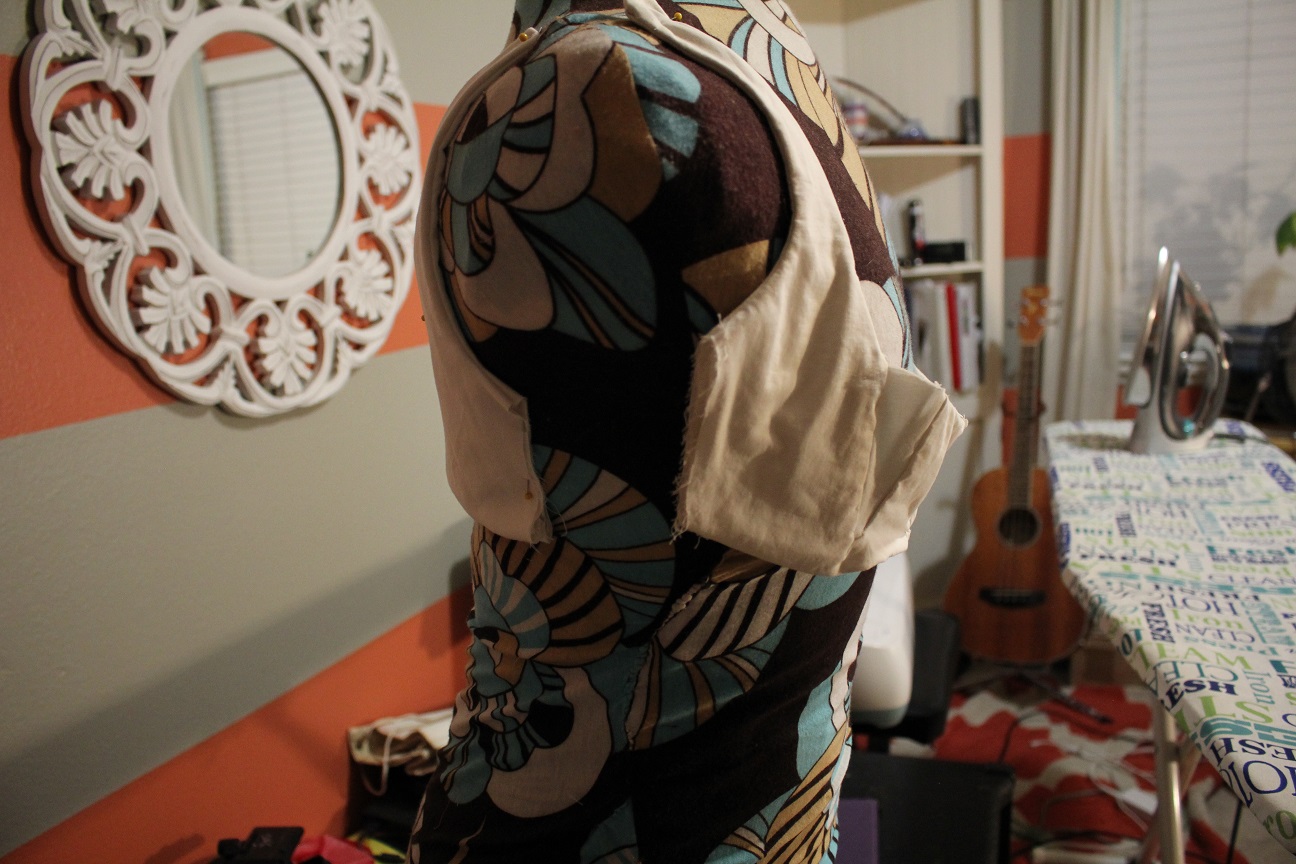
It wasn't easy cutting into my lovely bodice to make the gussets. I hesitated for quite awhile, trying it on repeatedly before finally taking a breath and taking the plunge. 4 slits were made for the 4 gussets,
but they appear on each side of the bodice, so there were 8 total to sew in.
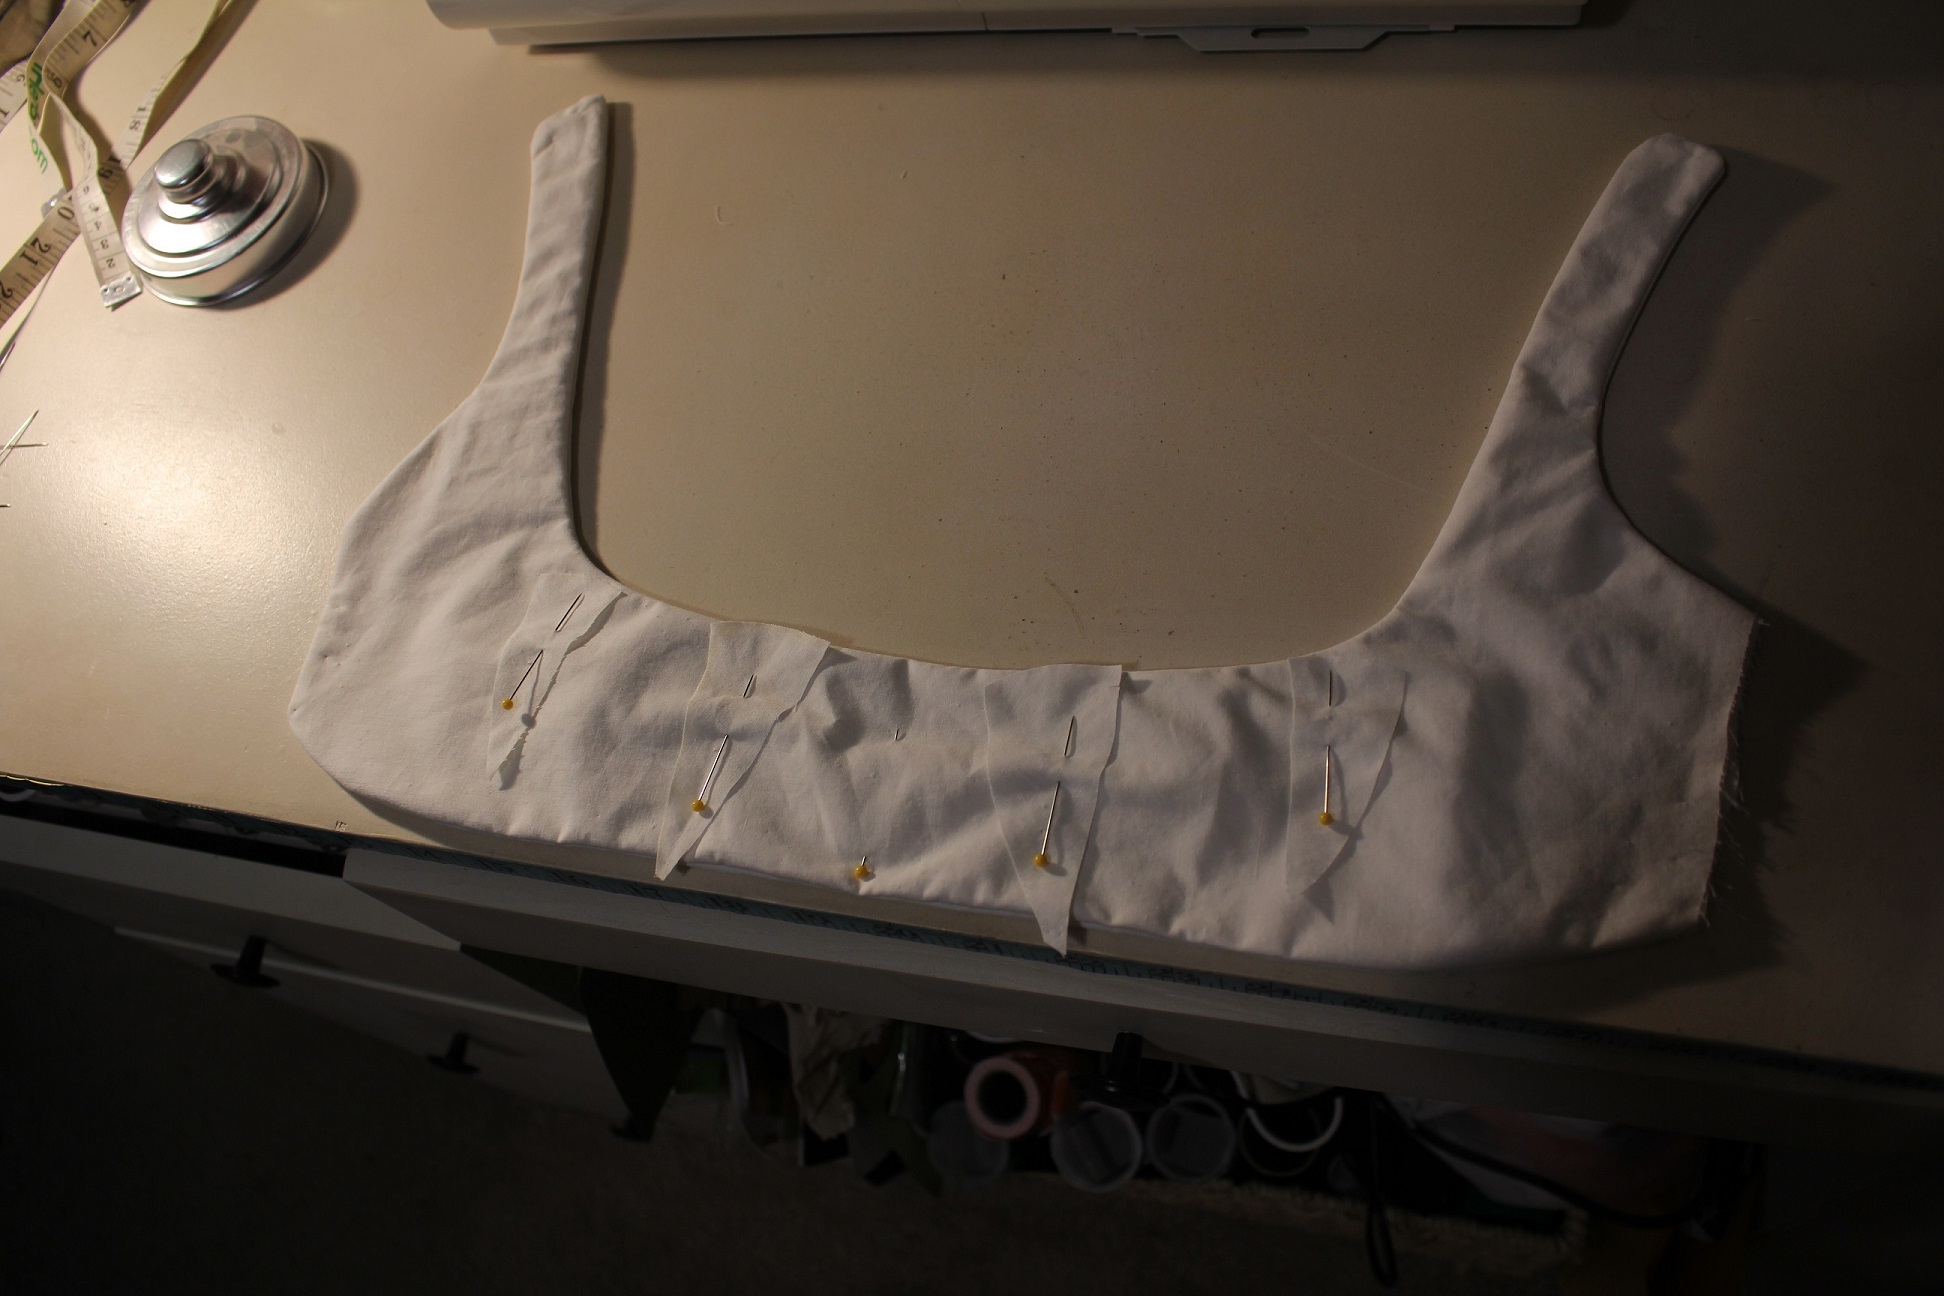 Firstly, I ironed the slits out beforehand, deciding they would definitely have to be tacked down in order to behave.
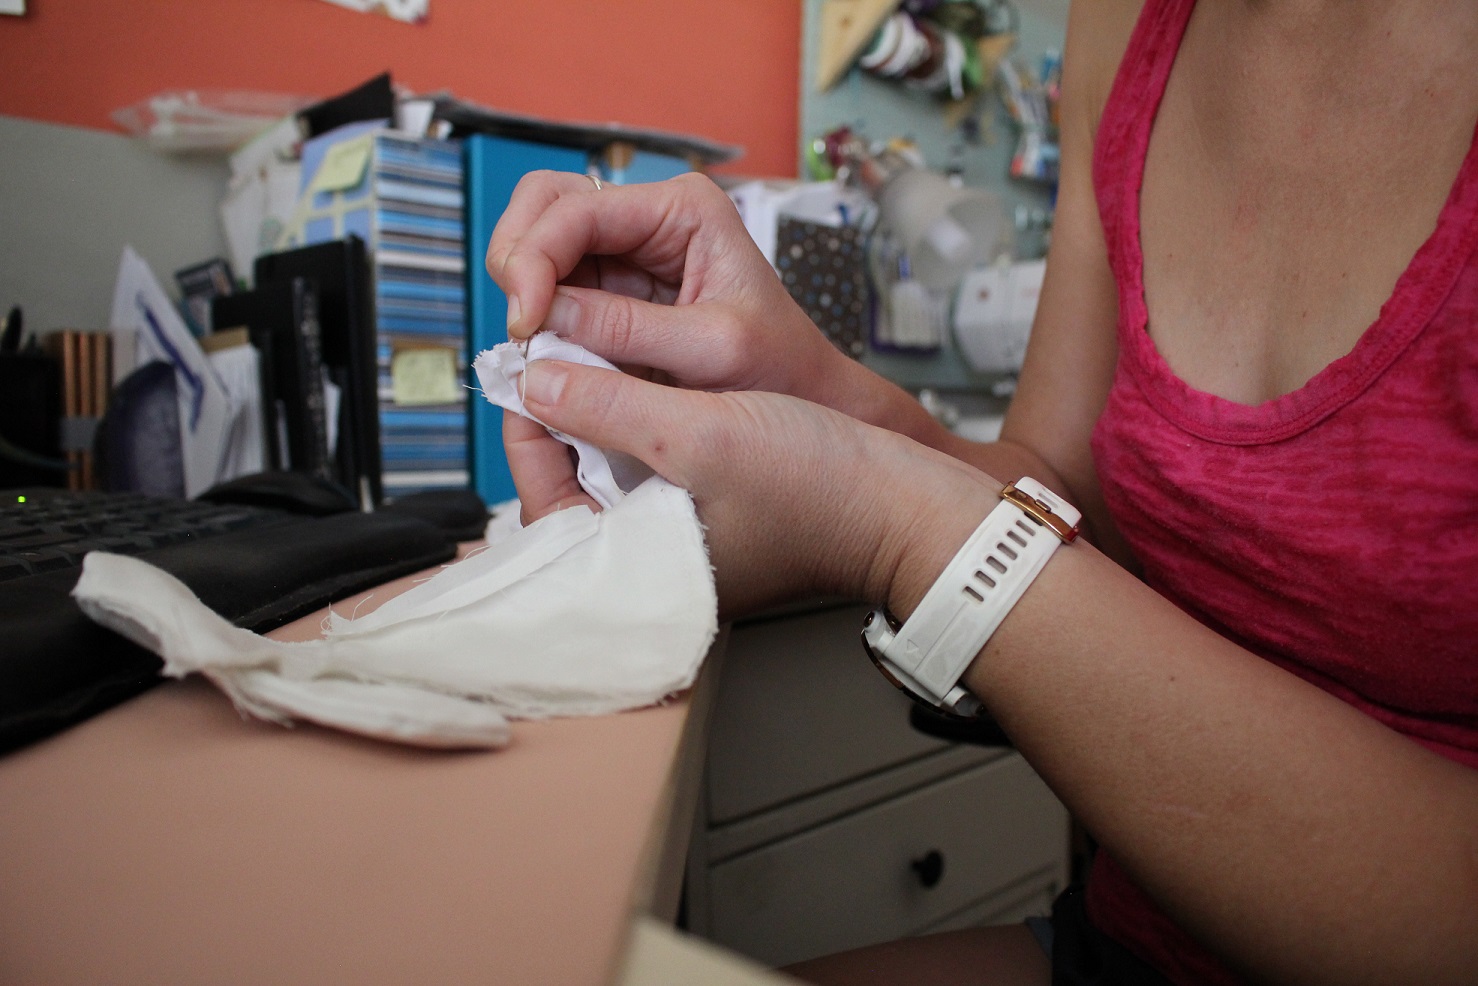
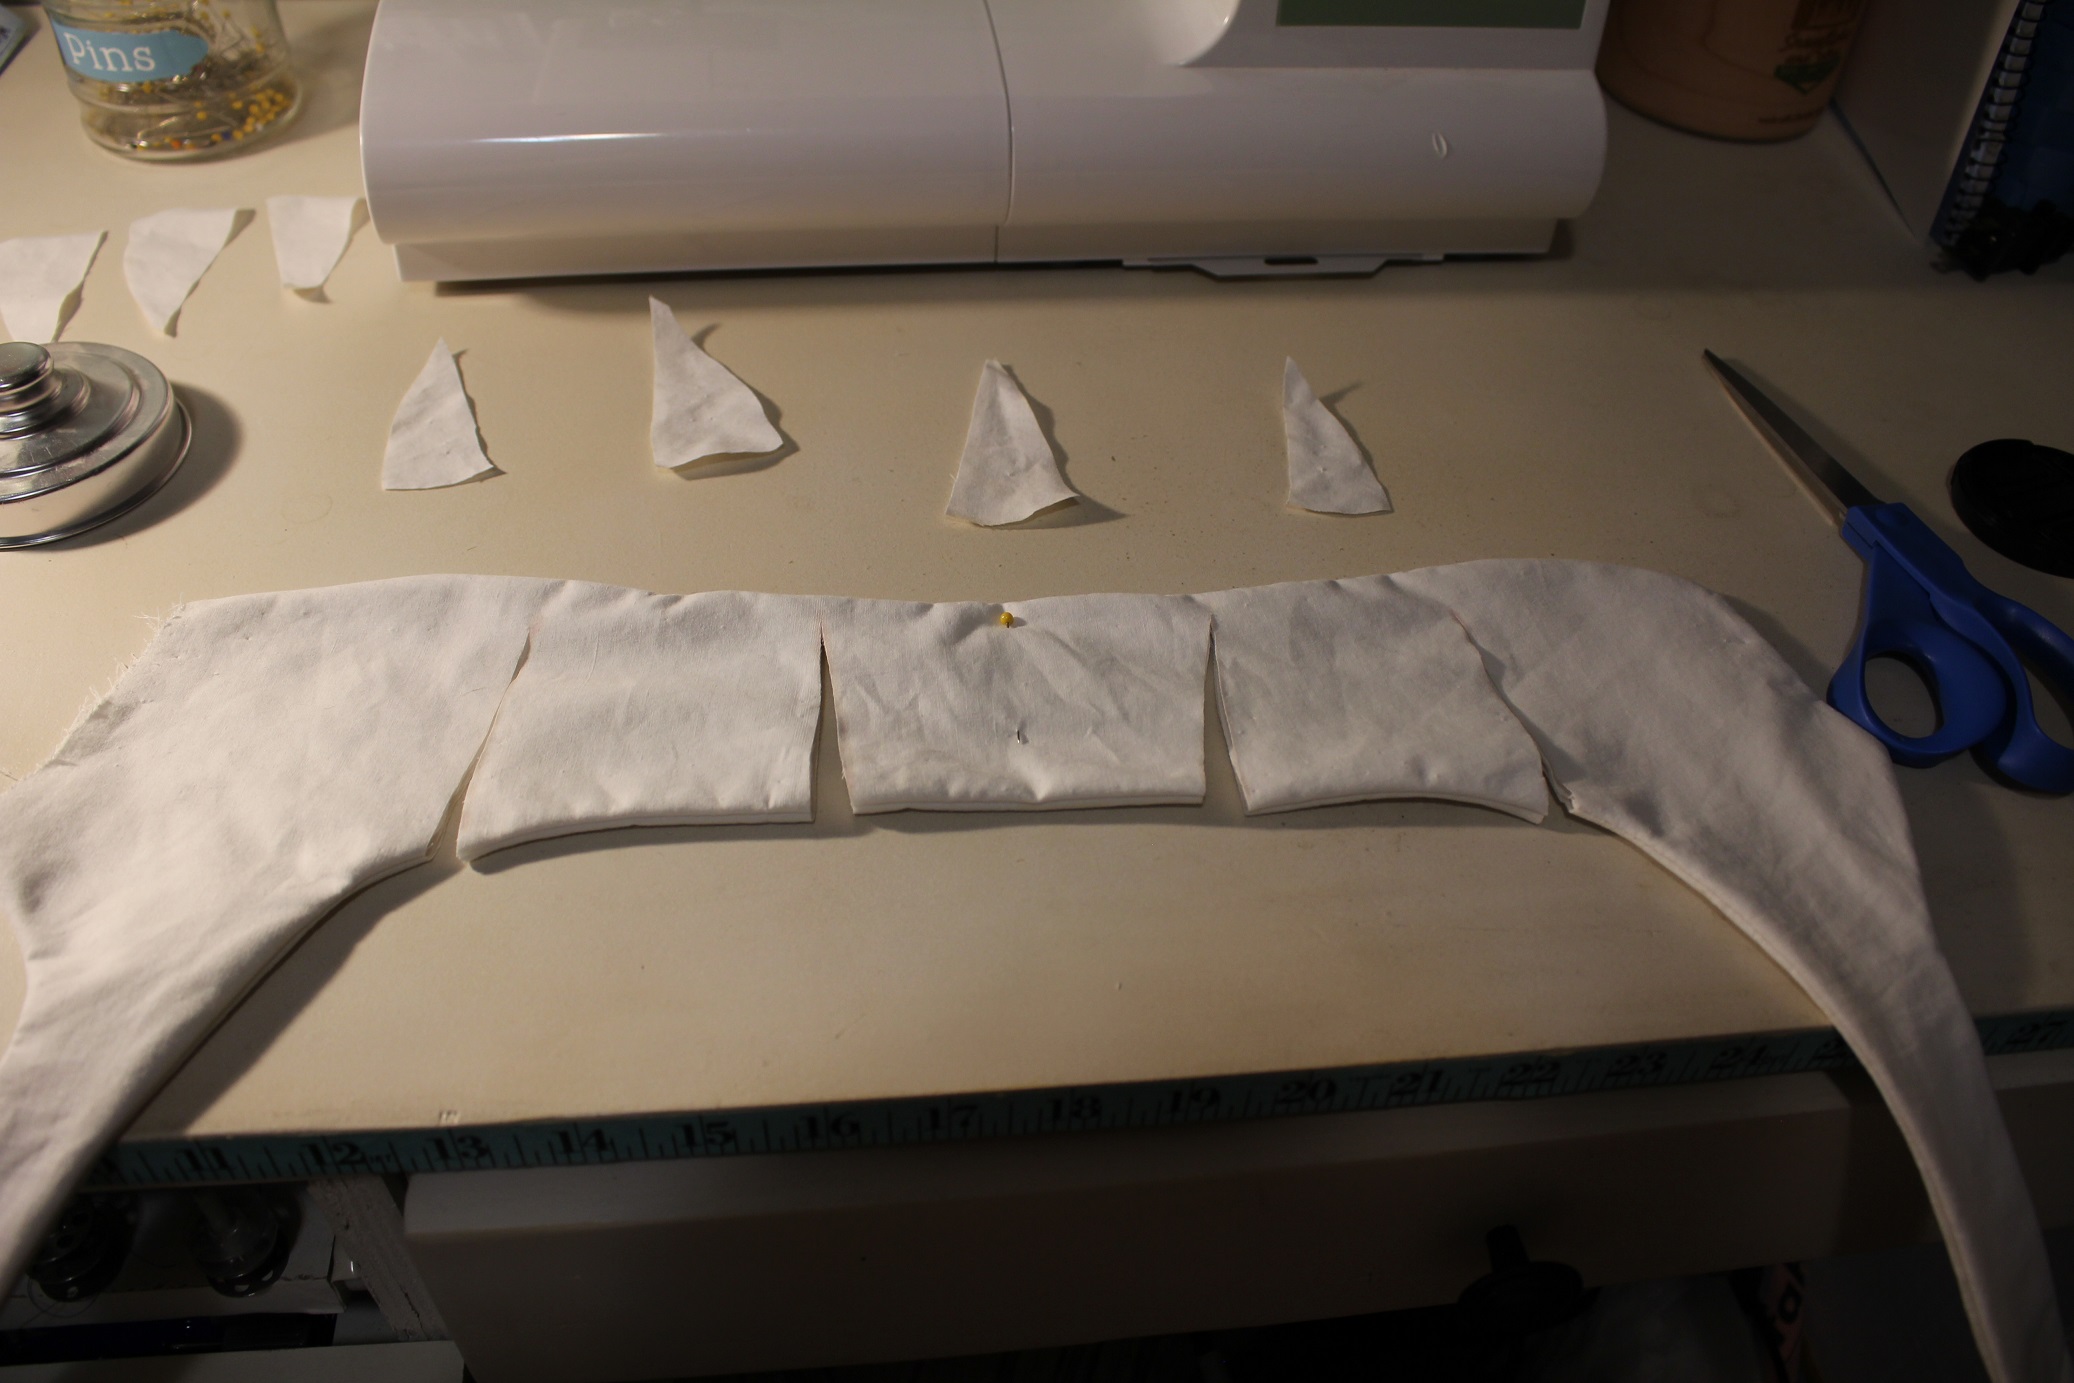 This meant hand
sewing as the amount of material being sewn was too delicate a task to leave to the Singer. It took me about 10 minutes per slit. Not too shabby.
 I listen to a fantastic Pandora station while I sew that's
based off my fave composer, Rachel Portman.
  That's some good Saturday sewing music.
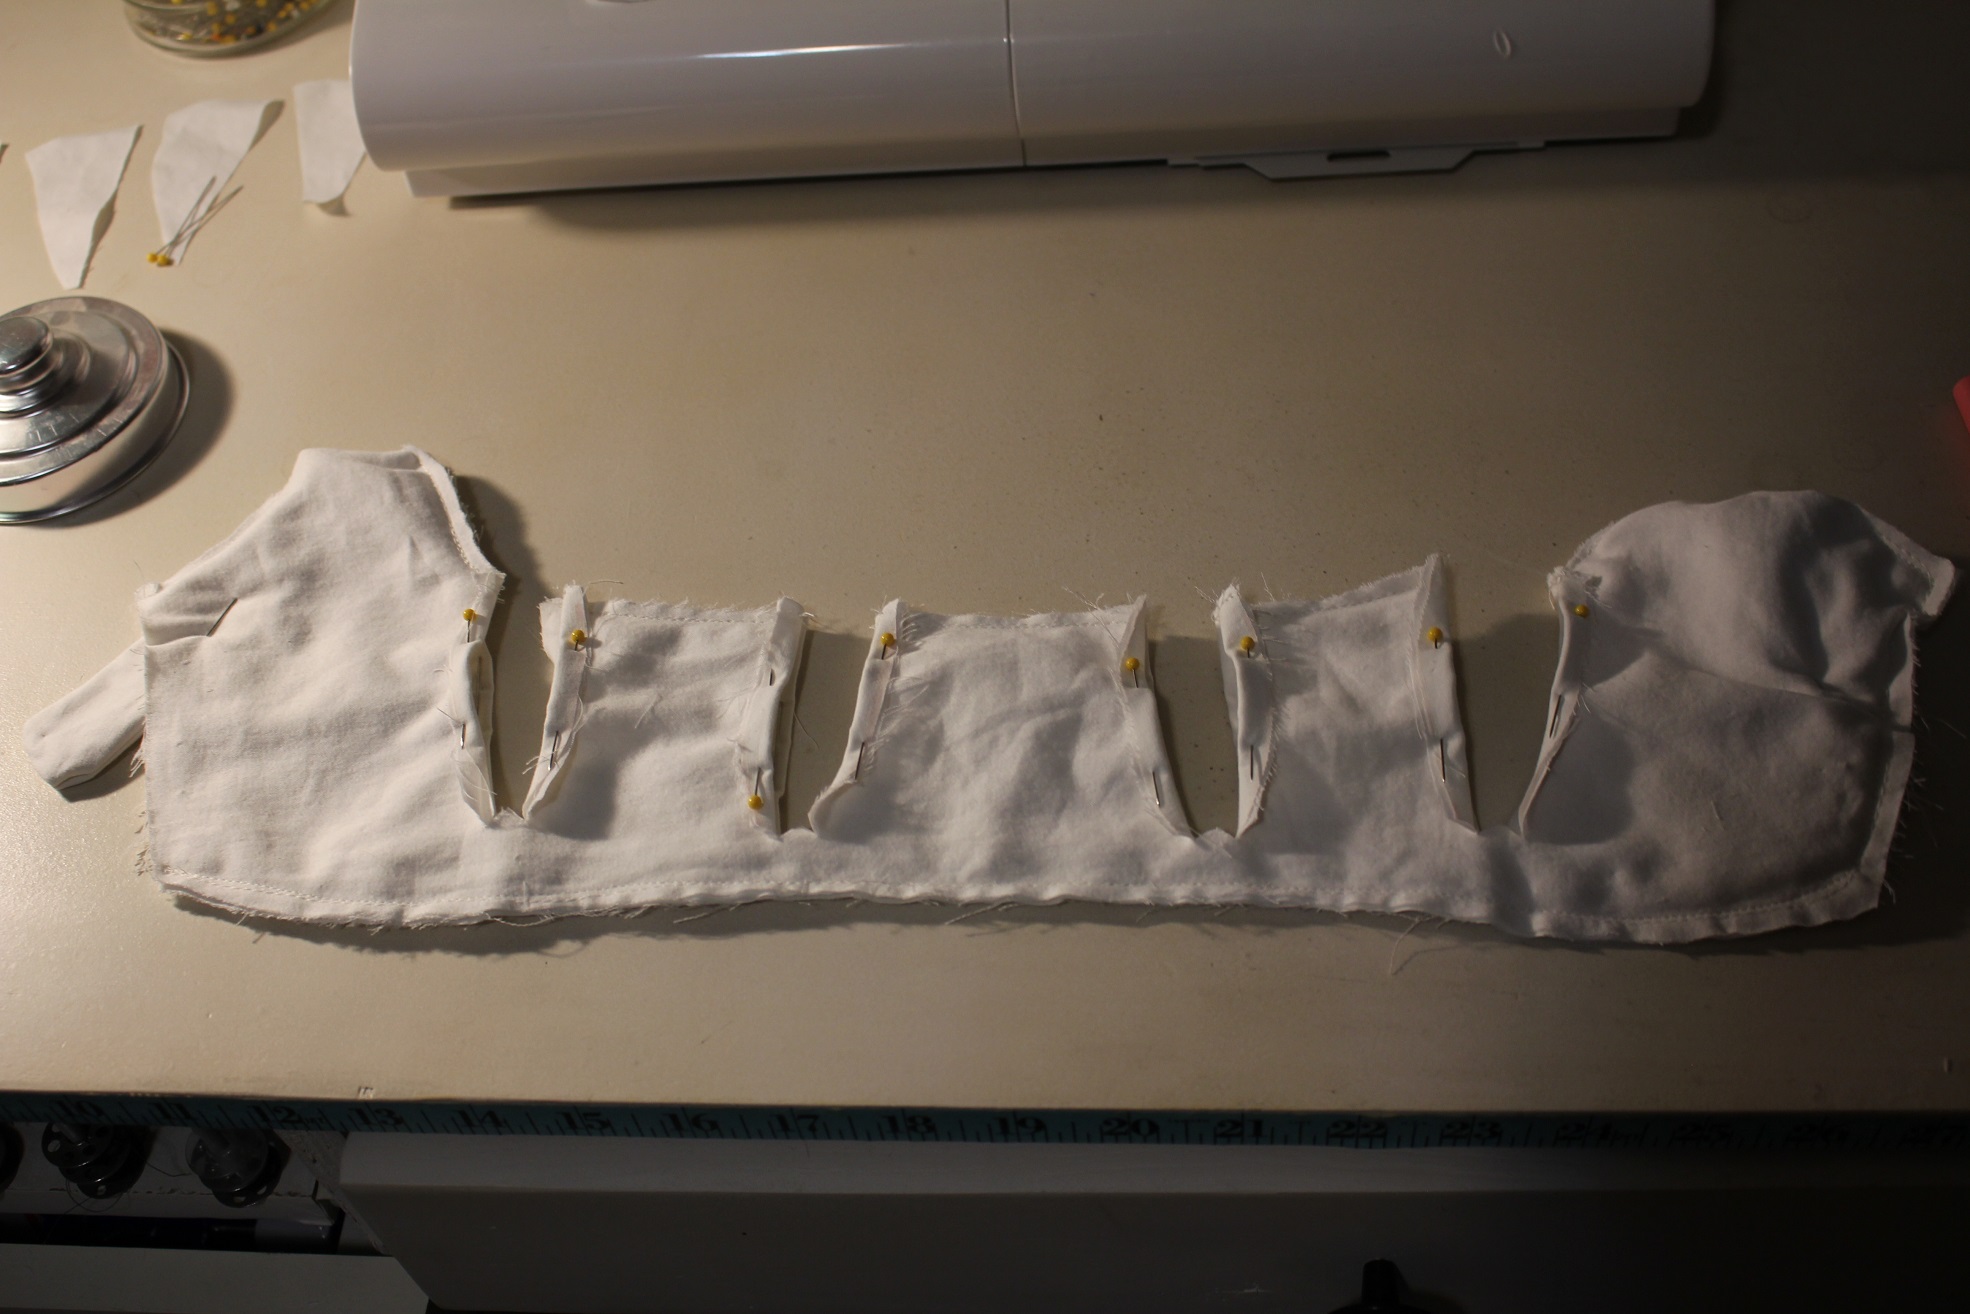
  Once that was complete, I futzed with the gussets for a time before hand sewing them into the now tacked back slits.
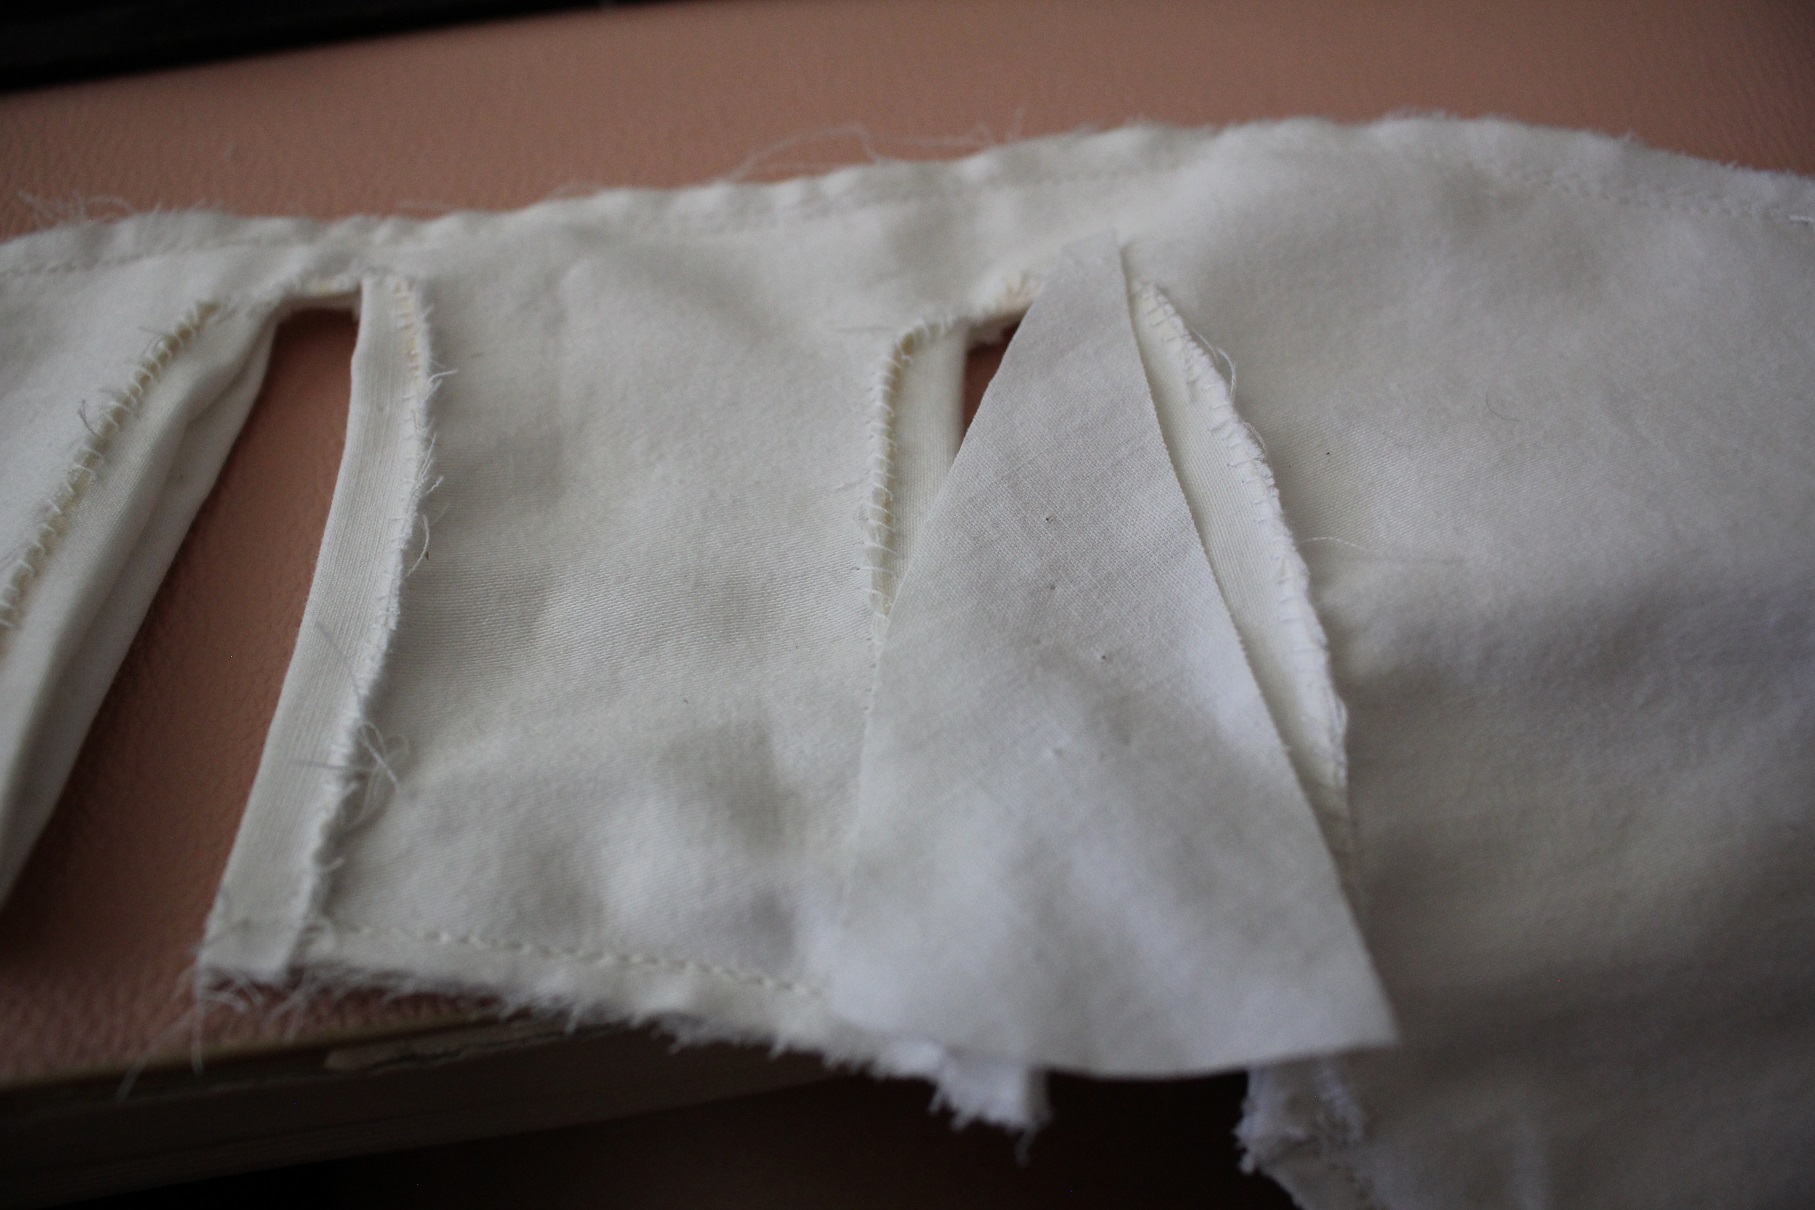 This took the rest of the day to do, but it's kind of therapeutic to do menial tasks like that every once in awhile. Plus, it gave me a chance to catch up on a new favorite vlogger, Bernadette Banner. She makes
historical costumes and I have fallen down the black hole of YouTube watching her channel.
 Sorry.
I enjoyed it with loose leaf tea in the awesome Teavana strainer my sister gave me. Thank you sister! You have no idea
how much I use this thing!
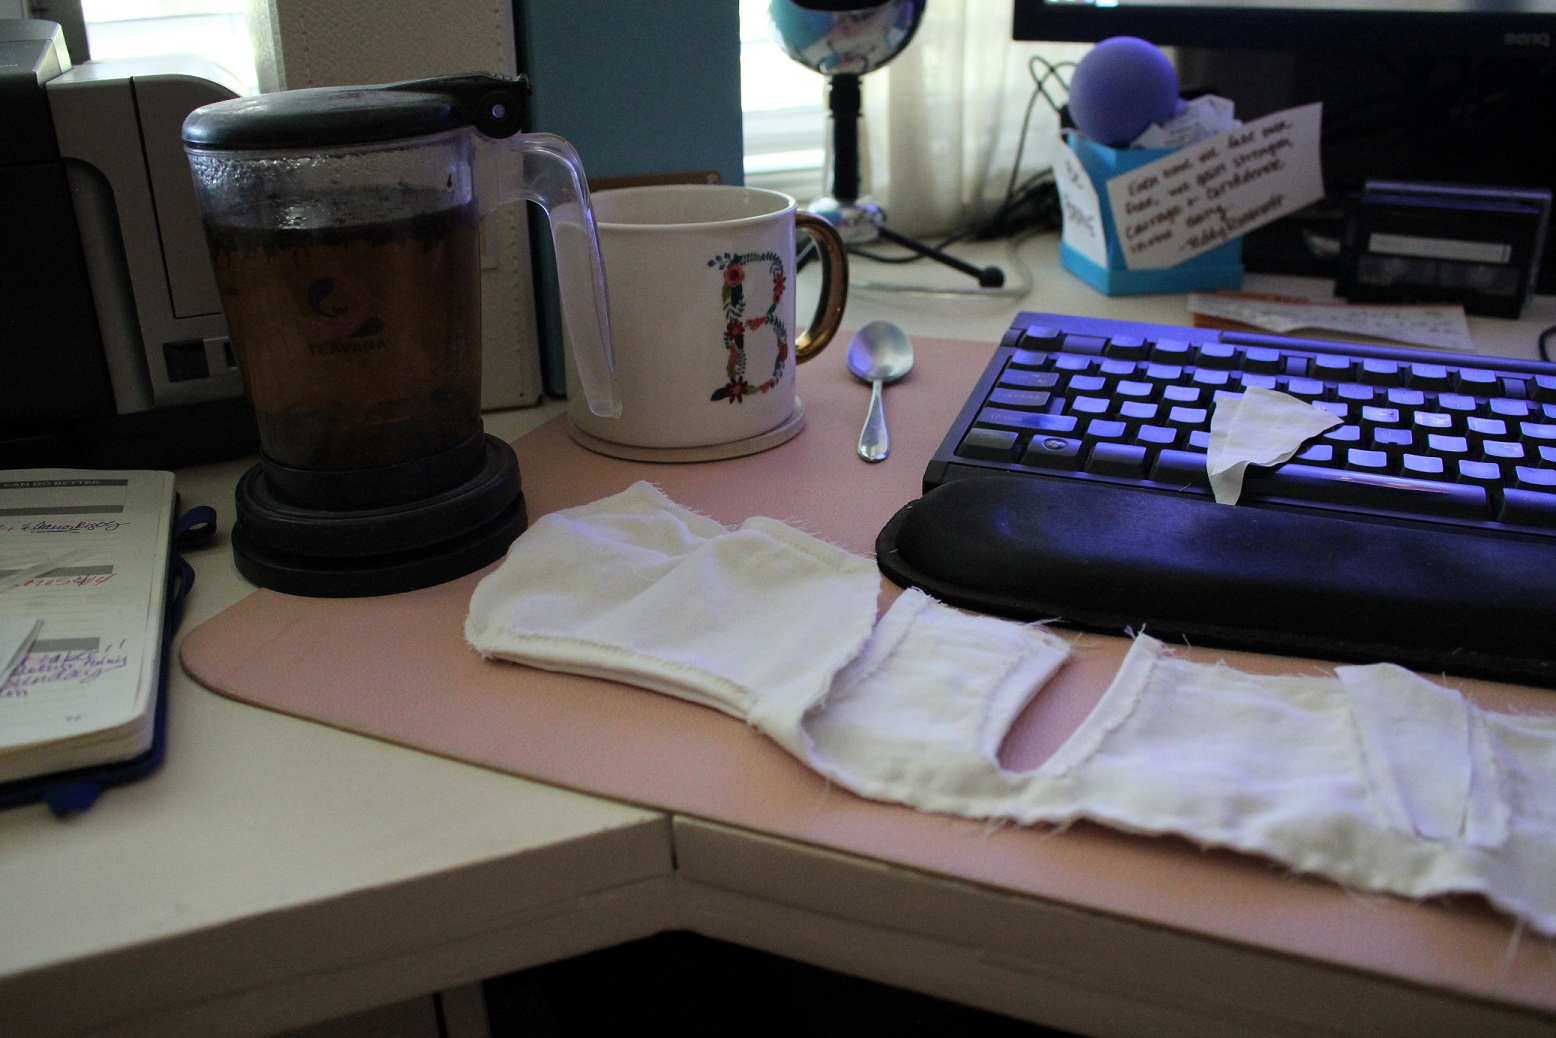 The positive side of hand sewing both the slits and the gussets is that all seams are completely hidden since
I was able to sew just to the inside layers. Couldn't have done that with the machine.
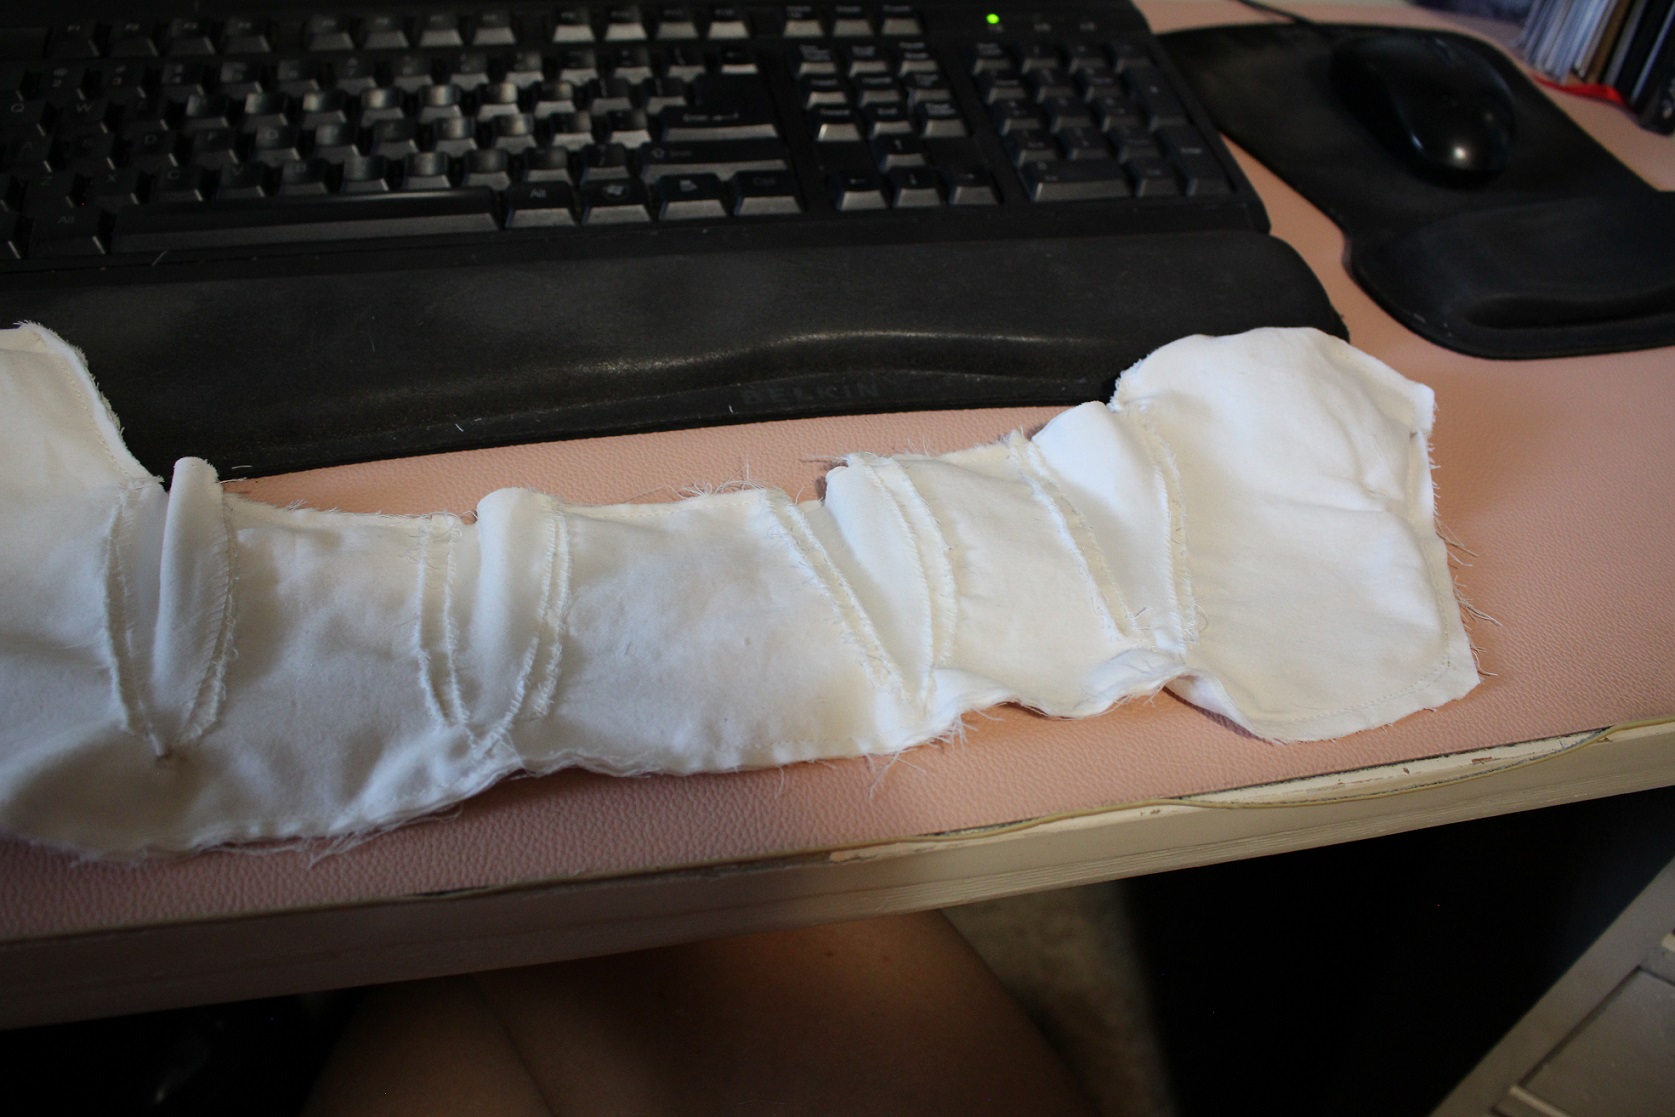 Admittedly, the bodice didn't look near so nice once it was marred with these gussets, but I'm holding out hope that after the boning and top seam it will come together.
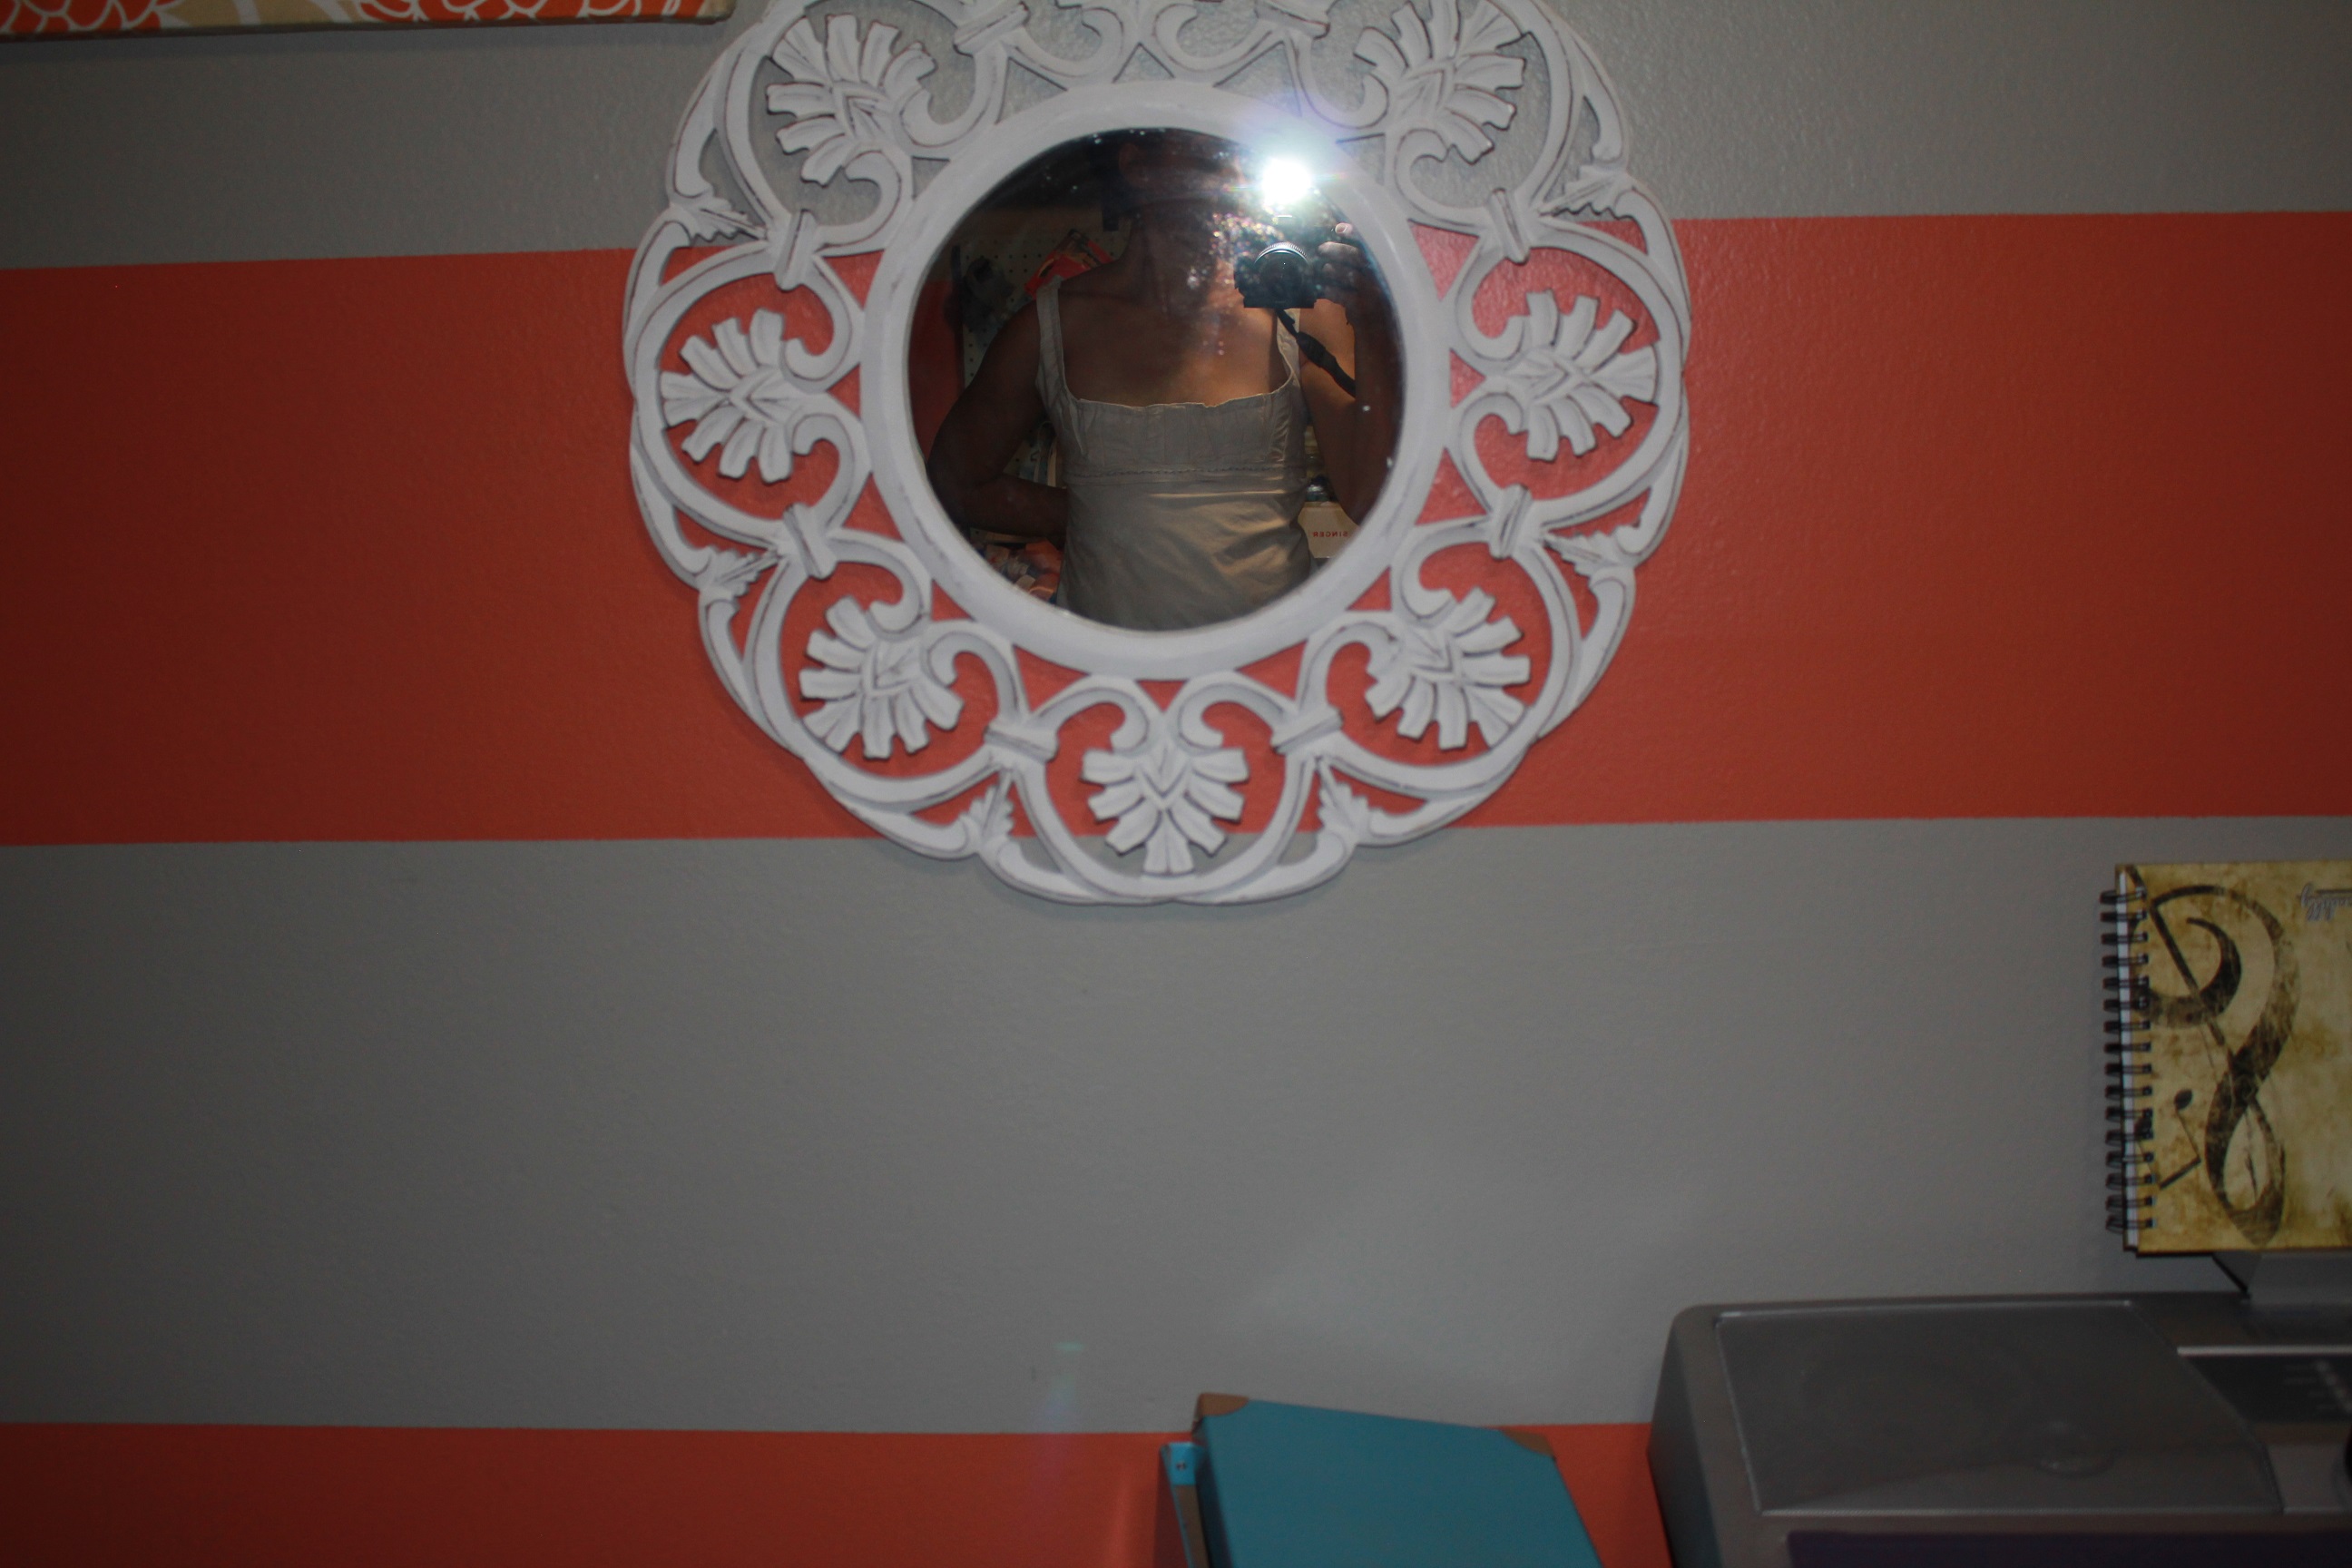
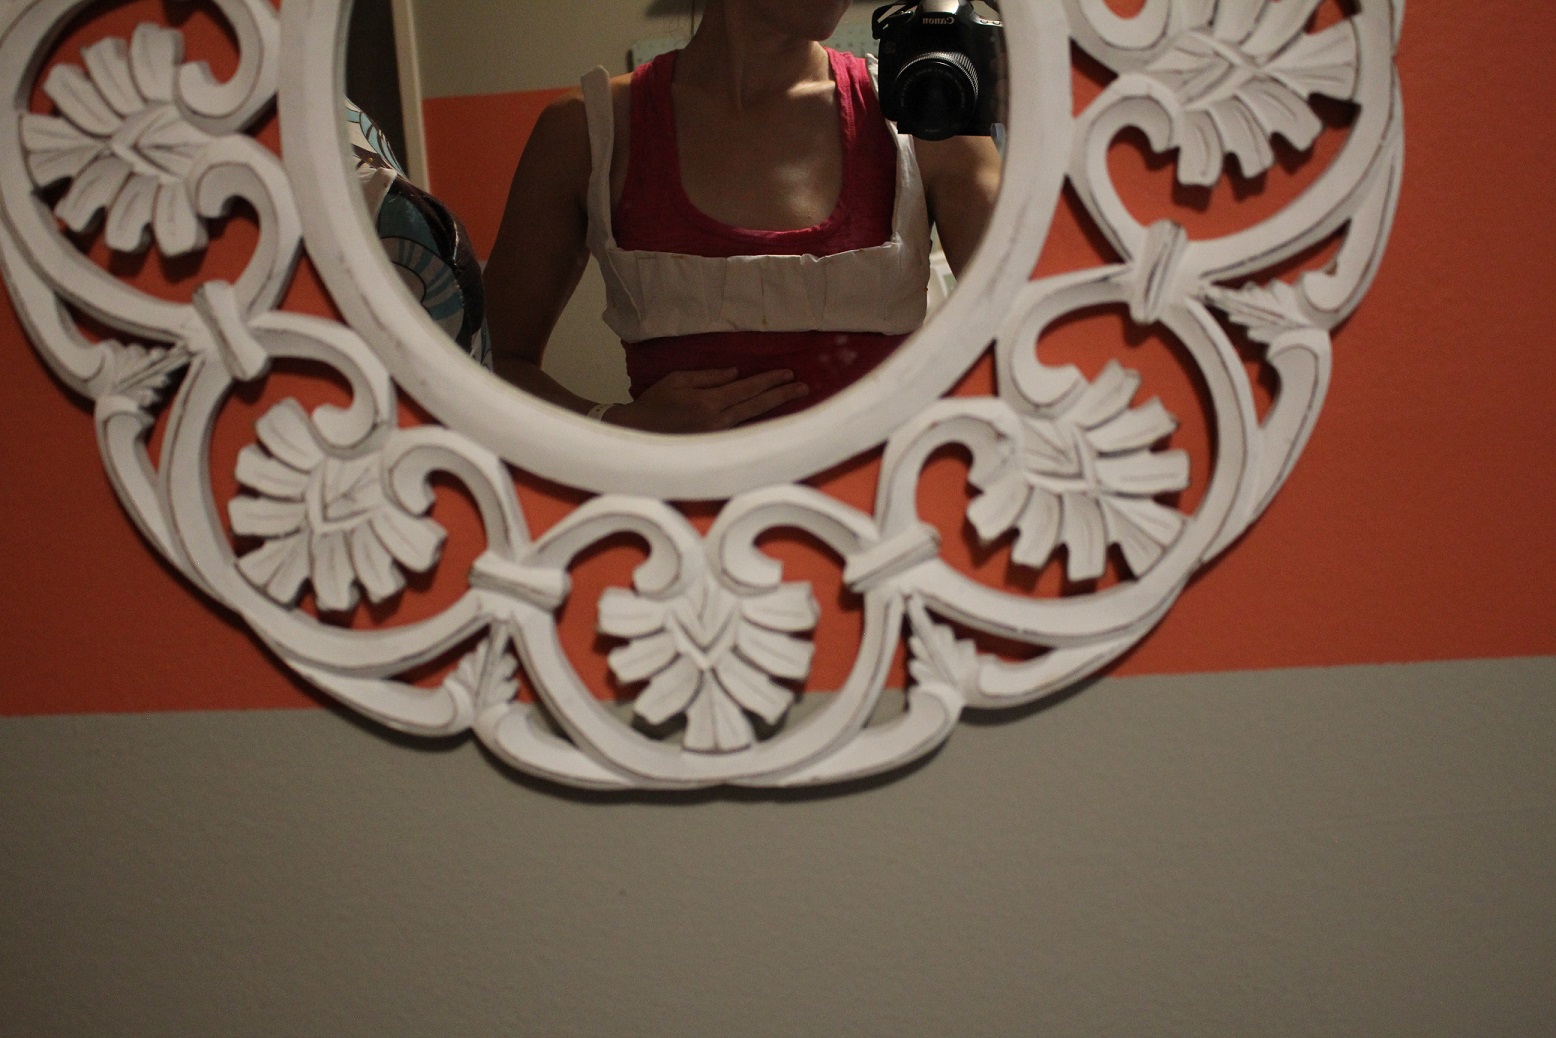
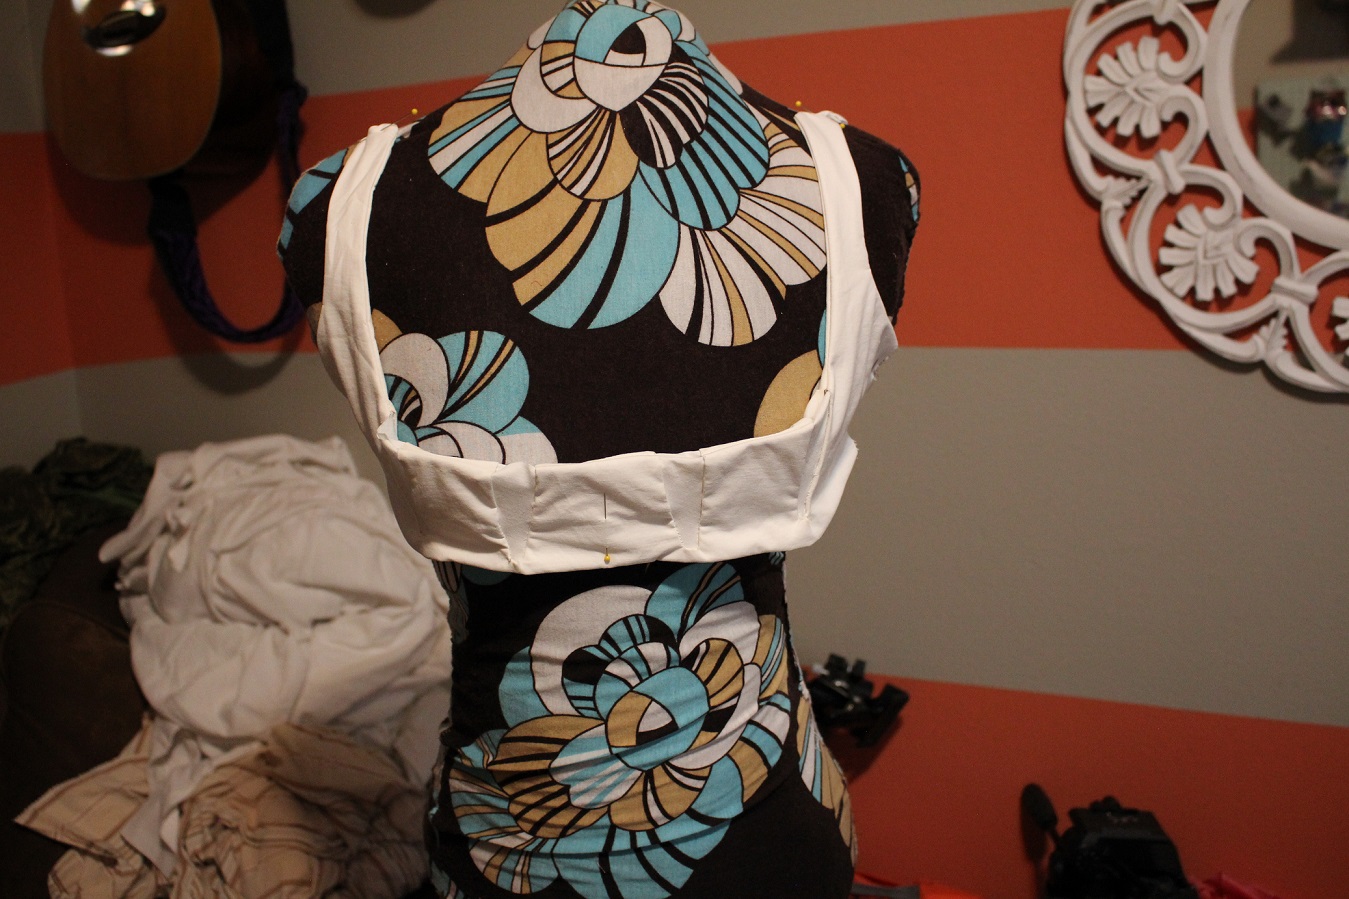 I also hung a mirror in the office so I could
better check the fit when I put the bodice on myself. This was a smart move. Much easier.
  Next, boning!
Sat24
Saturdays are great for costuming. Time is a little slower, the house is quiet, and a cup of tea is begging to be brewed. I got to work on piecing together the bodice of the petticoat.
Naturally, it wasn't without a few fails- I ended up not having the stiffer lining to the inside as I intended for the front piece. I am too lazy/not at all a perfectionist to rip out all those seams and redo it,
so I just made it the right way for the back pieces. I'll live.
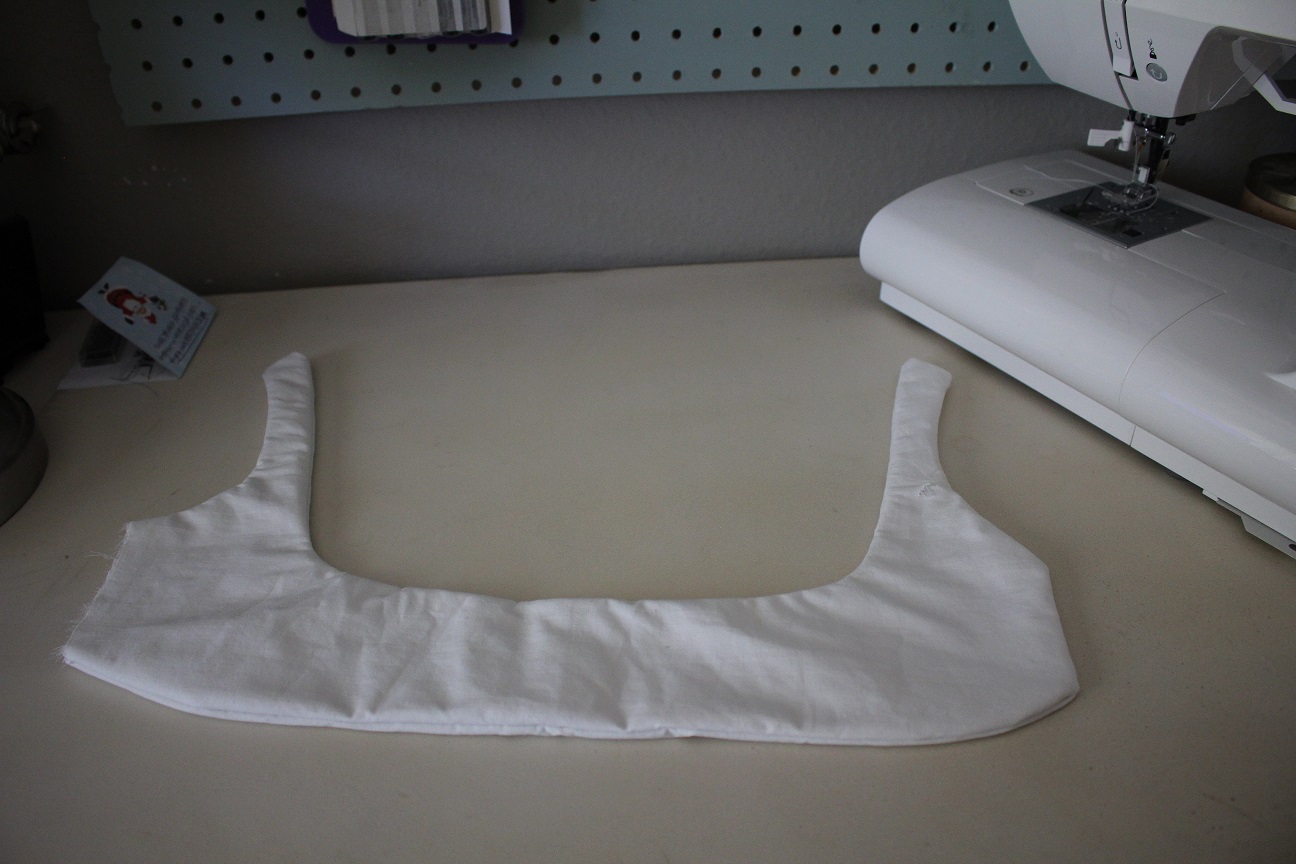 I kind of love this part, because much like woodworking, this is where the piece
really starts to take shape and you can see its future. I'm still not completely sure how I'm going to do the boning and gussets, but I've been researching a lot to get an idea and I think I'll just have
to take a stab at it and try it out. Flying blind without any patterns, for sure. At least I have good company.
 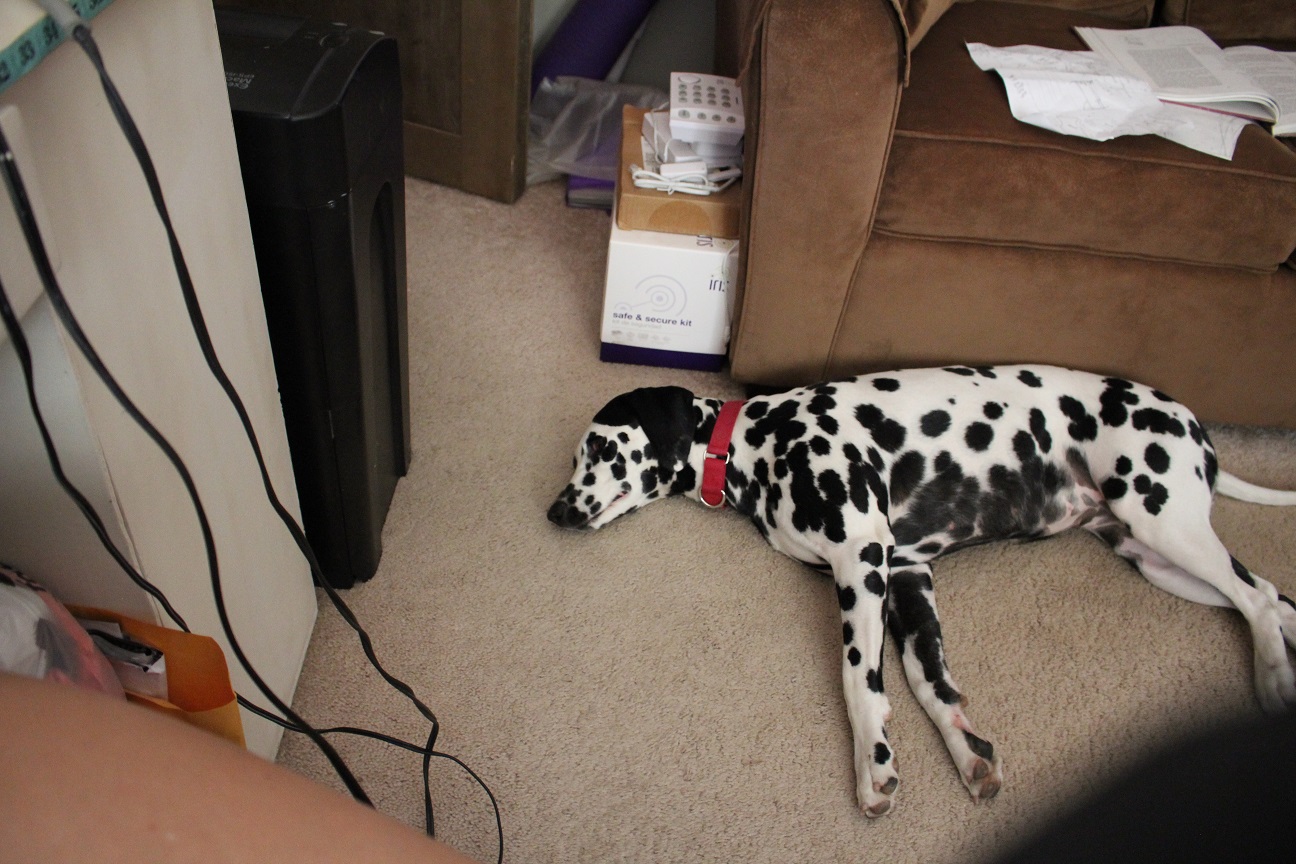 What? You don't have an adorable dalmatian as your office mascot? Tsk, tsk. Up next, I attempt boning and gusseting. Deep breaths...
Mon19
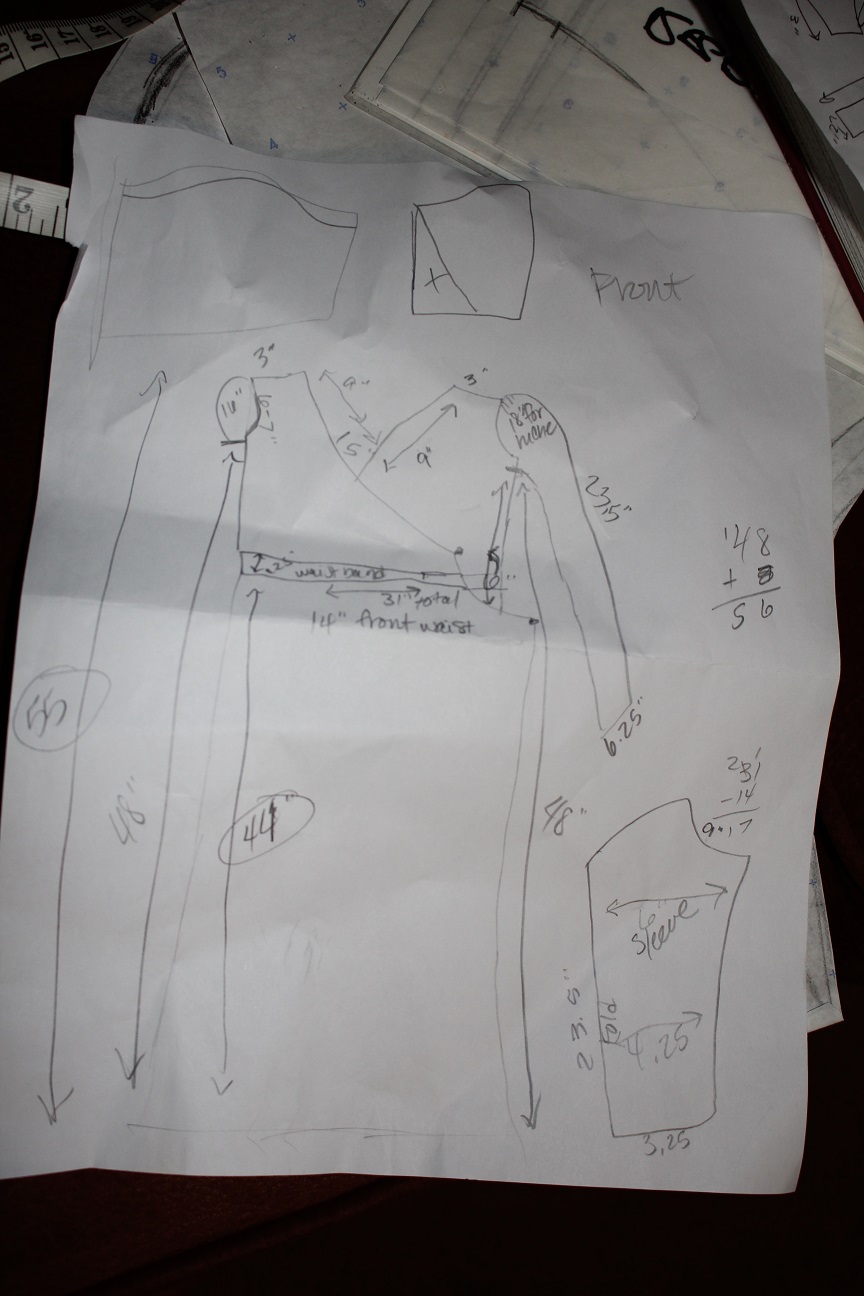
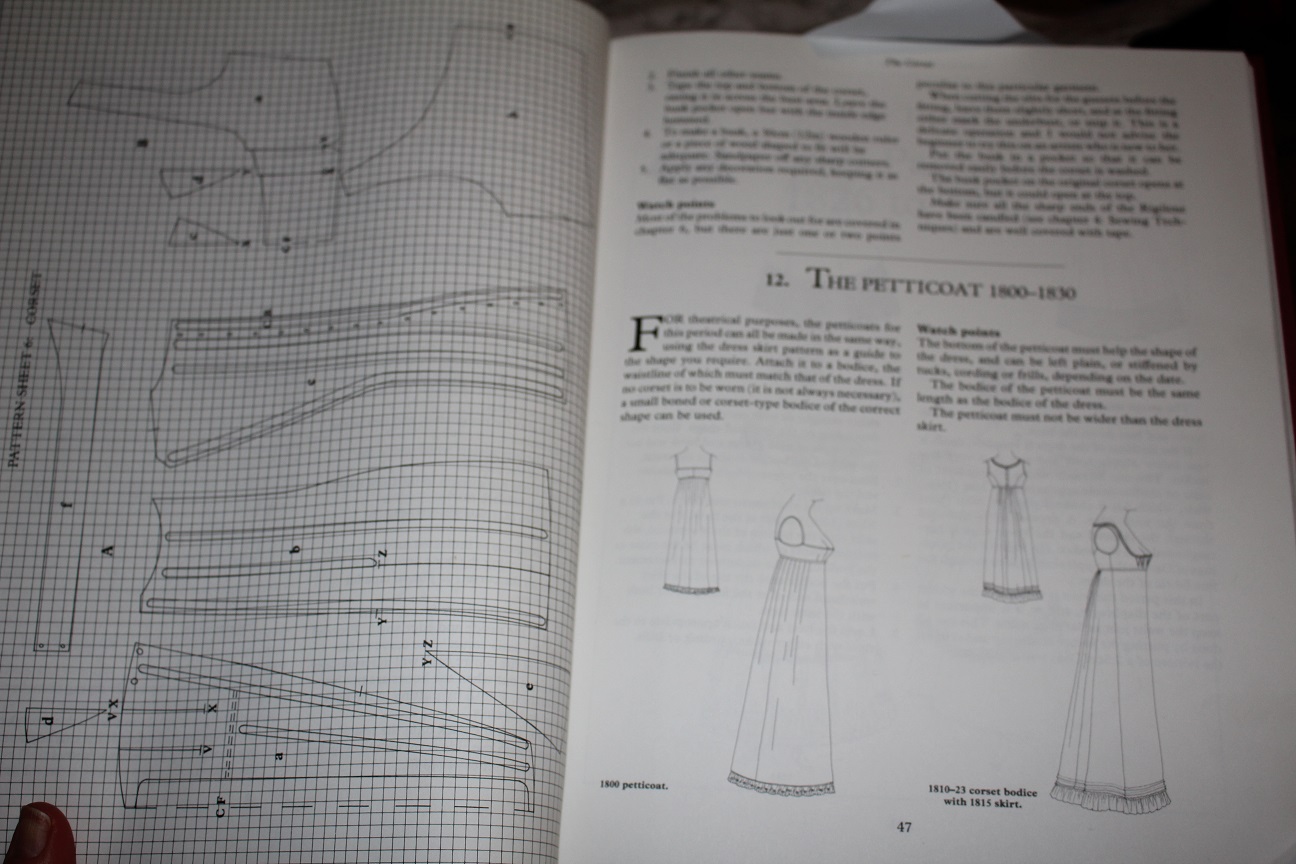
So, how does one figure out how to make a boned bodiced petticoat and dress with no pattern? Well, if you're me, you fall into a delightful chasm of research online and pore over every picture and
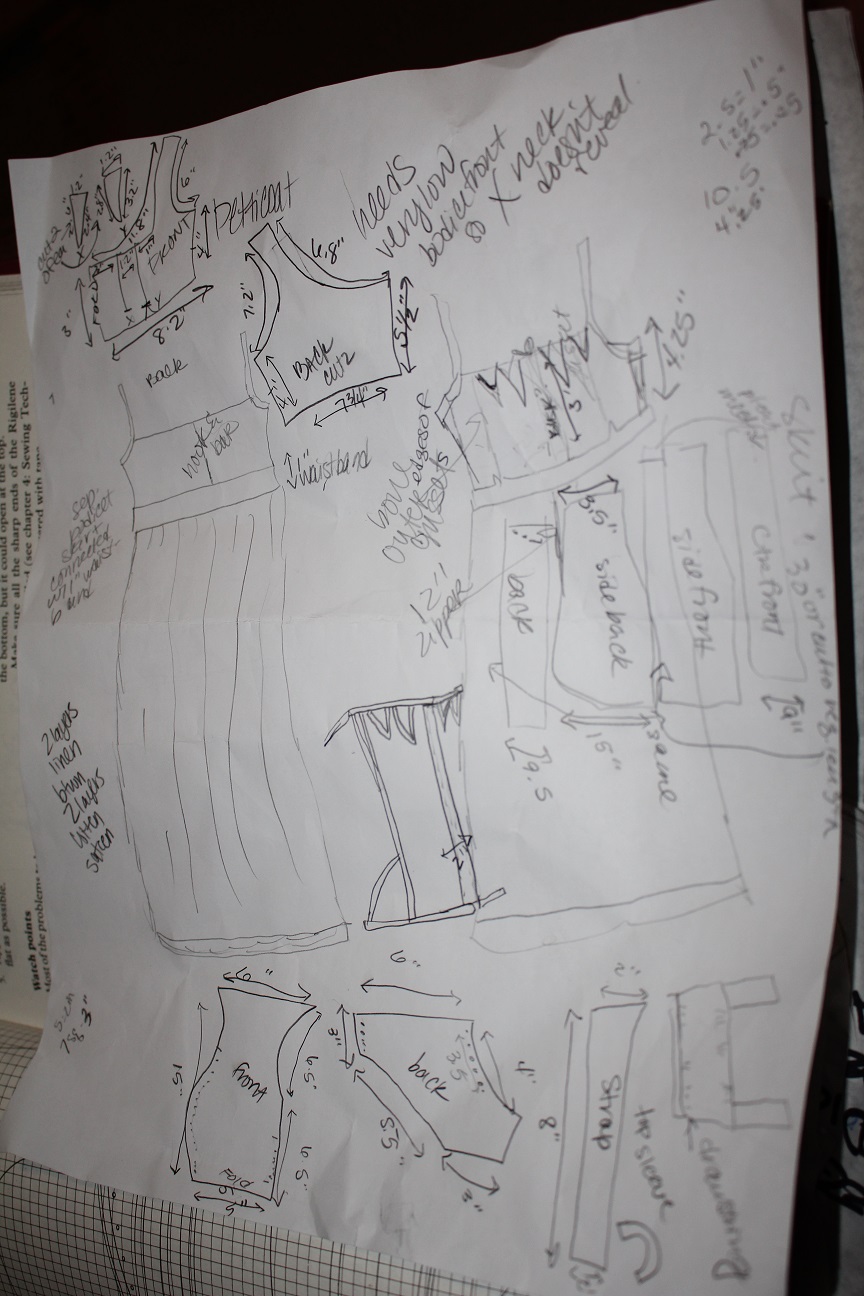
article you can find. Then I do a sketch based off of both the book and what I find online, since the book isn't exactly what I'm making.
 I attempt to put in dimensions
of each piece, though it will really kind of be figured out as I go and sew along, and fit it to my body.
  Speaking of my body, I have some--interesting challenges. Firstly,
there is nothing up front to lift and separate. I am a surfboard. So, gussets and boning will only do so much. Secondly, I have scoliosis that forms a hump on one side of my back, a protracted scapula on the other and uneven shoulders. Lovely.
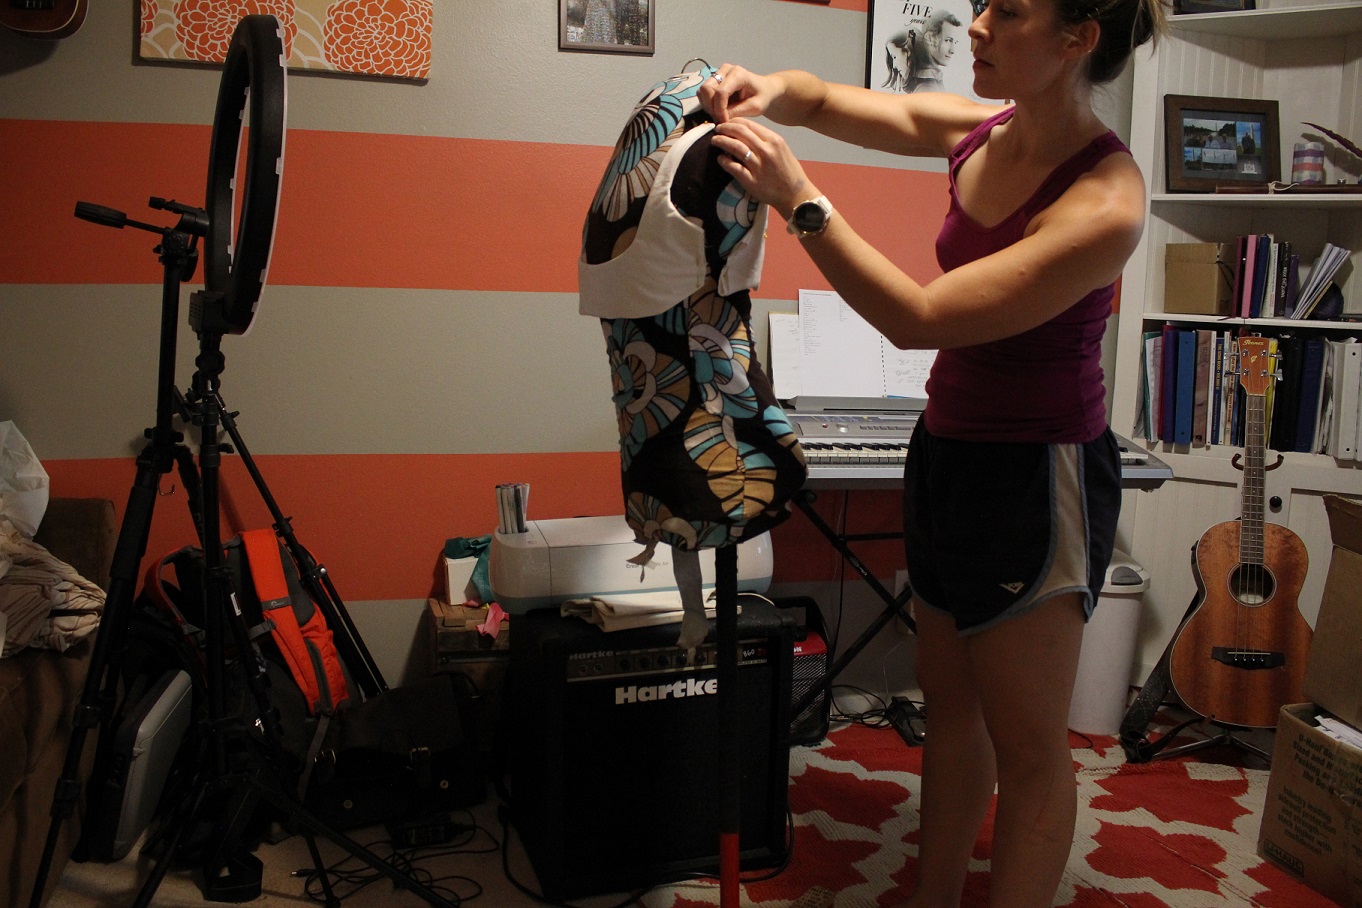
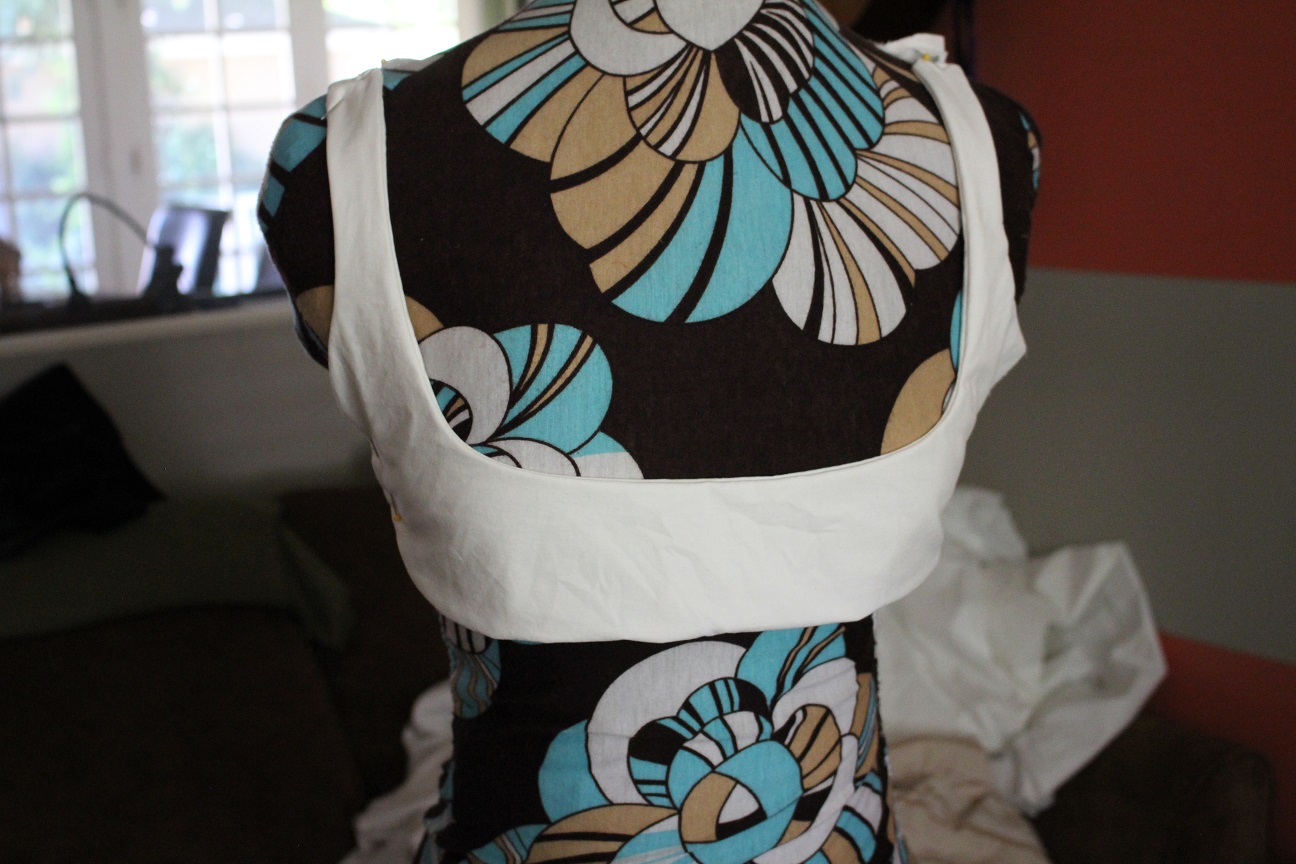
However, this is a big reason why I have a BODY DOUBLE! Oh yes. I made this bad boy out of duct tape wrapped repeatedly around my body back in Oklahoma. I use it for every costume I make because it is almost impossible to pin and fit things on yourself.
So far, this is telling me that the boned bodice to the petticoat is going to need a little something extra. I'll sew the layers together first to get a final idea on that, but that's what I anticipate from this.
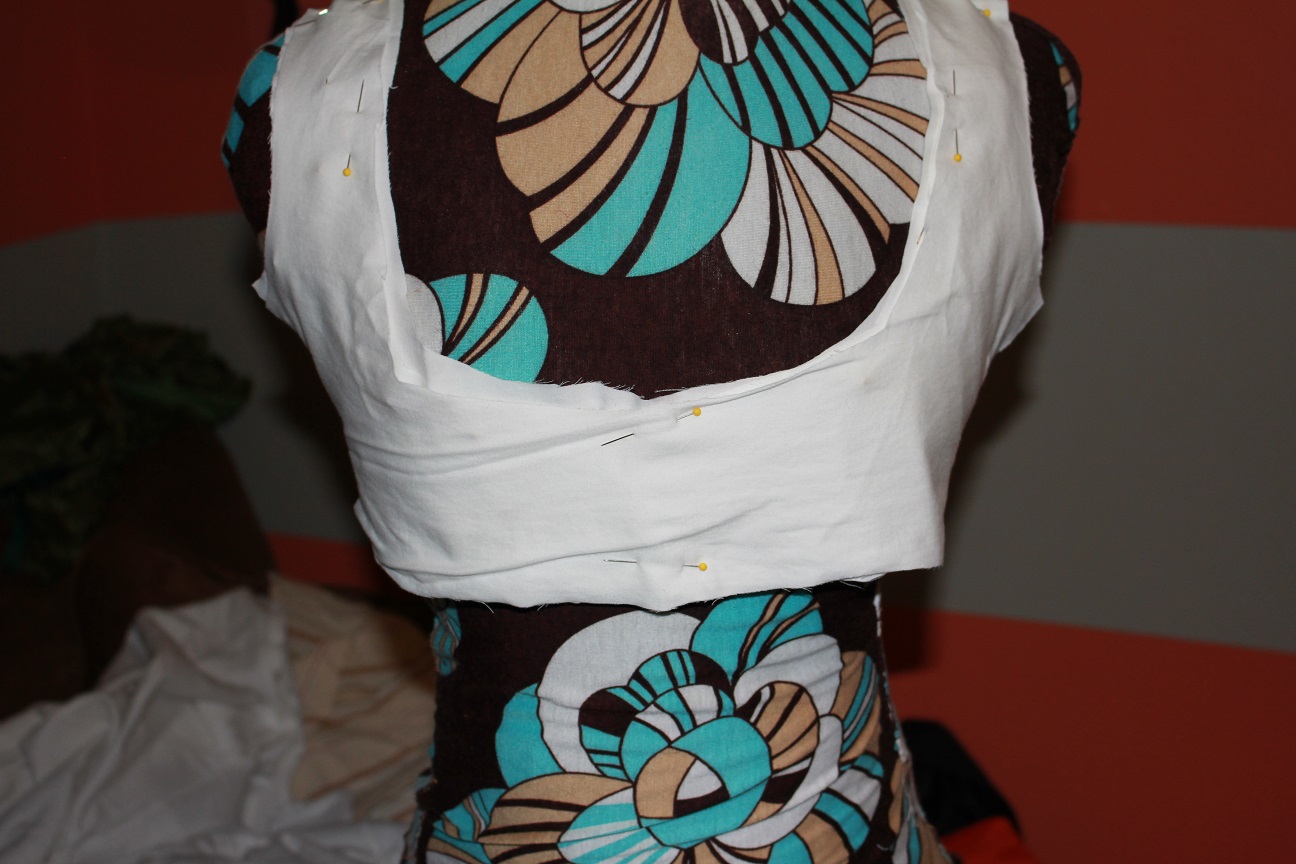
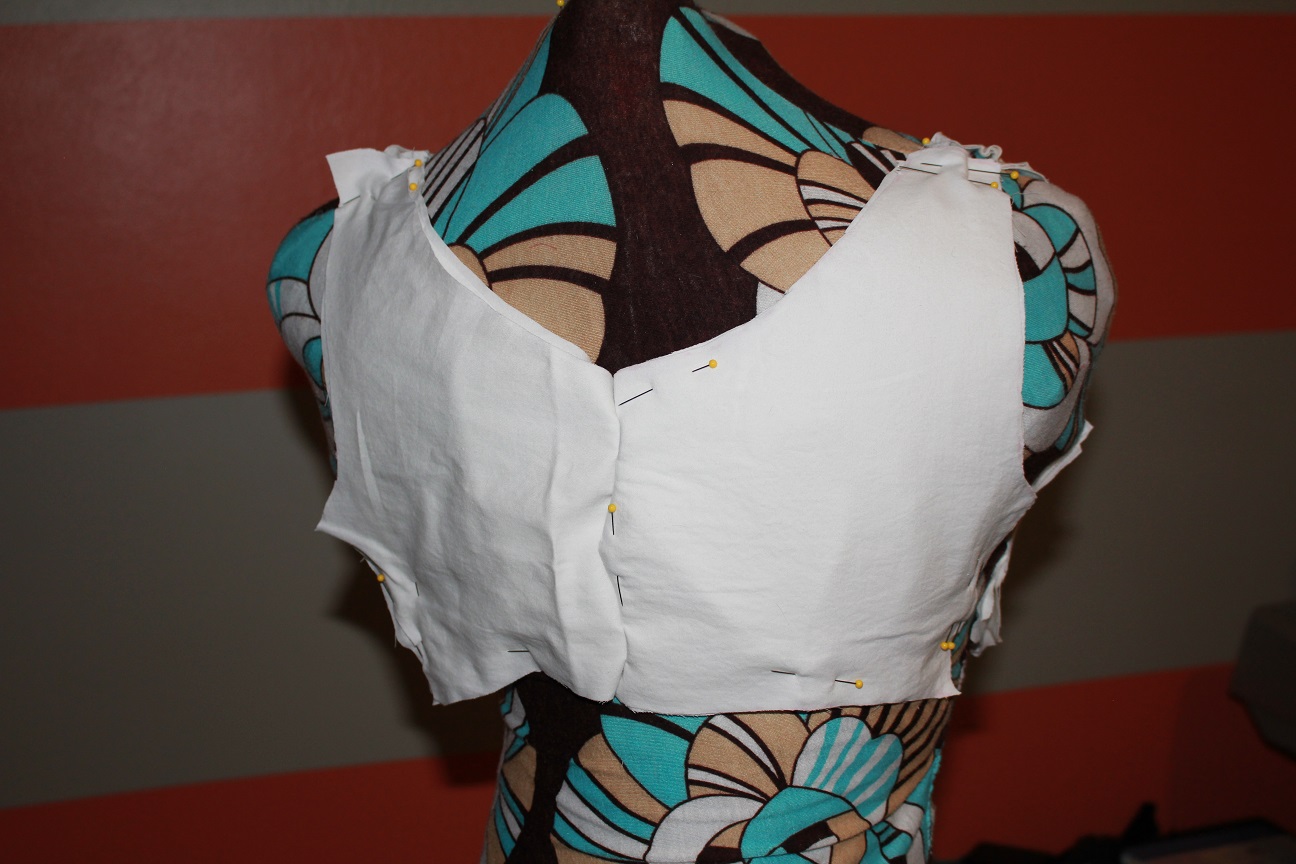
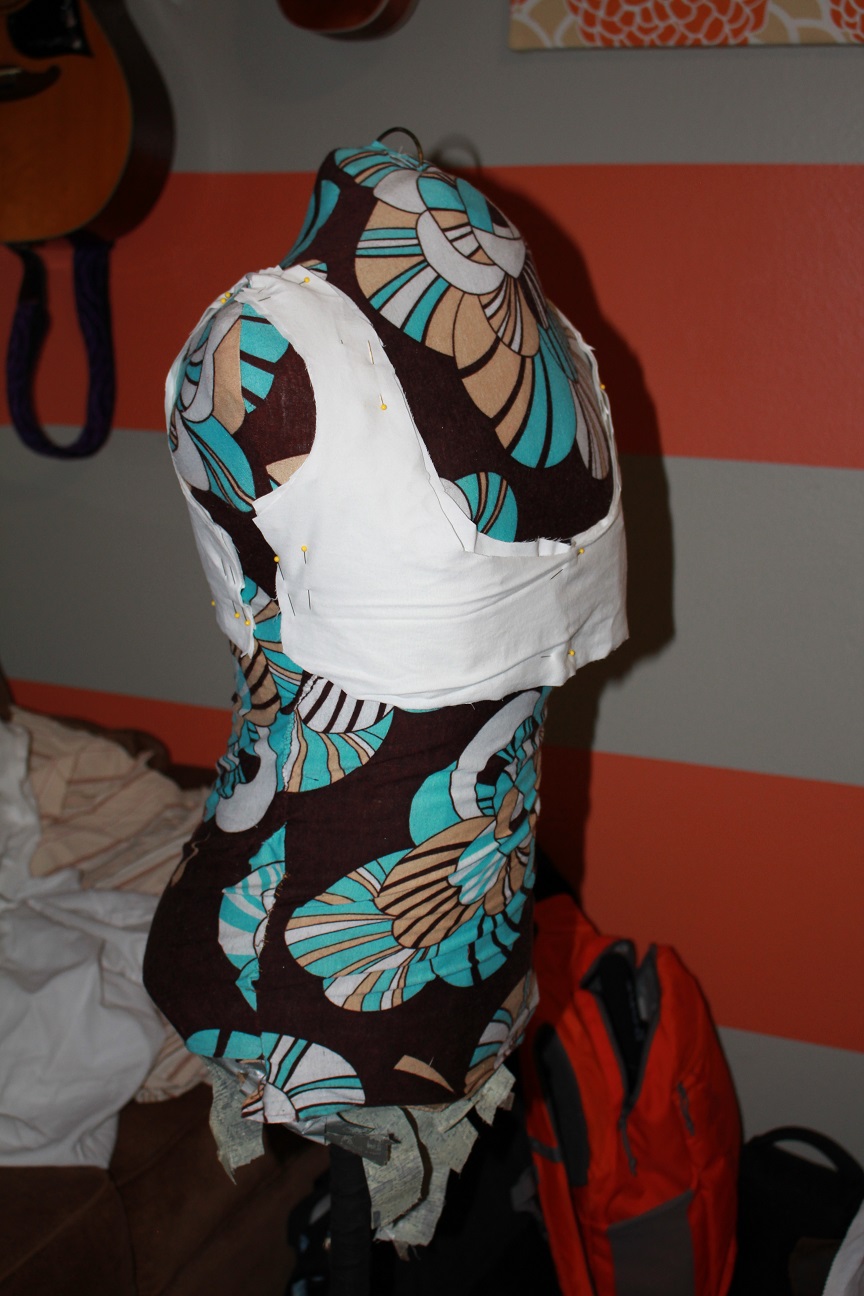 It feels like it's coming along!
Sat17
As I was scouring the Goodwill's around town for sheets with which to make a dress, I came across this material. It immediately reminded me of the wrap front dress in my beloved "Pride and Prejudice", pictured in the first post.
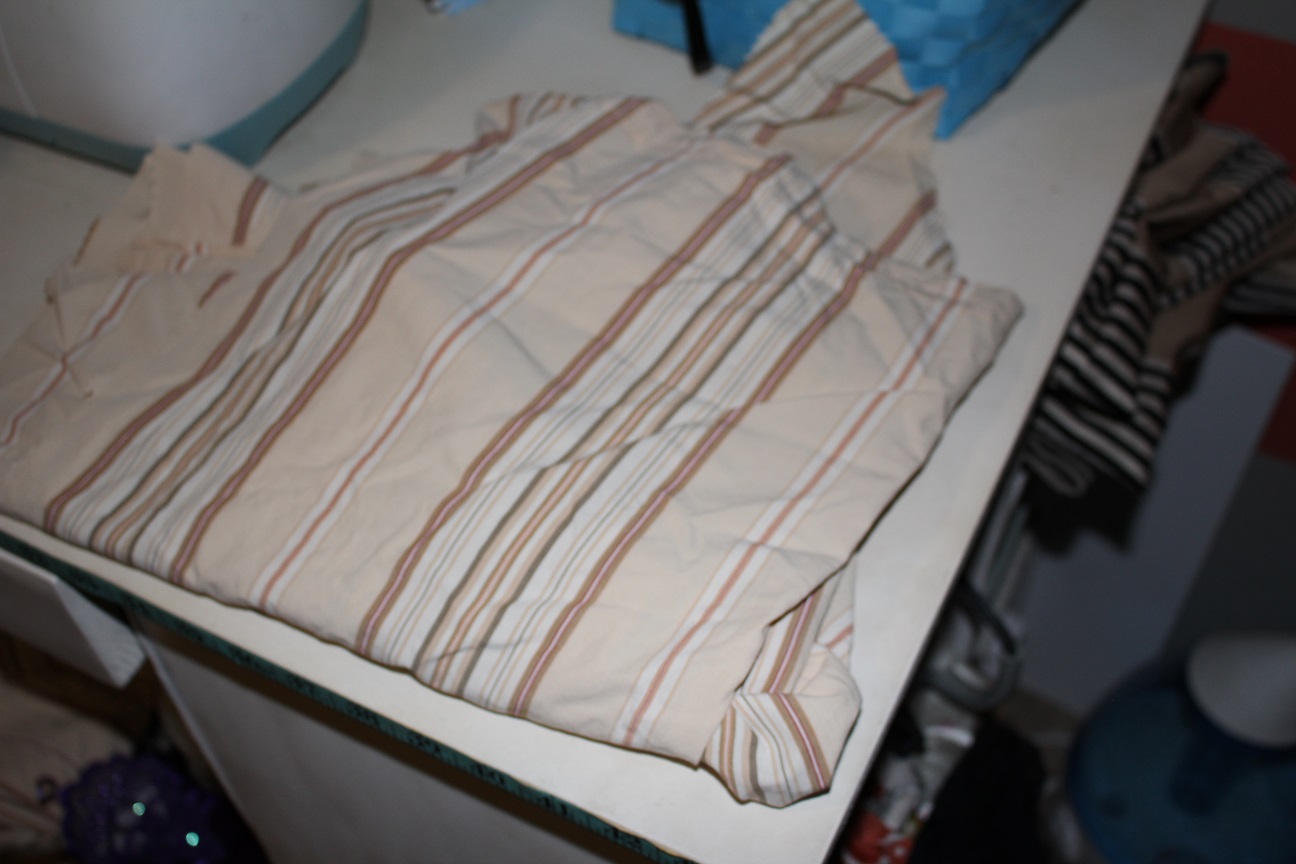 Elizabeth wears it when she goes to Pemberley and is found
there by Darcy. It's a great, simple dress. I snatched up this material and found 2 other white sheets with which to make underlining and other assorted things. I have begun with making a boned, bodiced petticoat. The Regency dresses have a very unique neck and waistline,
and having the proper undergarments really help sell that shape. I am using this amazing book I got for $1 at a Mass Historia yard sale locally (one of the best days of my life- I bought hats and a corset!)
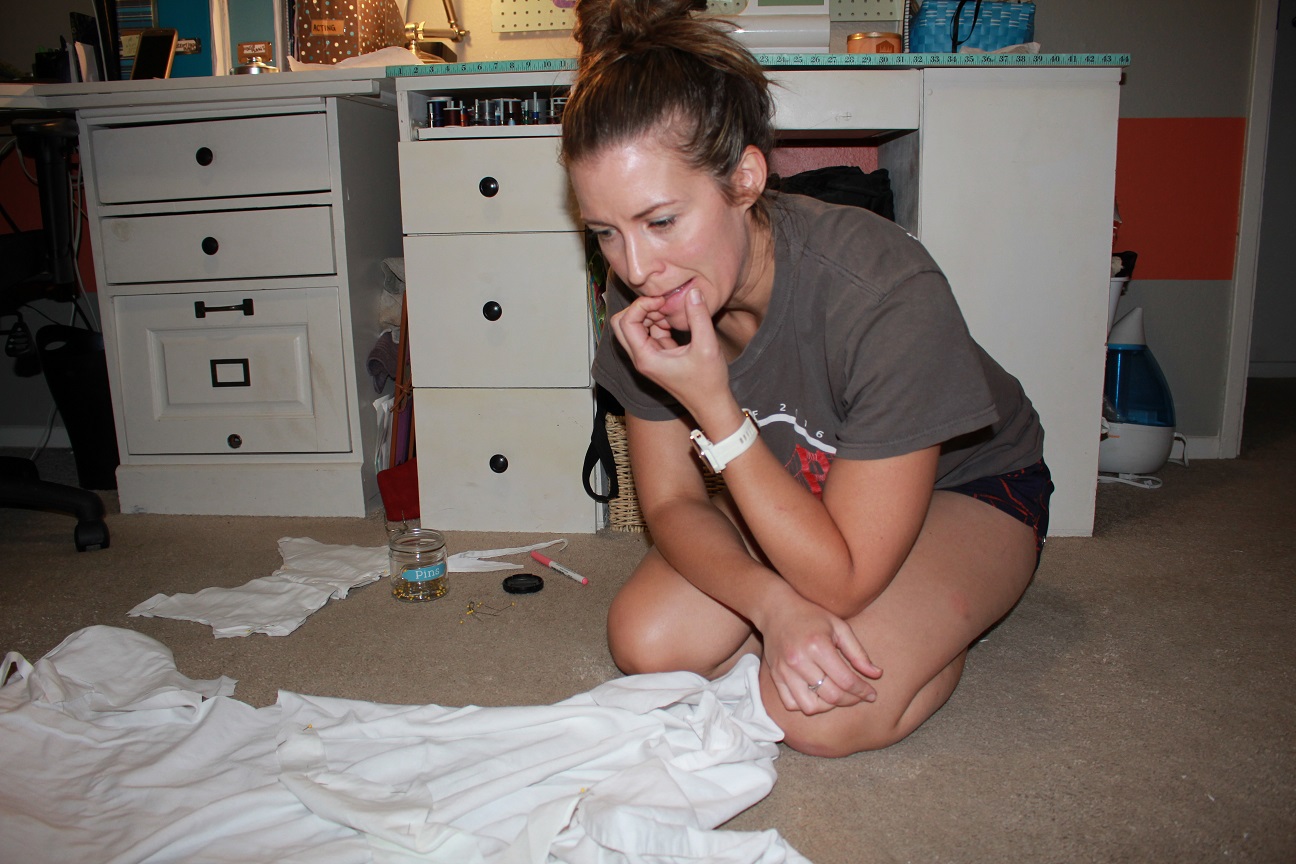
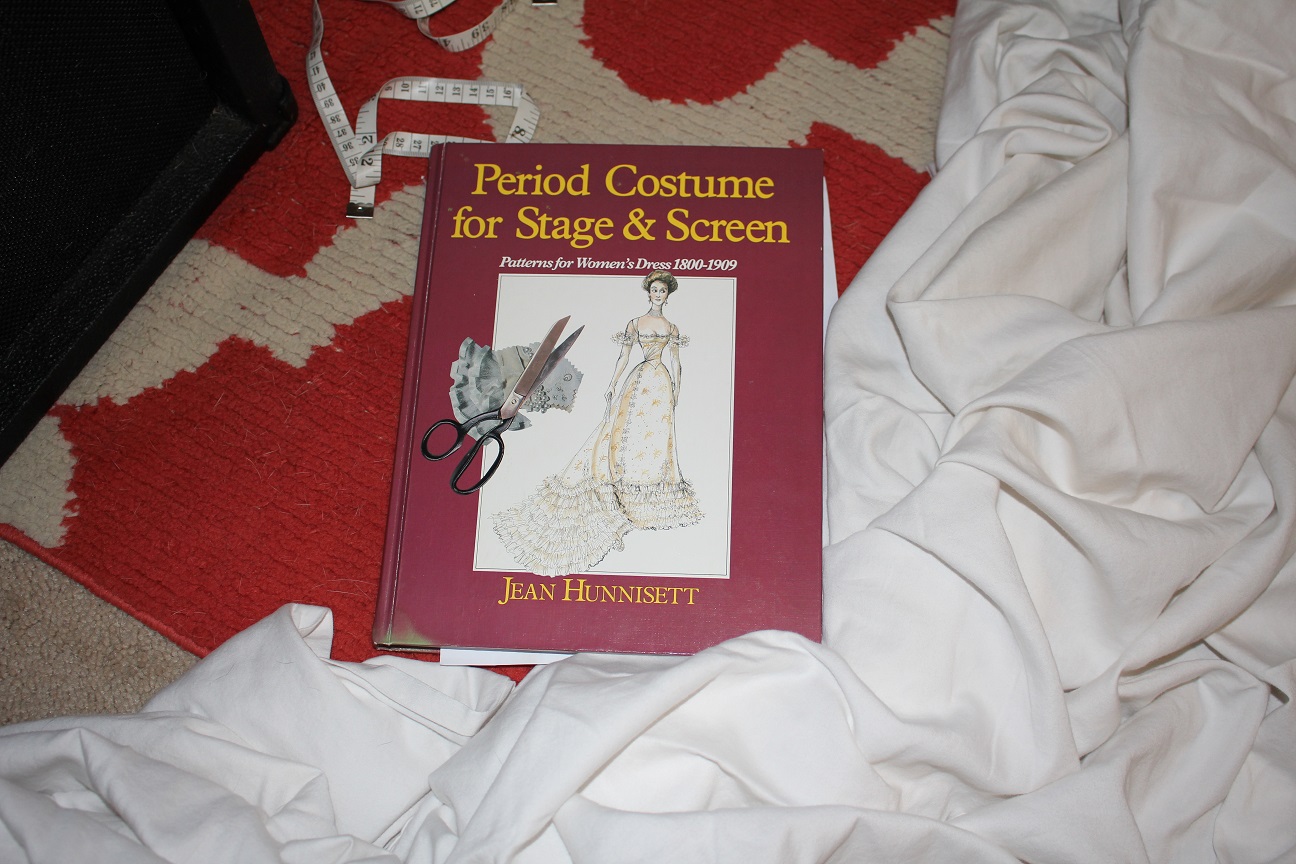 It has been tremendously helpful in fairly accurate shapes with which to put together the bodice and skirt. I am not working with a pattern on this and am just going off this picture of Elizabeth, so it's for sure risky. Most of my time is spent like
this
 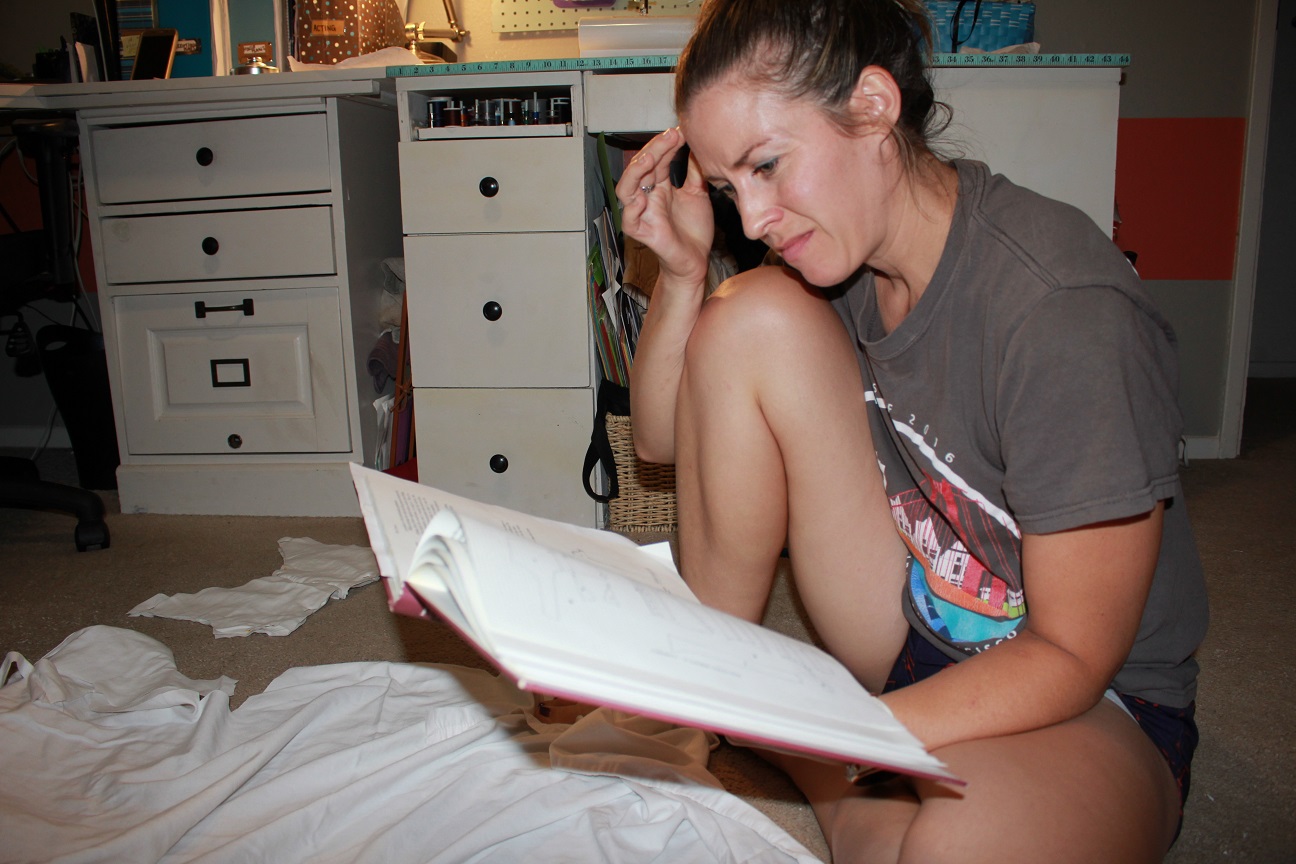 puzzling over how to freehand the shapes to fit me. Then I begin to cut with trepidation, reminding myself that these sheets cost $3 and won't be a huge loss if I mess up.
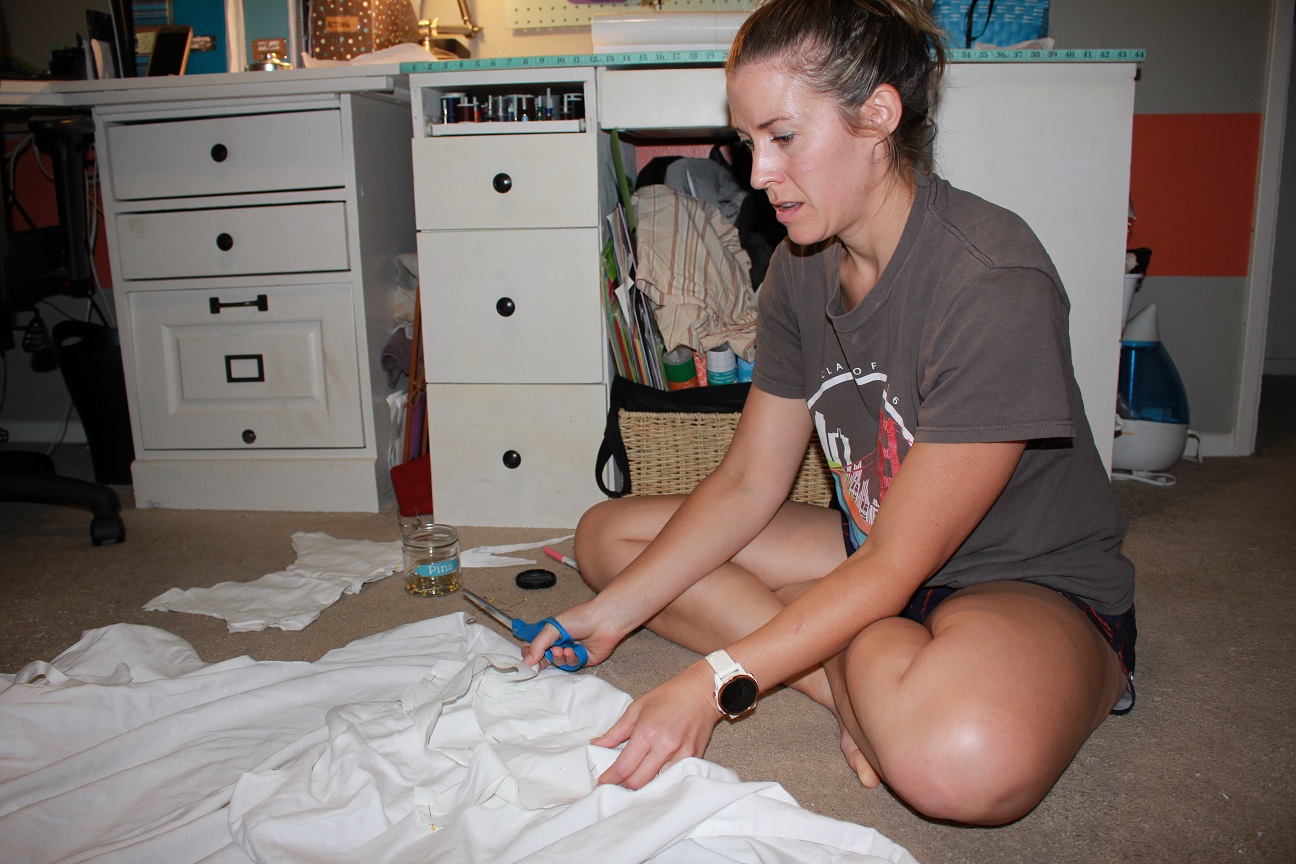 The book states that her early 19th century bodice has 4 layers, so that is what I am doing. This means making the stronger inside layers, then softer
layers on the outsides that touch my skin and the dress.
 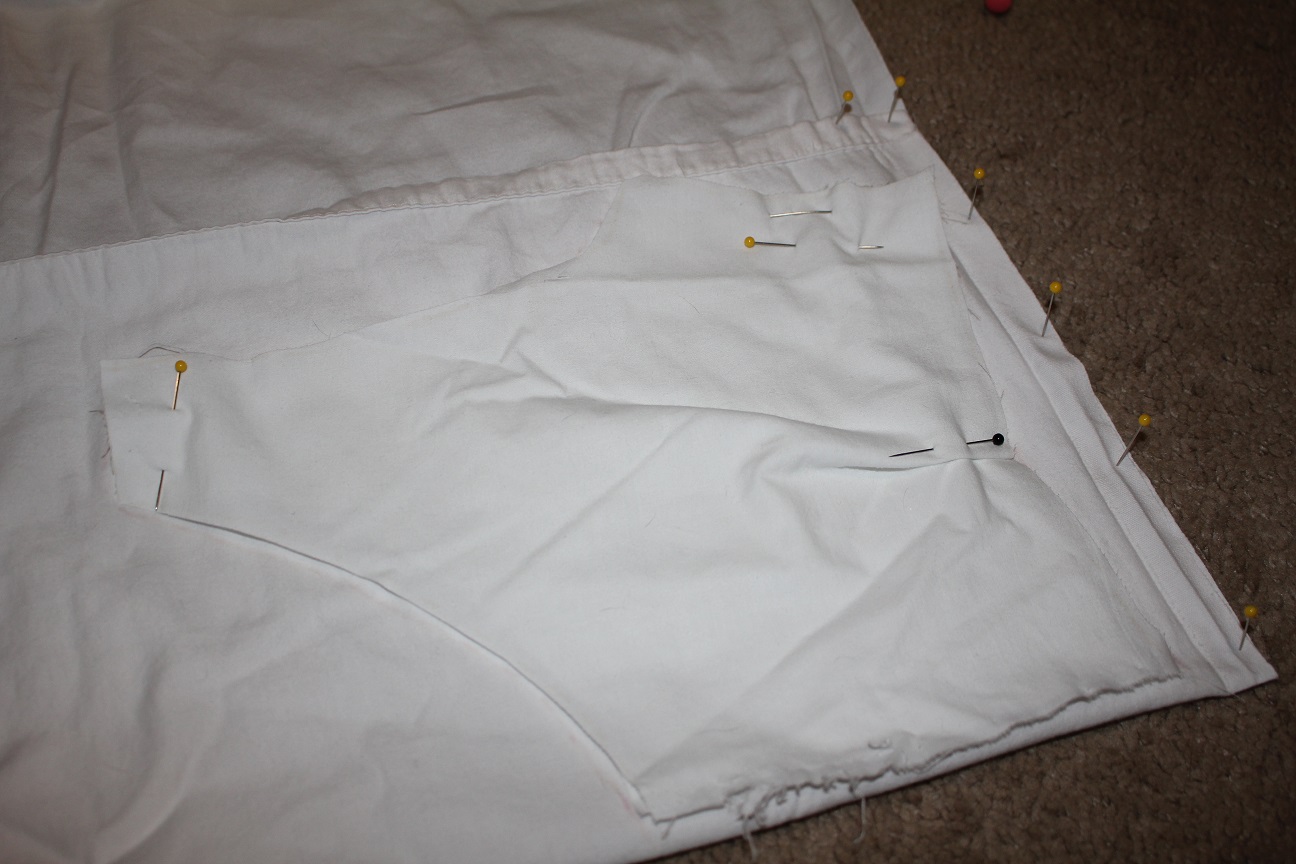 Here we go!
Wed14
Call me crazy, but I'm starting on my Halloween costume for this year already. It's August 14th. To be fair, I actually started on it several months back, when I had the impossible idea of making a Regency dress in time for my shoot,
The Proposal with 3 days to make it. 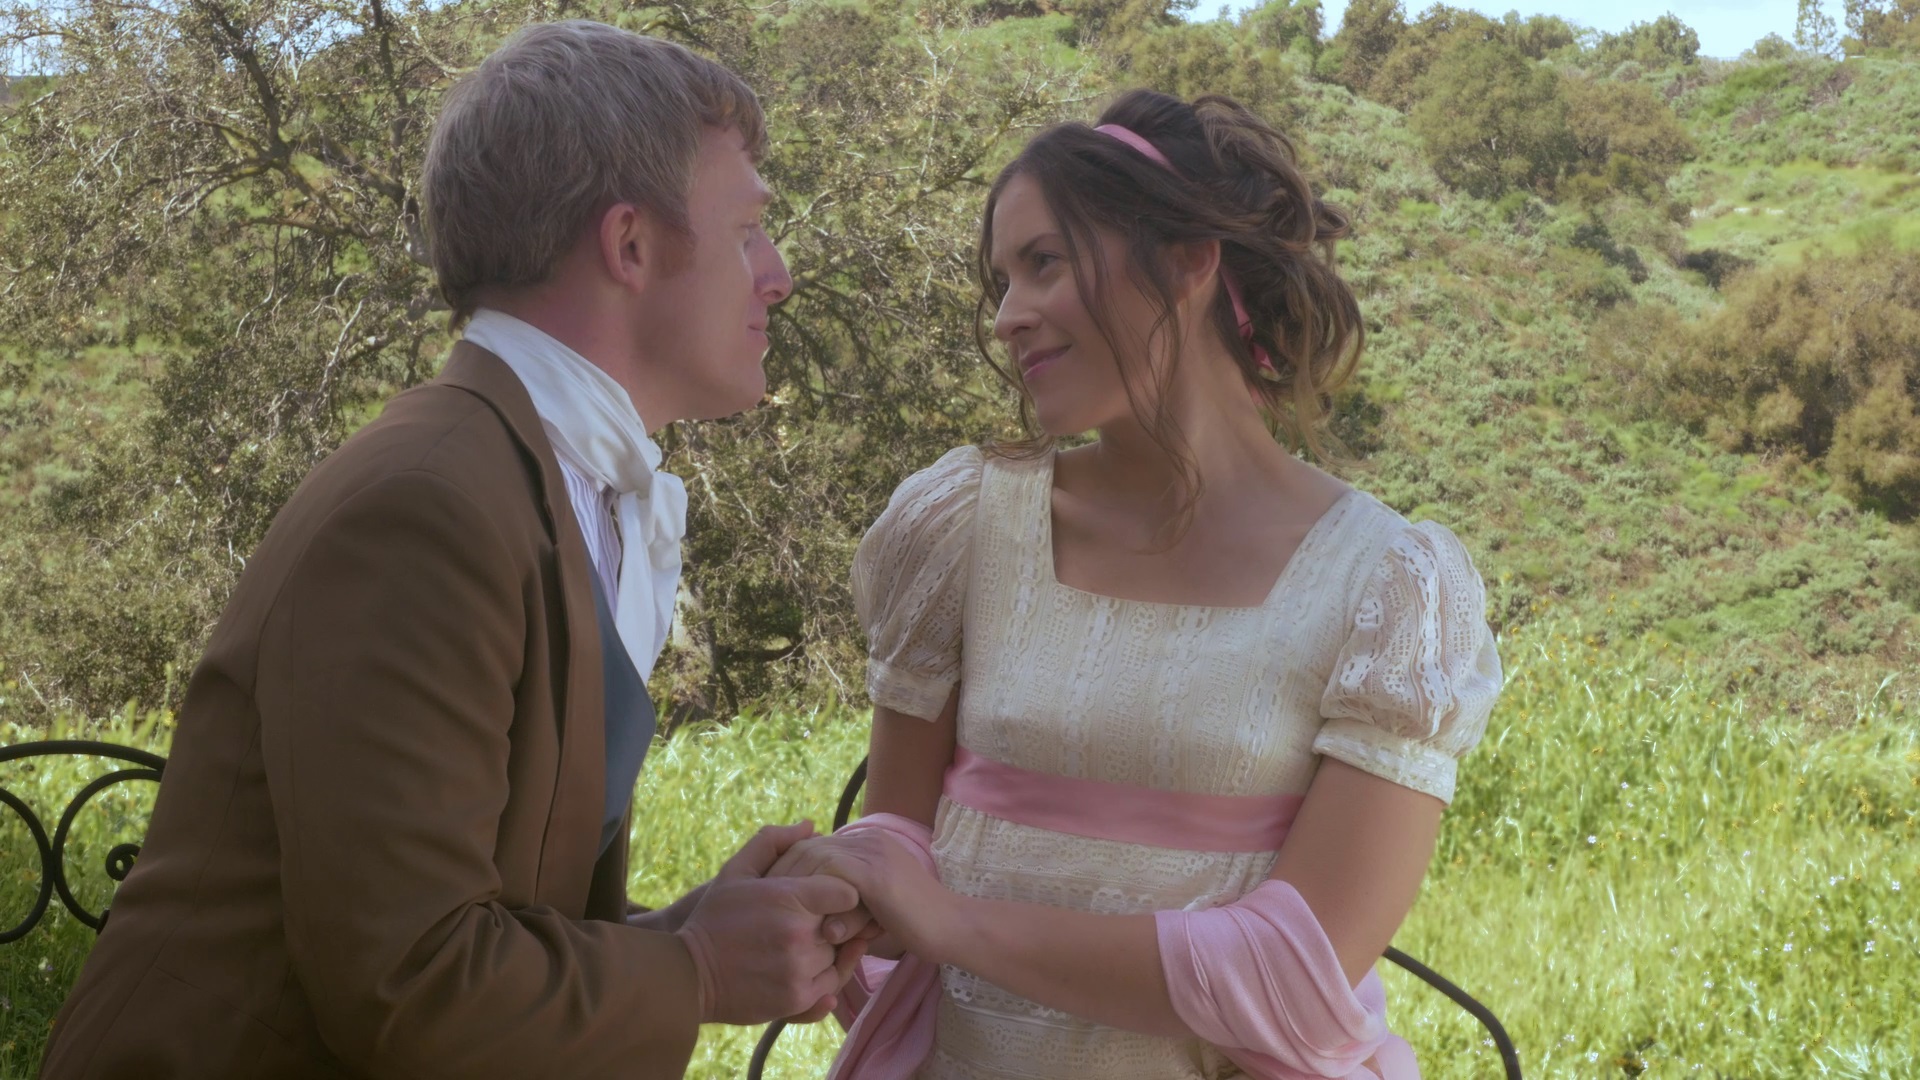 Needless to say that didn't happen. So now here I am, ready to take the reins up again. I figure if I mess with it in my free time, I won't be scrambling come October 31st. Follow along in my adventures in costuming--without a pattern here!

 I'm in love with this gathered back. It's so pretty!

 Bonus points to you if you know where this pose comes from. I'll give you a hint- it's a Jane Austen film from the 90's.

 I am so happy with this beautiful undergarment that no one will see!!
 Now, onto the dress! The clock is ticking.


